Screenshots are an integral part of working on a Mac for most users. In previous versions of macOS with this
Advertising
Advertising
How to make a screenshot by keyboard shortcut
- To take a screenshot of the entire screen, press and hold on your keyboardCommand+Shift+ 3.
- To take a screenshot of part of the screen, holdCommand+Shift+ 4. Use the mouse to select the area you want to capture.
- To take a screenshot of a window, hold downCommand+Shift+ 4, pressSpace, highlight the window, and then click or press Enter.
When a screenshot is taken, it will not appear onscreen immediately, as in previous versions of macOS. In macOS Mojave, only a preview of the screenshot appears in the lower right corner of the screen, from where you can interact with it. This way you can easily edit, move and share screenshots.
Video instruction
How to take a screenshot using a special tool
There are two ways to open the tool for screenshots:
Advertising
Advertising
- Through the Finder, open the program folder, go to Utilities and select Screenshot.
- Or hold down the keys on your keyboardCommand+Shift+ 5.
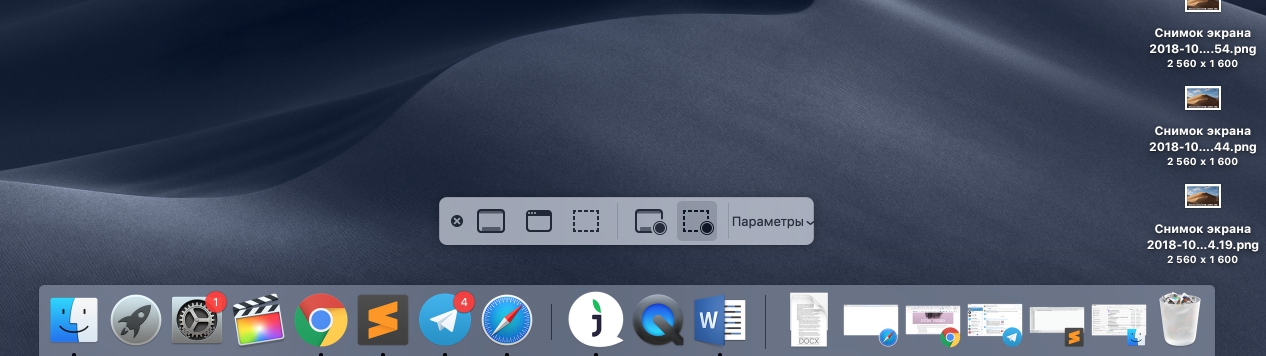

Any method will open a tool for working with screenshots from the bottom of the screen. Convenient buttons will be located there in order to do:
- Screenshot of the entire screen.
- Screenshot of the selected window.
- Screenshot of the selected screen area.
The tool also allows you to record a screen, as in QuickTime. The following options are available:
- Full screen recording.
- Record a selected area of the screen.


You can also select a save folder.Take screenshots and entries by default and enable the timer-countdown to the screenshot. You can also turn off the appearance of small previews and enable the history of screenshots. You can enable or disable the display of the cursor in the screenshots.
The toolbar can be dragged around the screen. In the screenshots, the panel itself will not be displayed.
Preview Interaction
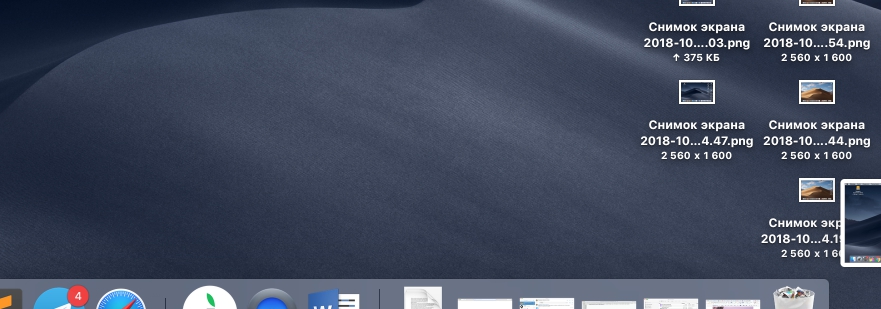
When you take a screenshot, appears on the screensmall preview. It will automatically disappear after five seconds if you do nothing with it. You can remove the preview yourself by swiping it to the right. After that, the screenshot will be immediately saved to the default folder.
You can drag a preview into a program like Mail or Messages to quickly share a screenshot.
If you click on the preview with the right mouse button, additional options will appear: saving to a specific location, opening in programs, opening in Finder, deleting, editing, etc.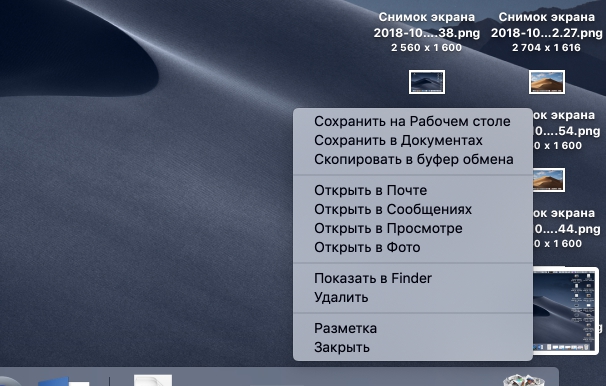

If you click on the screenshot with the left mouse button, it will open in the View full size application. Here you can edit it, share it or crop it (if this video).
 Conclusion
Most likely, most users will continue to use the familiar keyboard shortcut Command + Shift + 3/4. The new tool is quite convenient, but it takes too long to open.
Advertising
Advertising
For others, the tool is quite useful for work, because using it is very convenient to manage screenshots.
It is especially convenient that with the help of the tool you can also record the screen.