Every device running iOS or macOS must be associated with an Apple ID. Apple ID is not only needed
Today we’ll show you how to create a new one for free.Apple ID directly on an iOS device. Two versions of instructions are given - for iOS 10.3 and firmware 10.2.1 and later. The procedure for iPhone and iPad is the same.
Advertising
Advertising
- How to create a new (and American) Apple ID on iOS 10.3 and later firmware
- How to create a new Apple ID on iOS 10.2.1 and earlier firmware
- How to create an Apple ID from a computer for an iPhone
- How to create an Apple ID without map binding
How to create a new (and American) Apple ID on iOS 10.3 and later firmware
If you upgraded to iOS 10.3, follow the instructions below to create a new Apple ID account on an iPhone or iPad. The procedure has changed from earlier versions of the operating system.
Step 1:Go to "Settings" from the home screen.
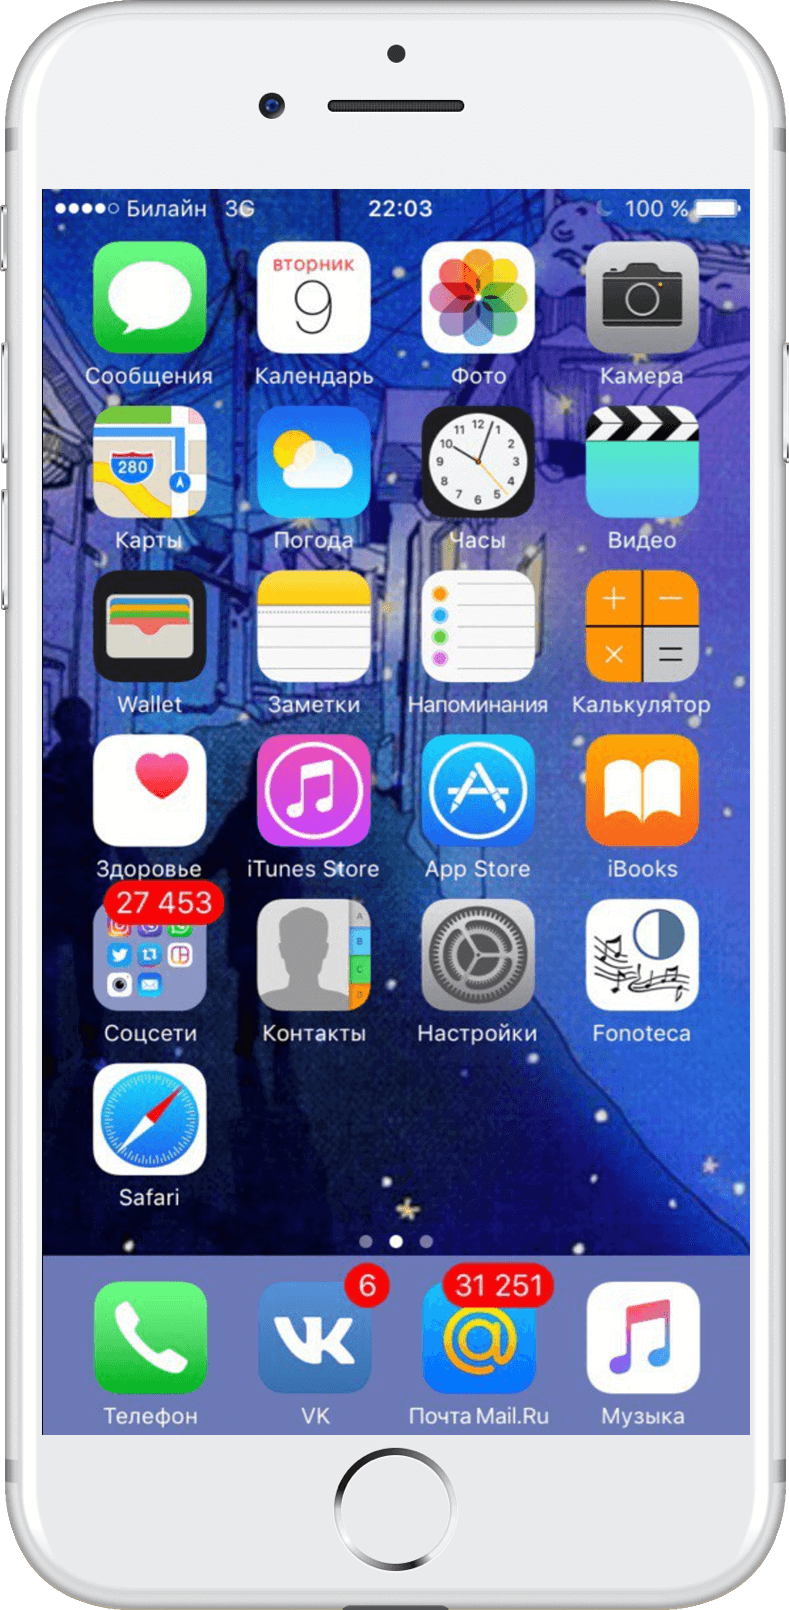

Advertising
Advertising
Step 2:In the settings menu, select "Sign in to iPhone / iPad."


Step 3:The operating system will prompt you to enter your Apple ID and password for authorization. To create a new Apple ID, click "No Apple ID or forgot it?"
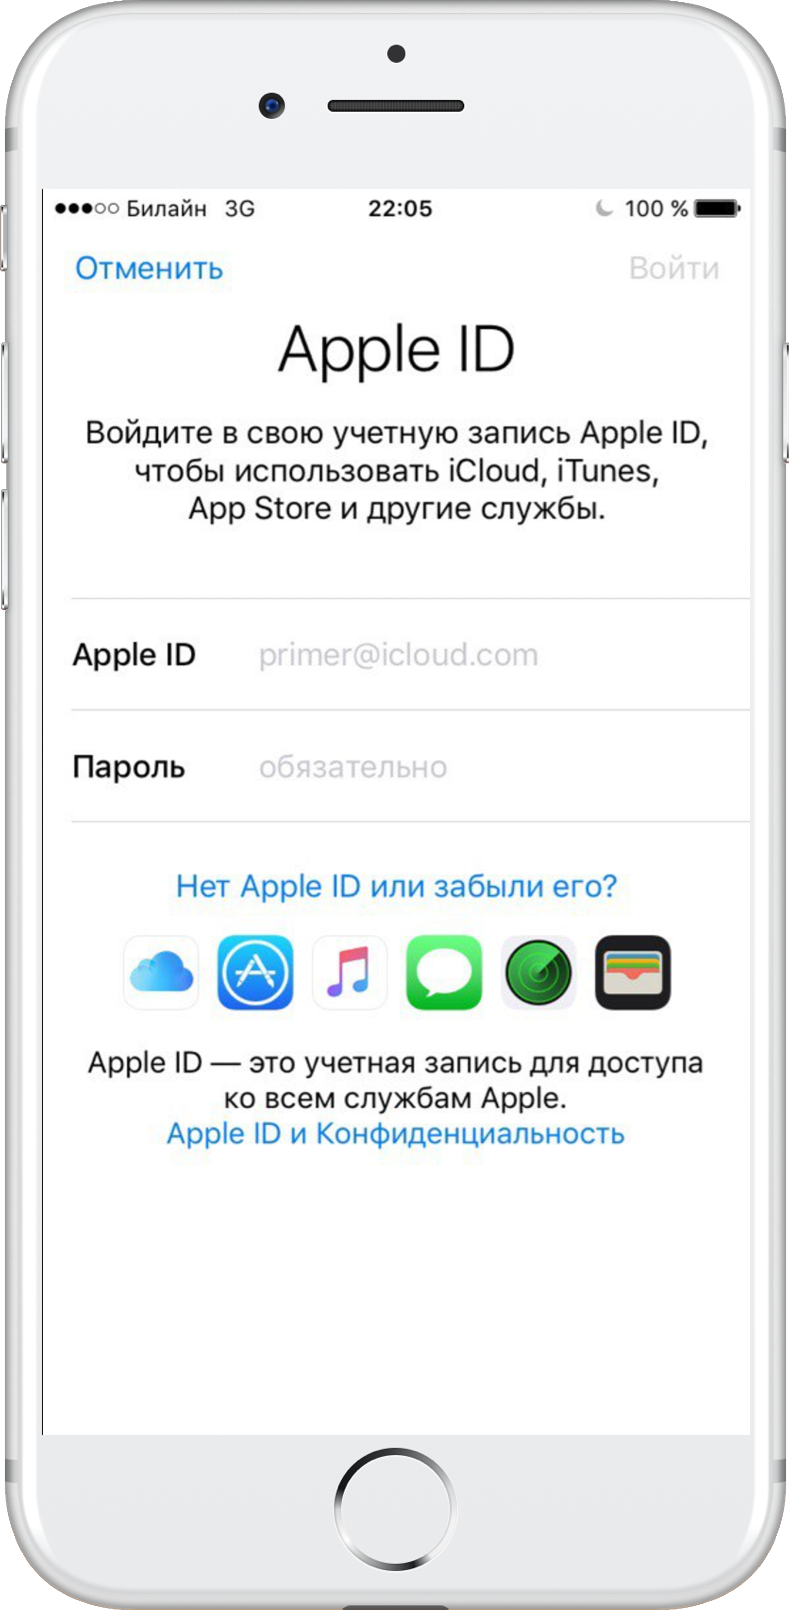

Step 4:In the new window, select Create Apple ID.
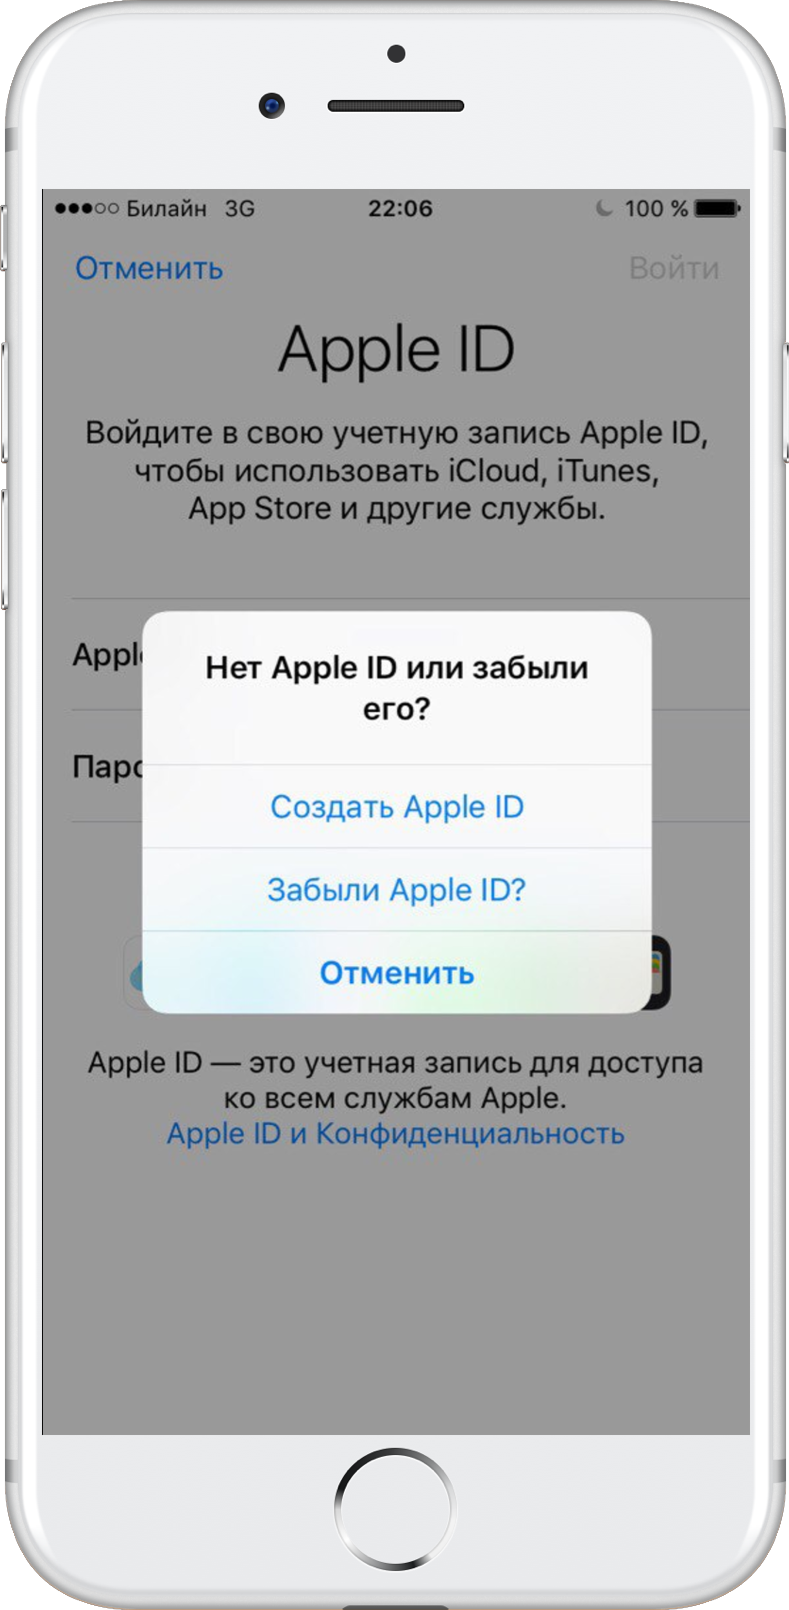

Step5:Scroll to the date of birth, and then click Next.


Step6:Enter the first and last name in the corresponding box. Click "Next."
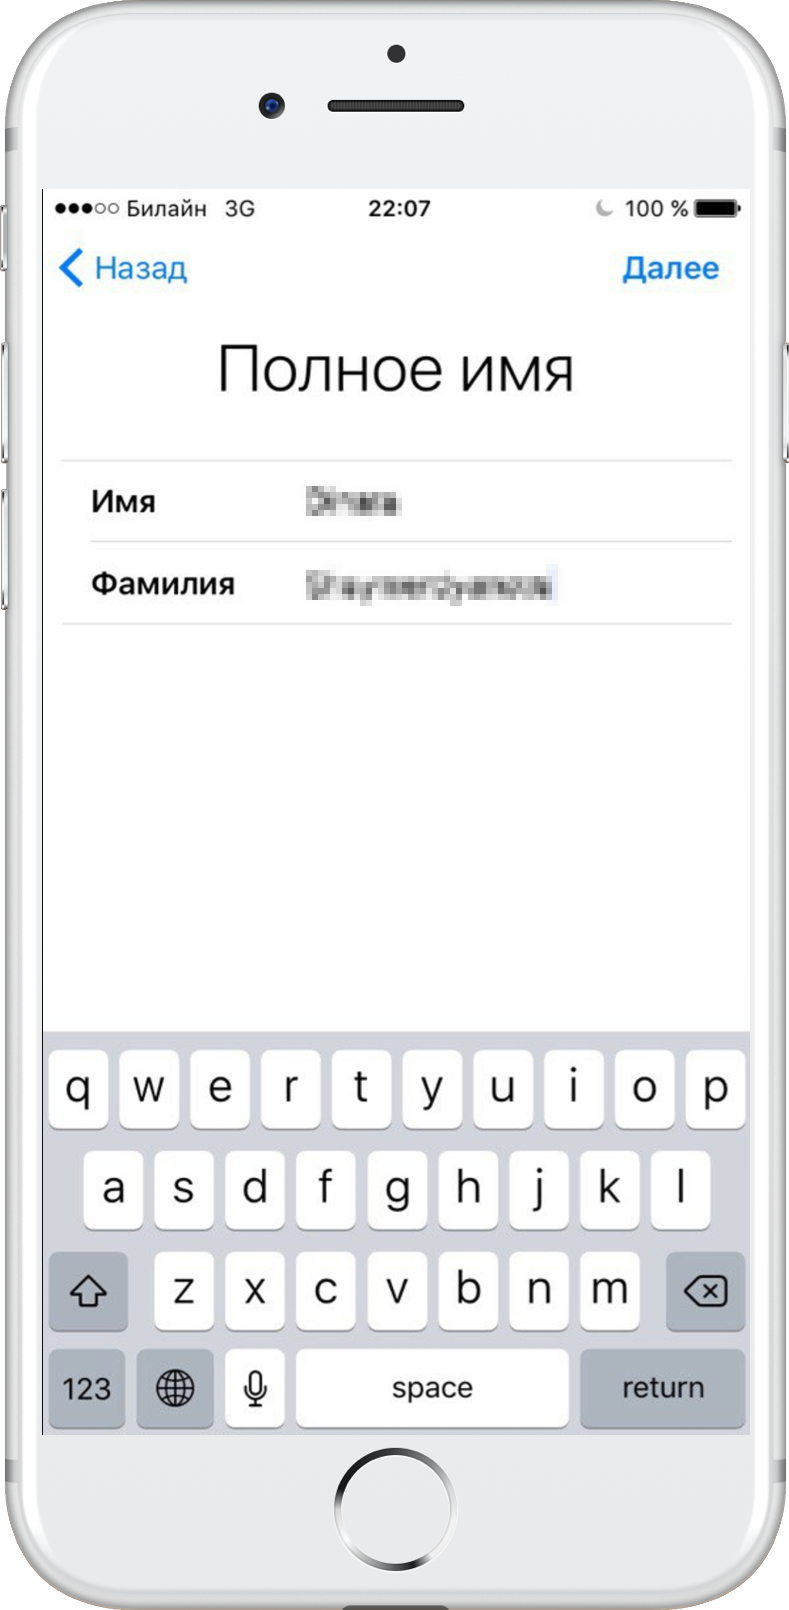

Step 7:In the email field you canuse your e-mail or create free iCloud mail. In this manual, we suggest creating an Apple ID account using an existing e-mail, so click "Use current e-mail".
Important! If you want to use the iCloud email address as your Apple ID, select "Create an e-mail address on iCloud" and then follow the on-screen instructions.


Step8:In the input field, enter the email address you want to use as your Apple ID. Click "Next."
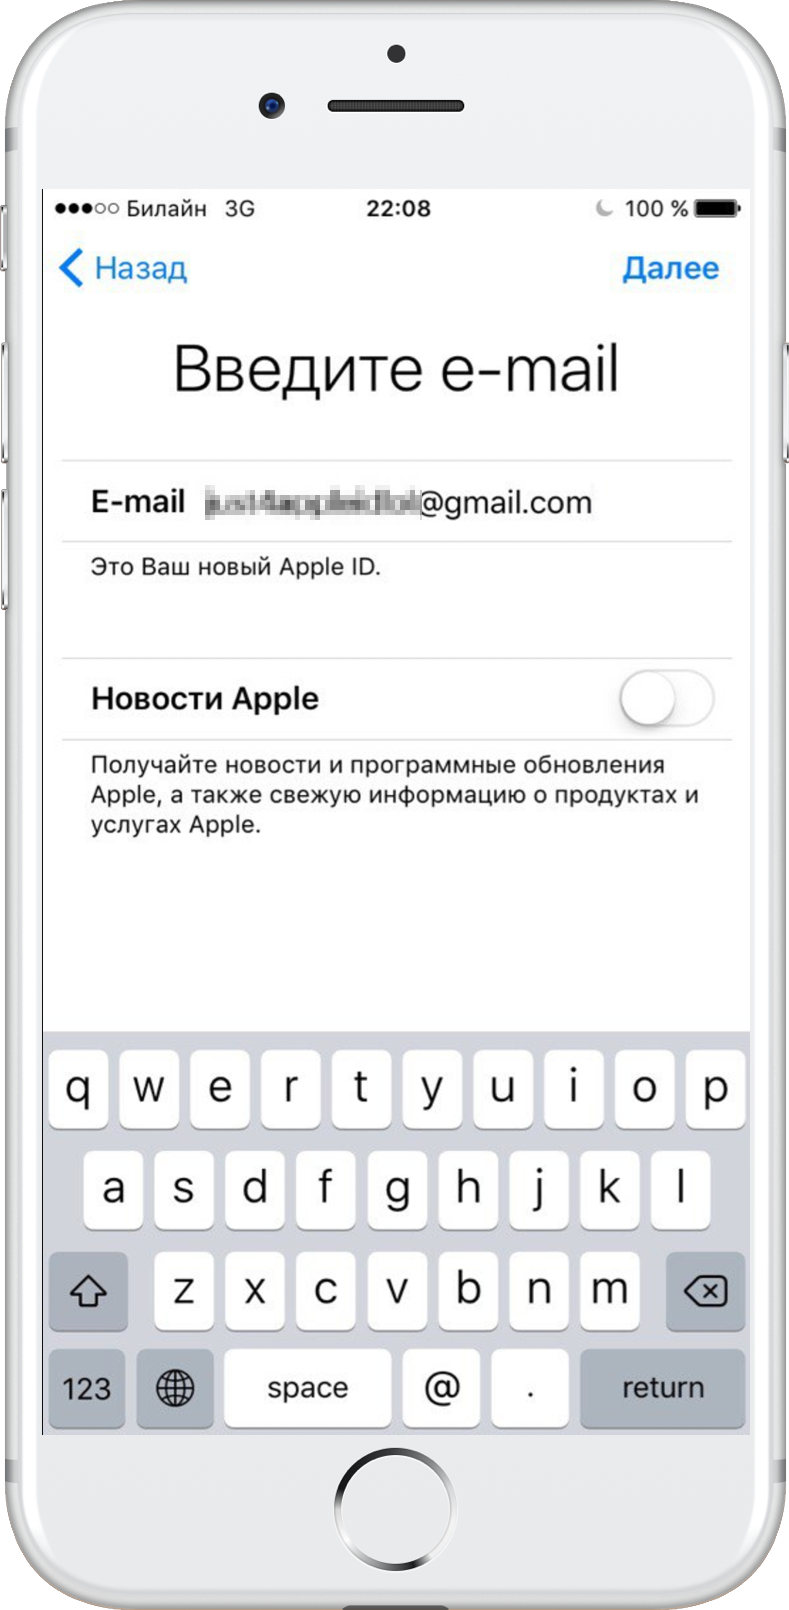

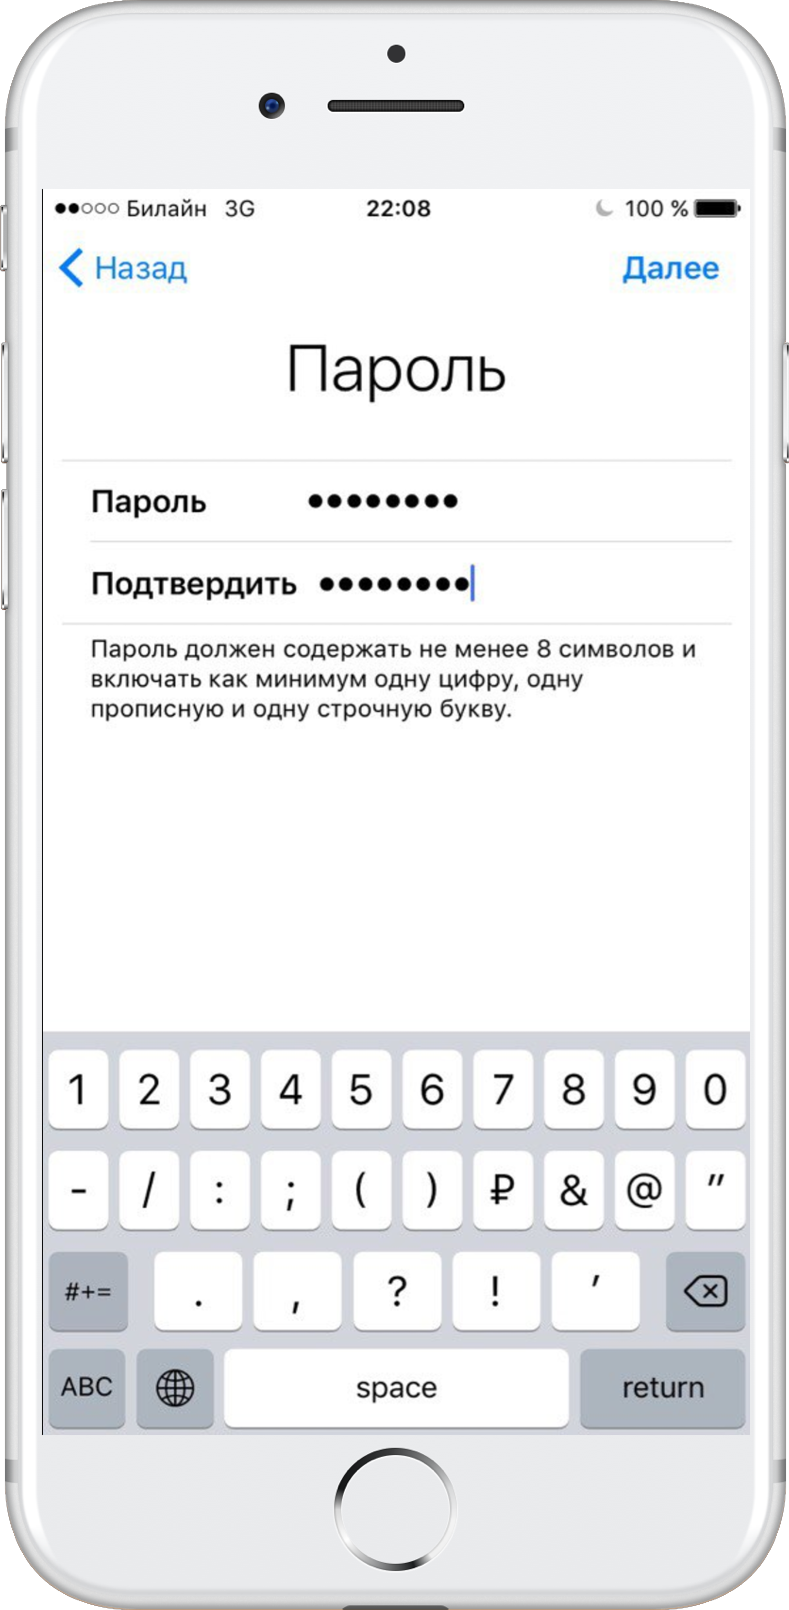
Step9:Set and confirm the password for the new Apple ID. Click Next again.

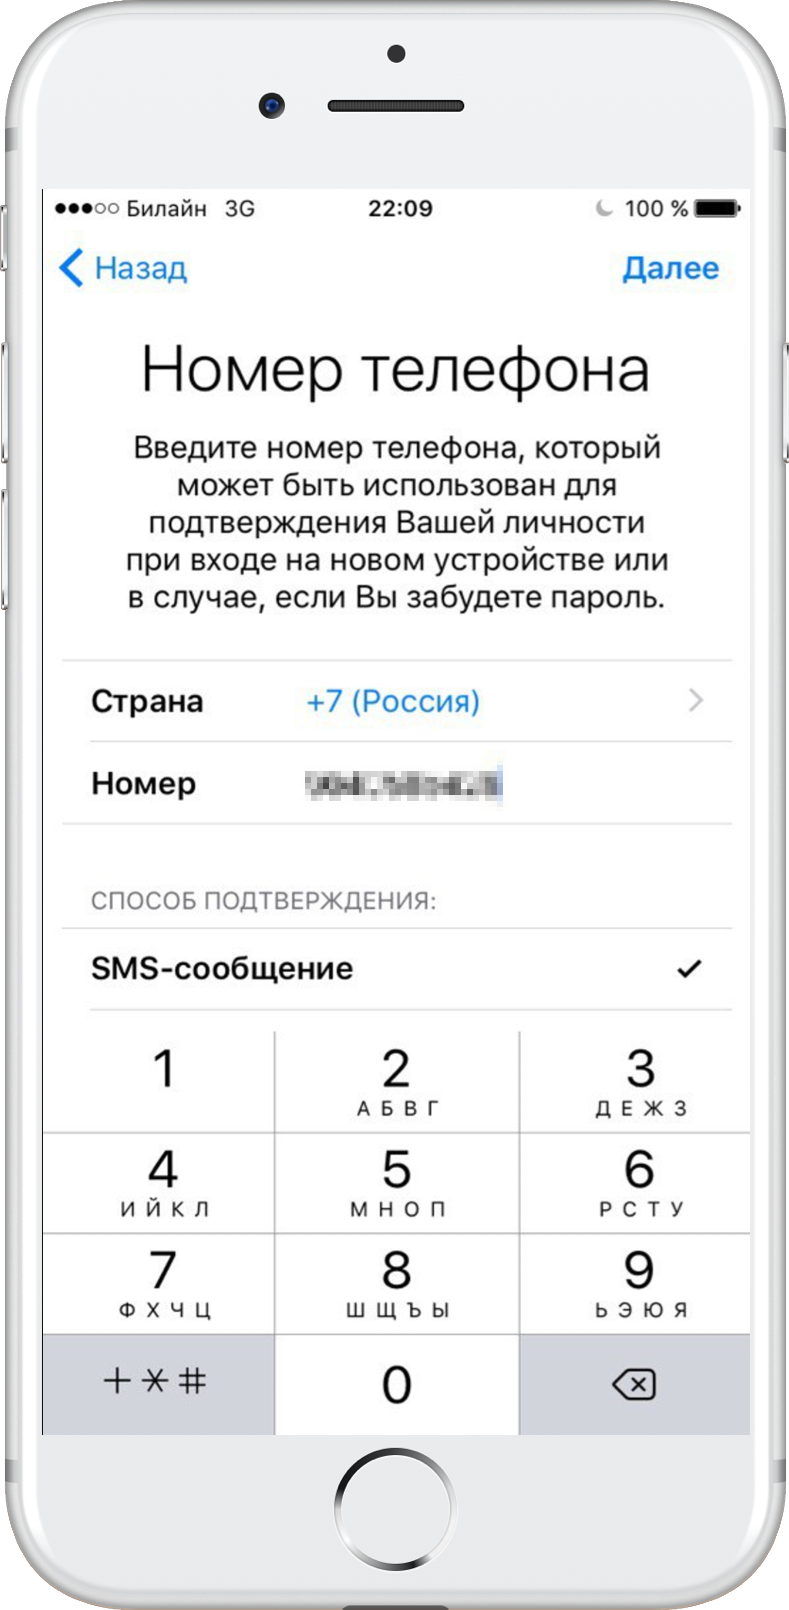
Step 10:To confirm your identity during authorizationUsing your Apple ID on your new device or browser, or if you need to reset your password, you’ll need to enter your mobile phone number. Select a country and enter your real phone number. Proceed further.
Note:You can select the USA country item tocreate an American Apple ID. This is necessary to open access to some services and applications that are not available in Russia and other CIS countries. In addition, new games and applications appear in the American App Store earlier, and their range is much wider. With an American Apple ID, you will have access to all available services, applications and features on your iPhone.

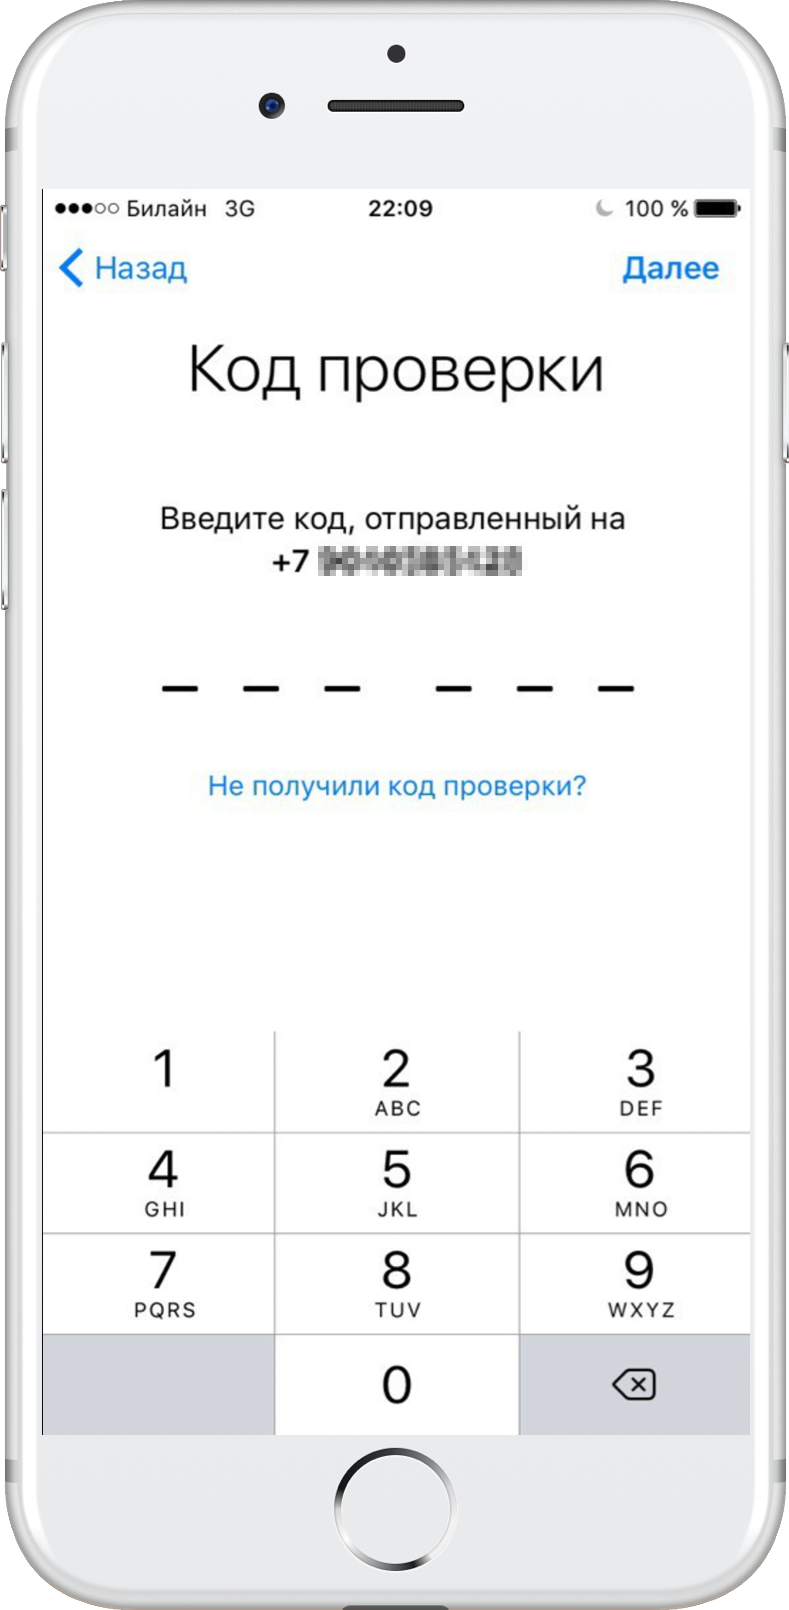
Step 11:A message with a verification code will be sent to the mobile phone number you entered. Enter it in the appropriate field upon request.
Advertising
Advertising

Step12:You must accept the Terms and Conditions to continue. Select Accept.
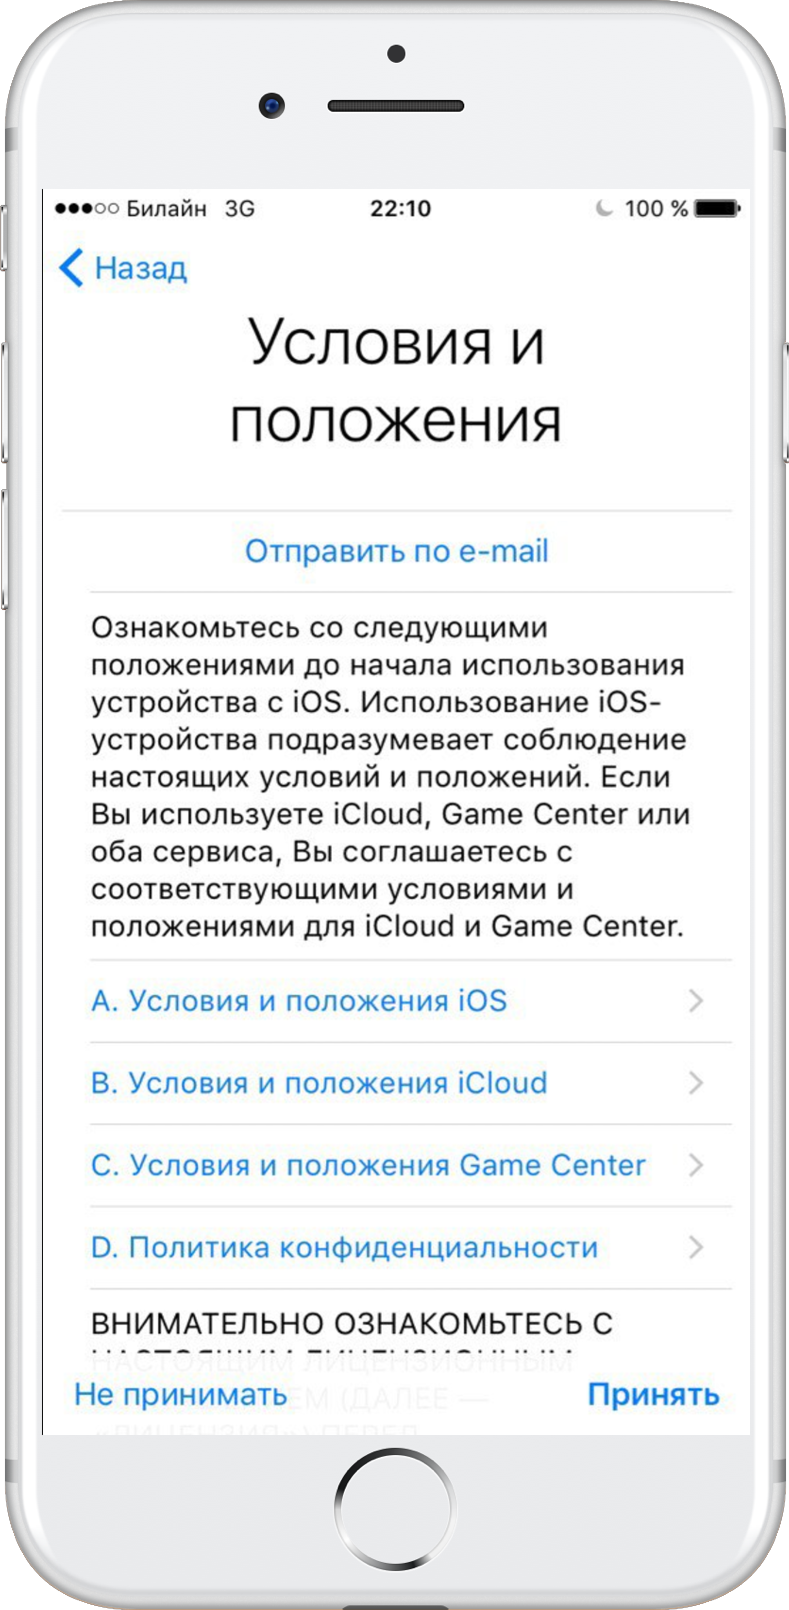

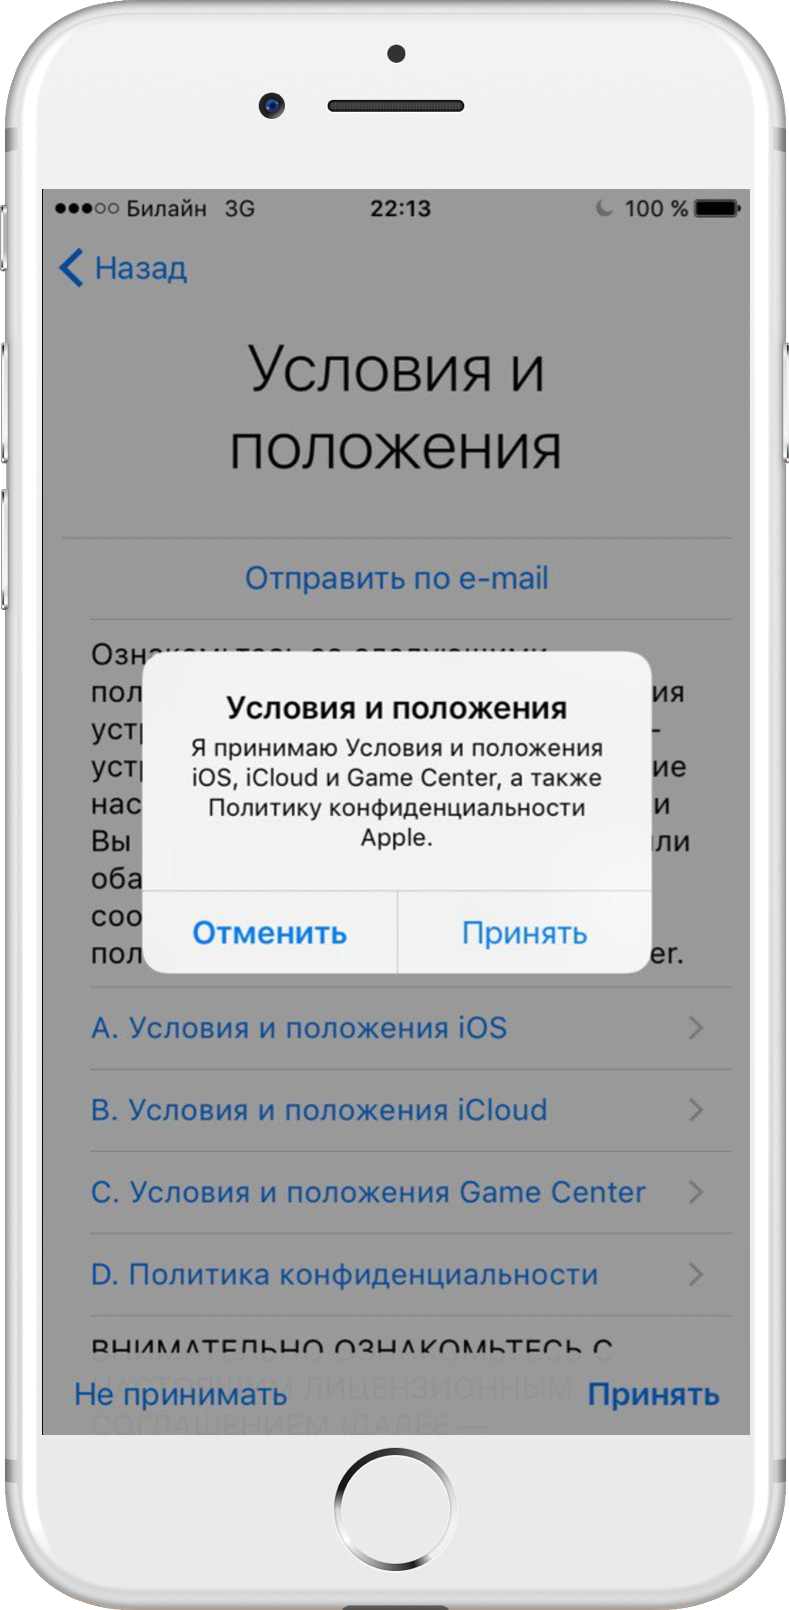
Step 13:Click Accept again when another agreement appears on the screen.

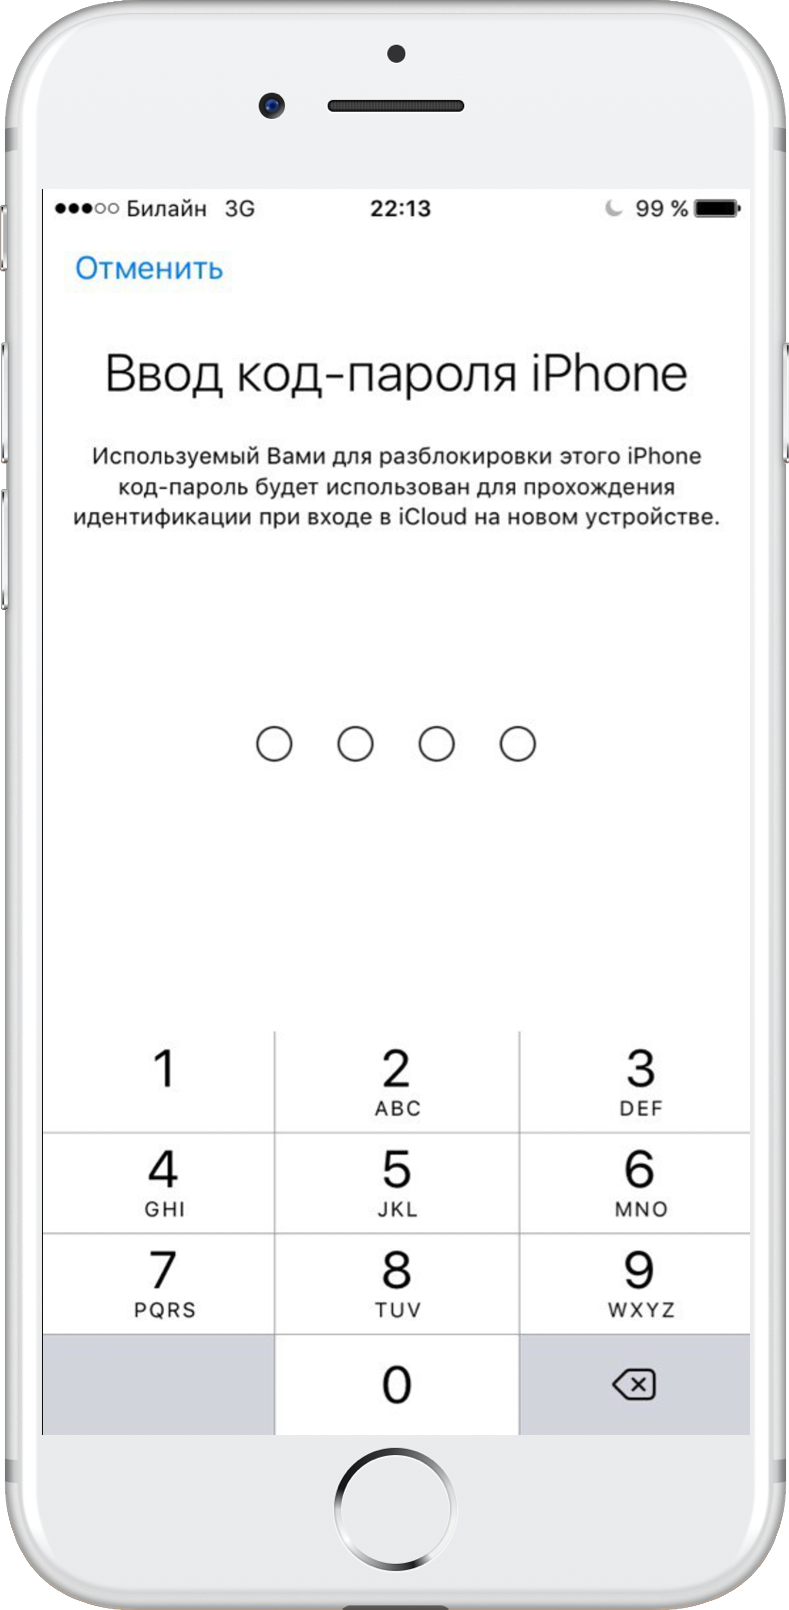
Step 14:Enter the password you use to unlock your iOS device.

Step15:Now you need to confirm the entered e-mail. Check your email and click on the link to confirm the address.
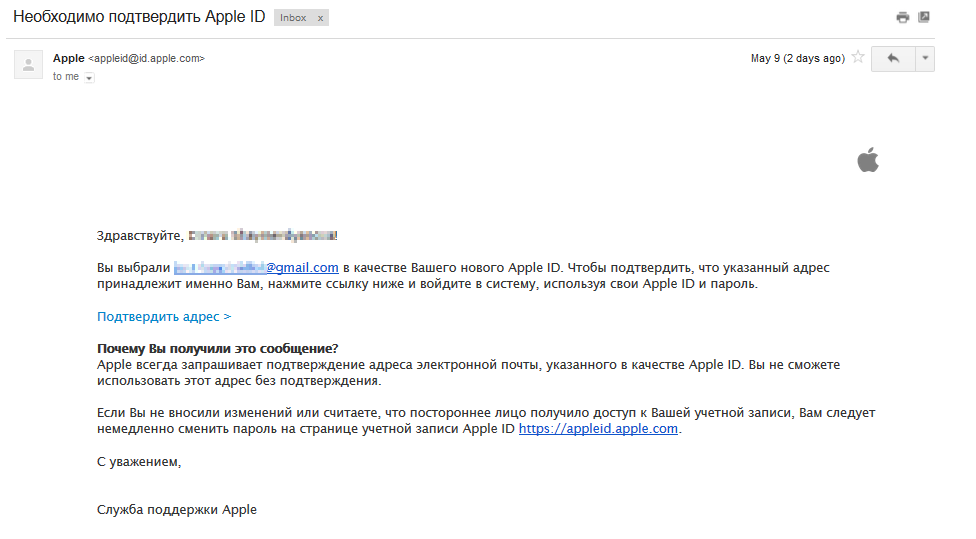

Step 16:A verification message will appear on the device screen.
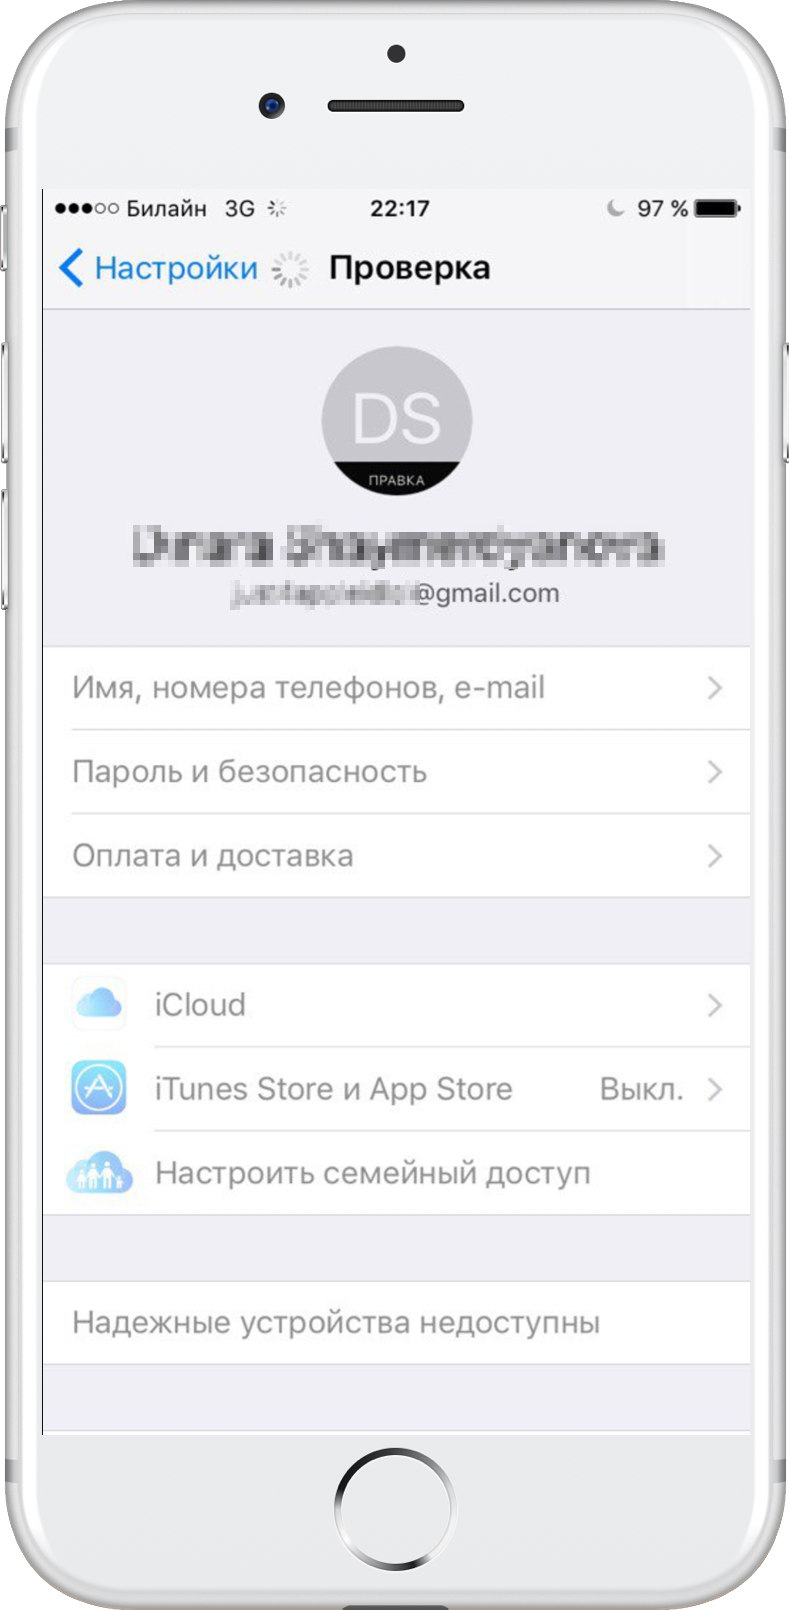

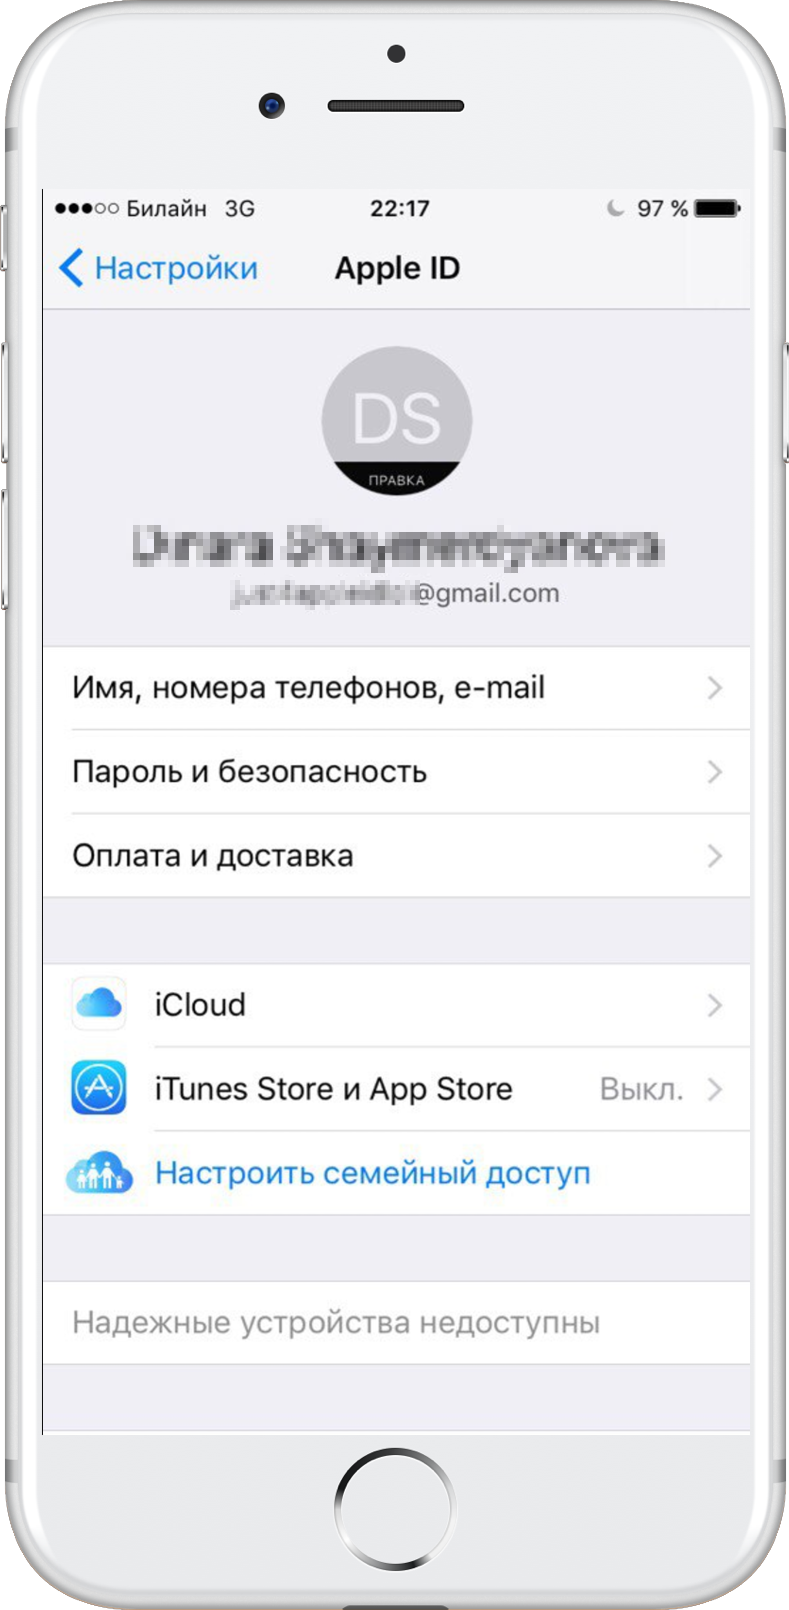
Step17:After confirming the e-mail, you will be automatically authorized on the device using the new Apple ID account.

How to create a new Apple ID on iOS 10.2.1 and earlier firmware
If you are using iOS 10.2.1 or earlier, you will need to do the following to create a new Apple ID account.
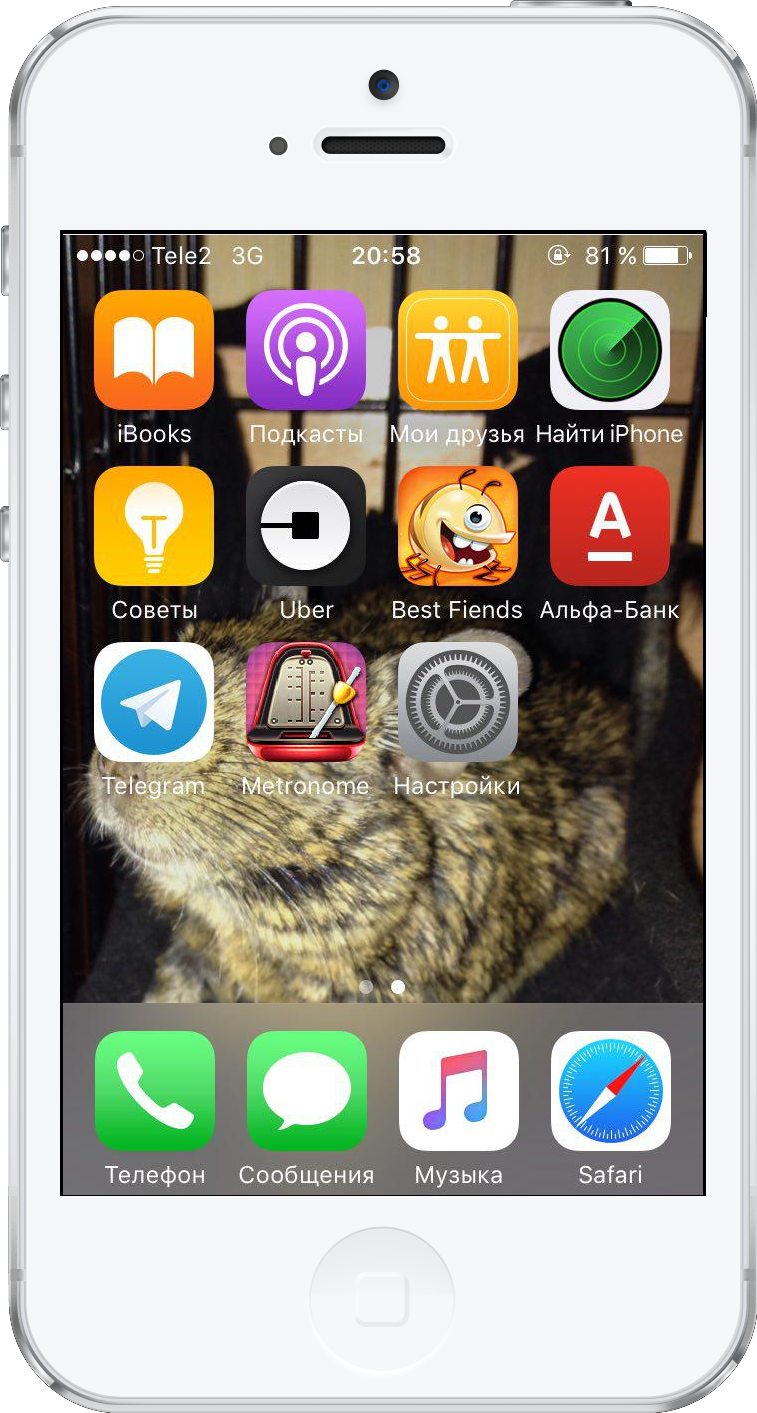
Step 1:Go to "Settings" from the home screen.

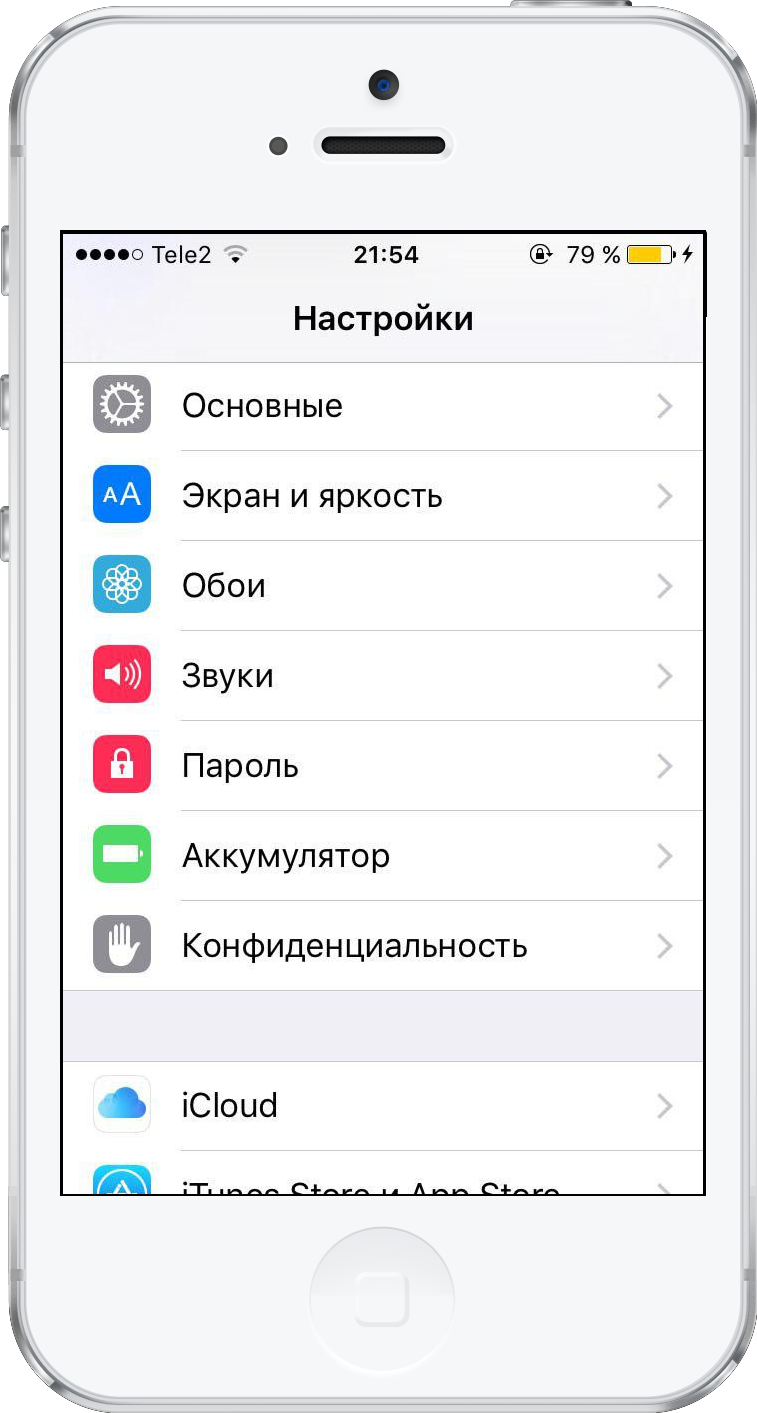
Step 2:In the settings menu, select iCloud, and then select Create Apple ID.

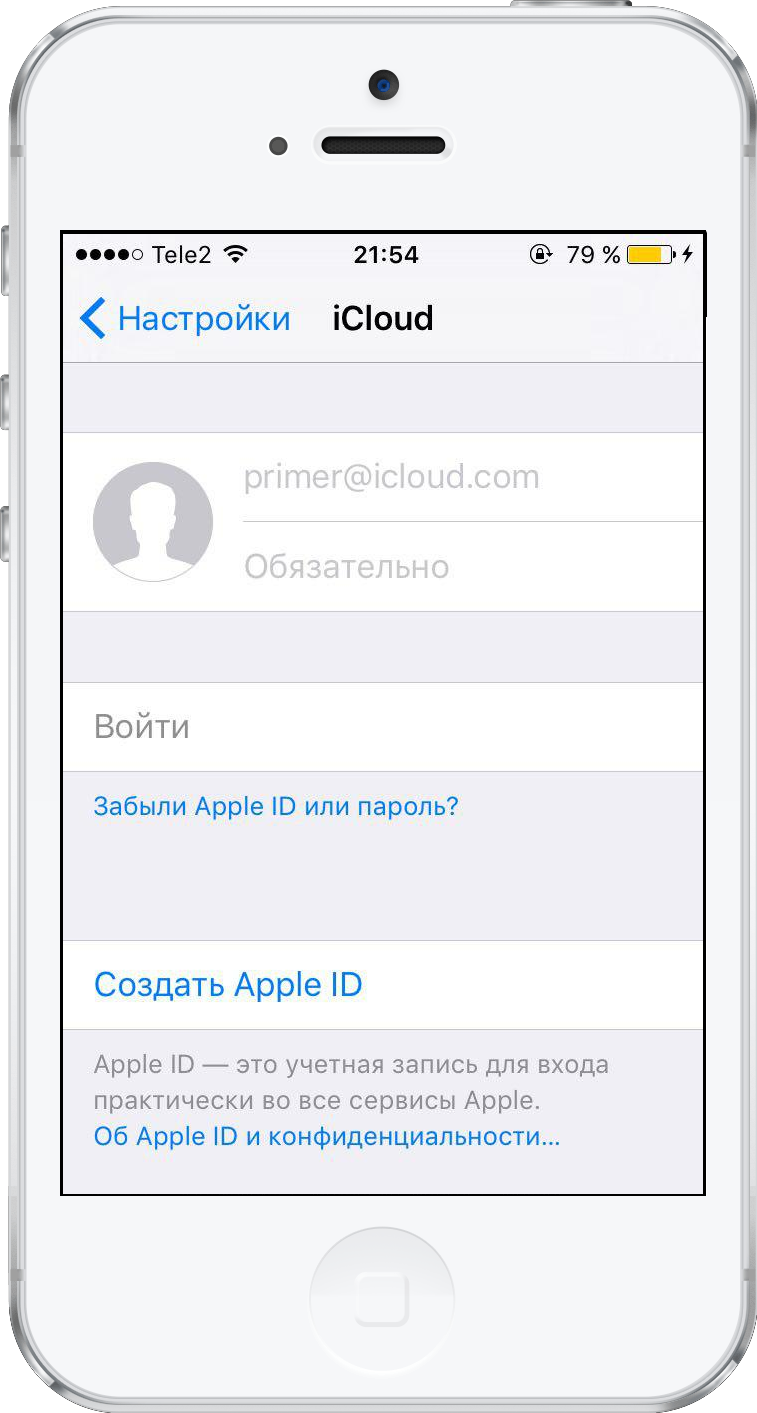

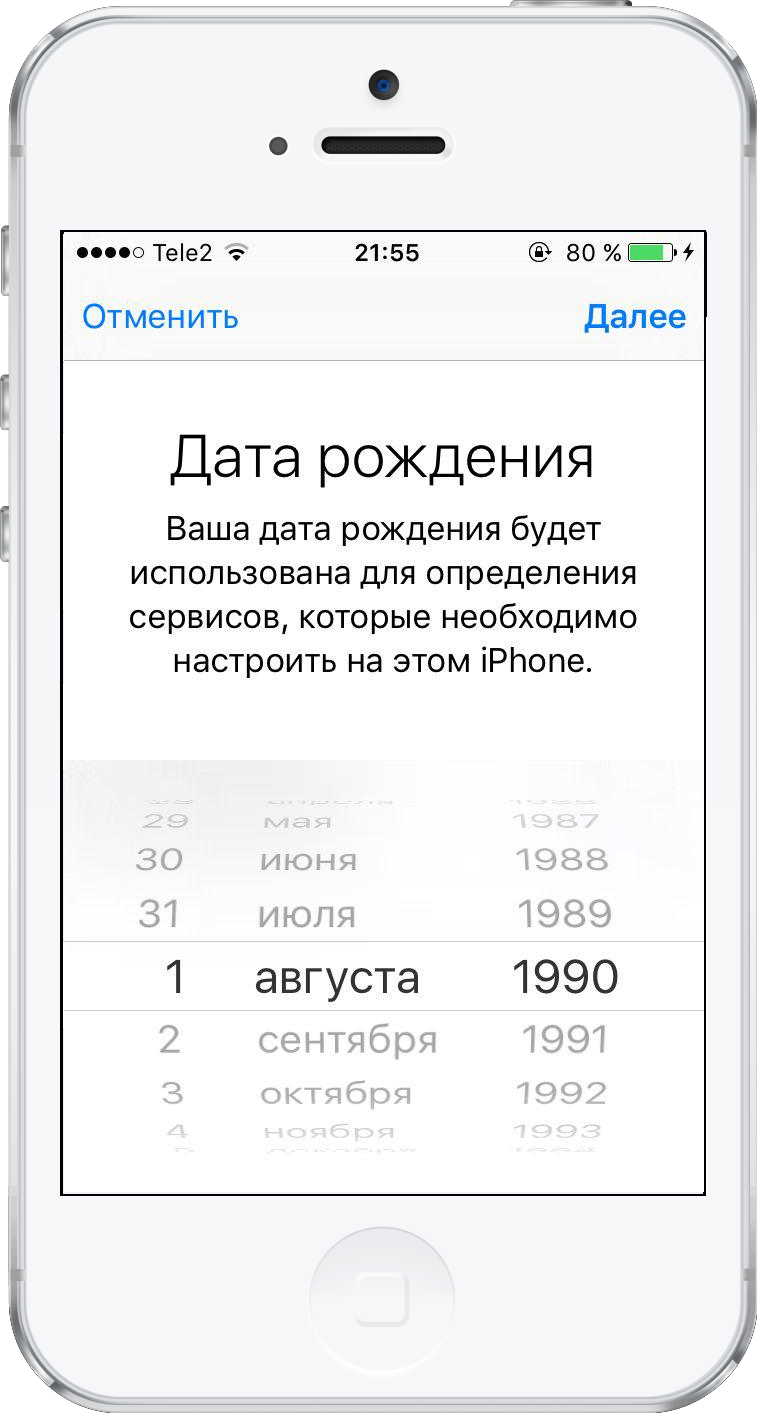
Step3:Scroll to the date of birth, and then click Next.

Step4:Enter the first and last name in the corresponding box. Click "Next."


Step 5:In the email field you canuse your e-mail or create free iCloud mail. In this manual, we suggest creating an Apple ID using an existing e-mail, so click "Use current e-mail".
Important!If you want to use your iCloud email address as your Apple ID, select “Set an email on iCloud” and then follow the on-screen instructions.
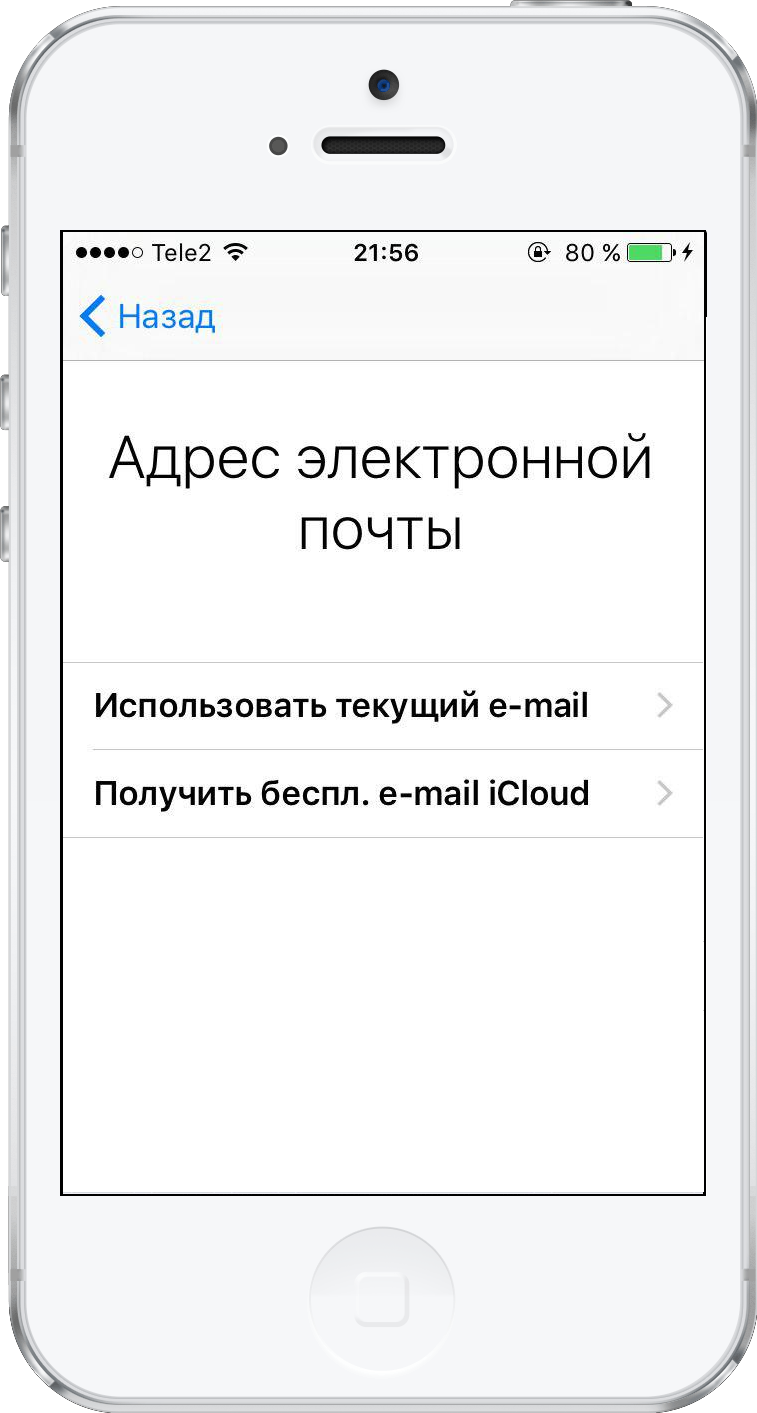

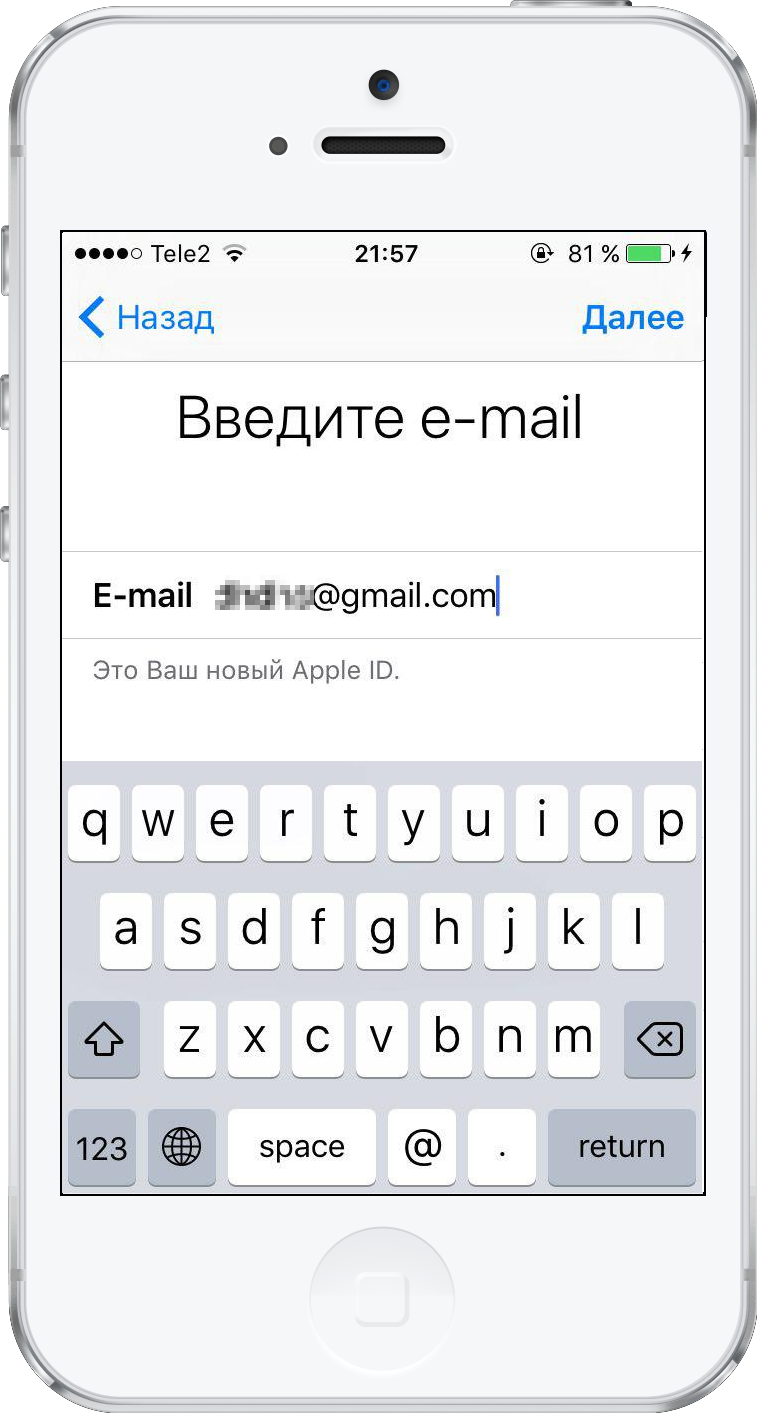
Step6:In the input field, enter the email address you want to use as your Apple ID. Click "Next."

Step7:Set and confirm the password for the new Apple ID. Click Next again.


Step 8:A security page appears, where you need to select three security questions. Click on the first question to open the selection menu.
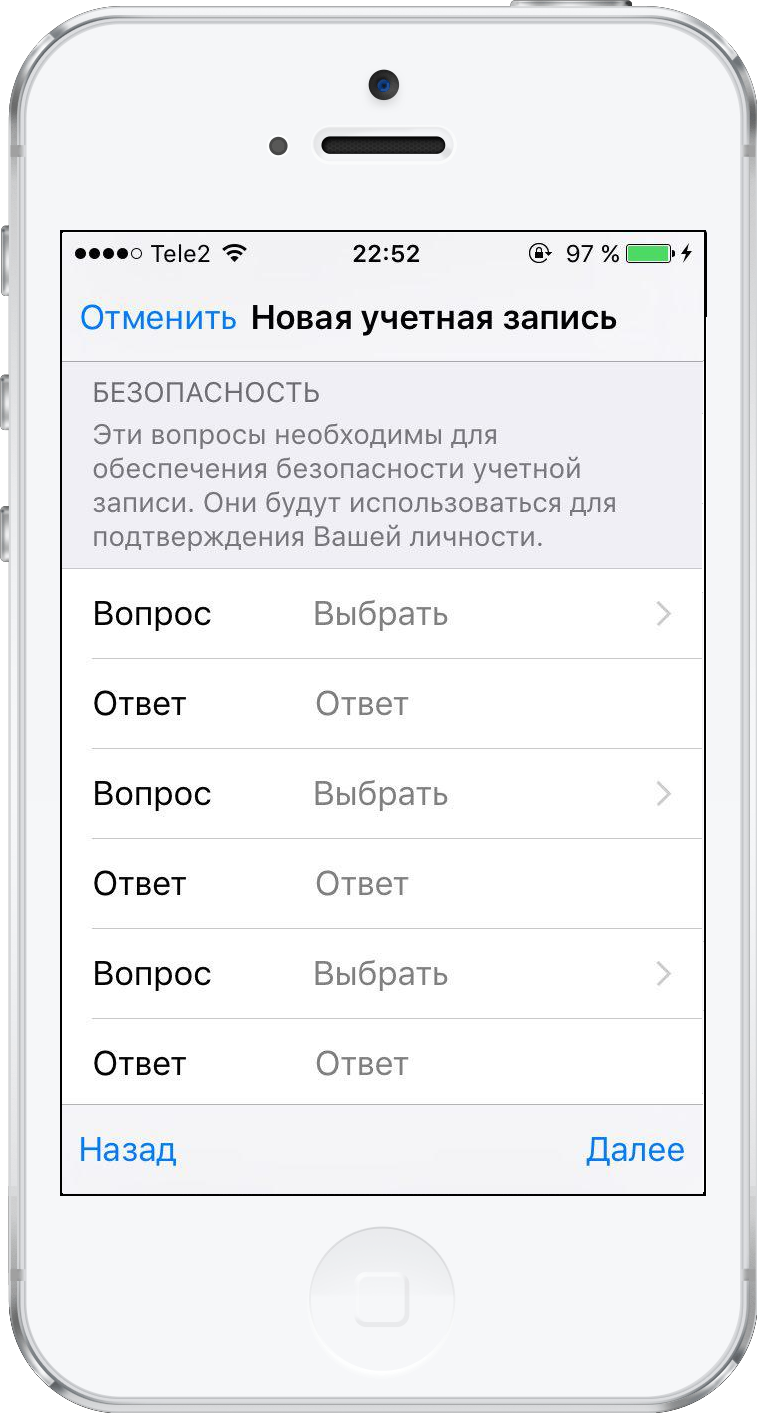

Step 9:In the dialog that appears, select your favorite question.
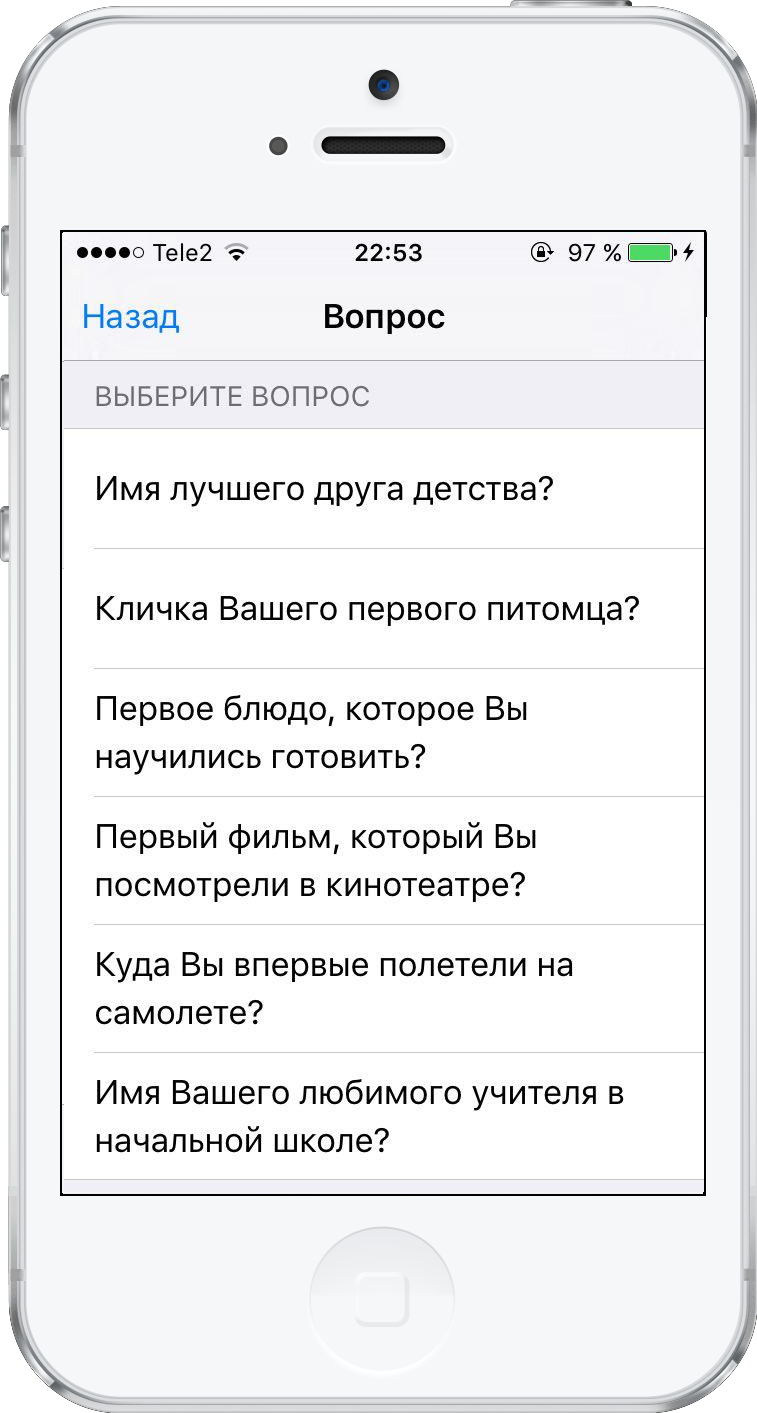

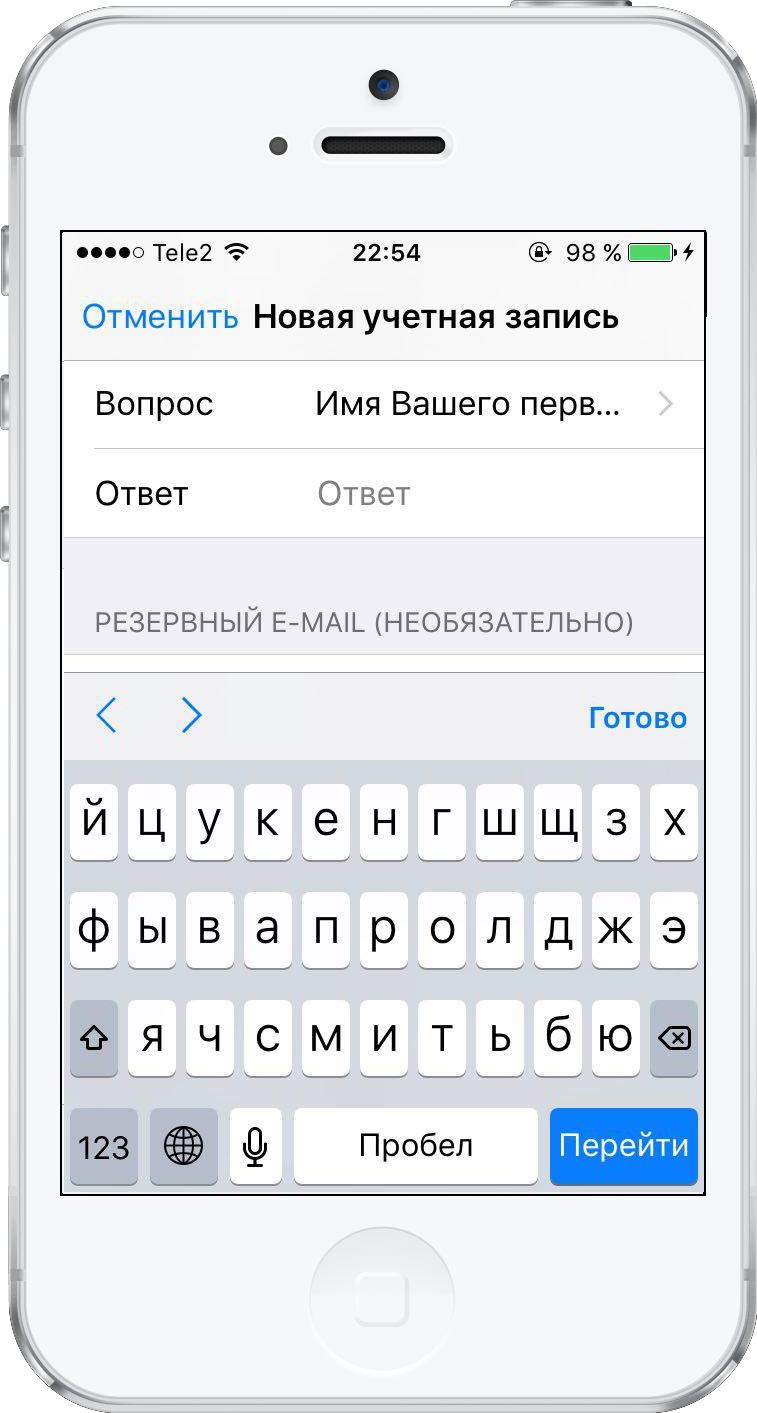
Step 10:You will be automatically redirected to the security page. Click on the empty answer field for the selected question to start typing the answer.
Repeat steps 8-10 for the remaining two questions.

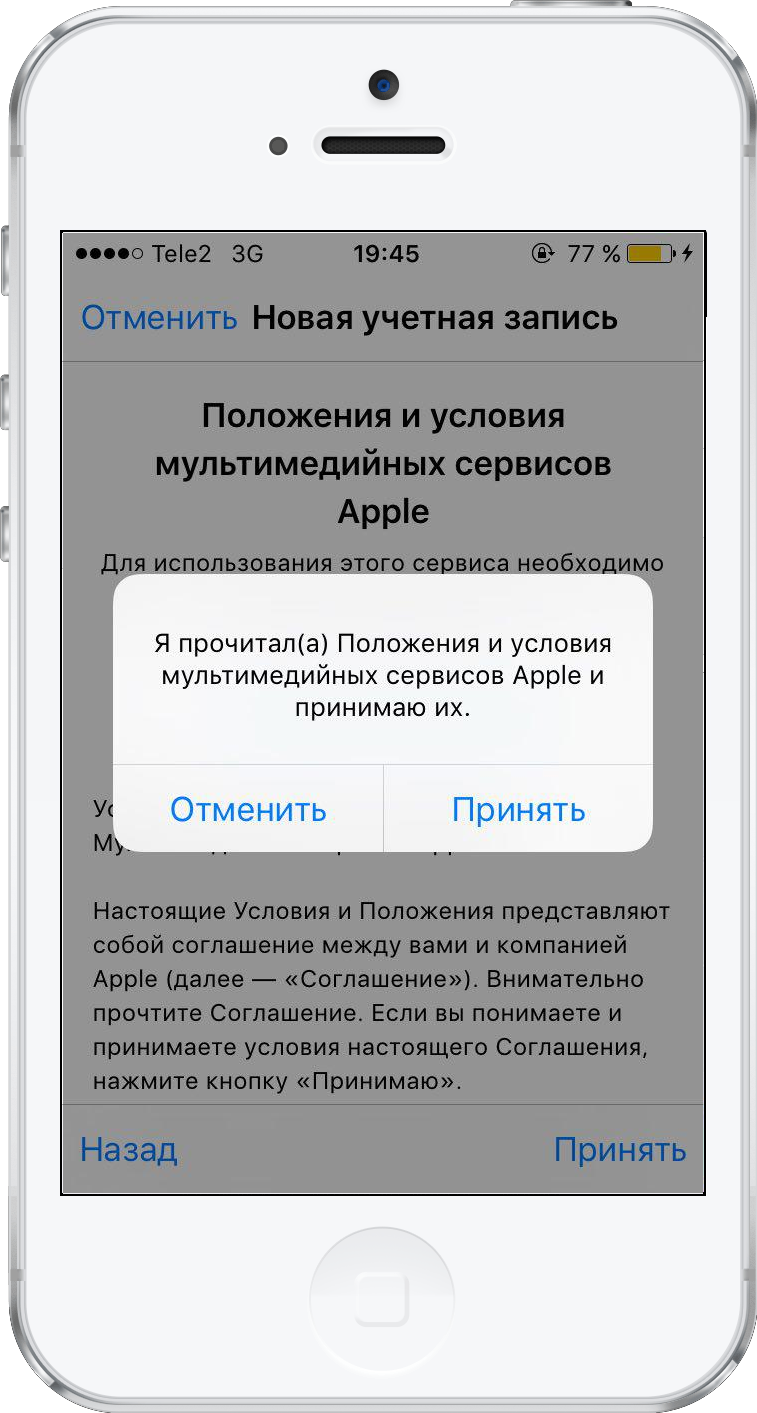
Step 11:After selecting three security questions, you will need to agree to the “Terms and Conditions” by clicking “Accept”.
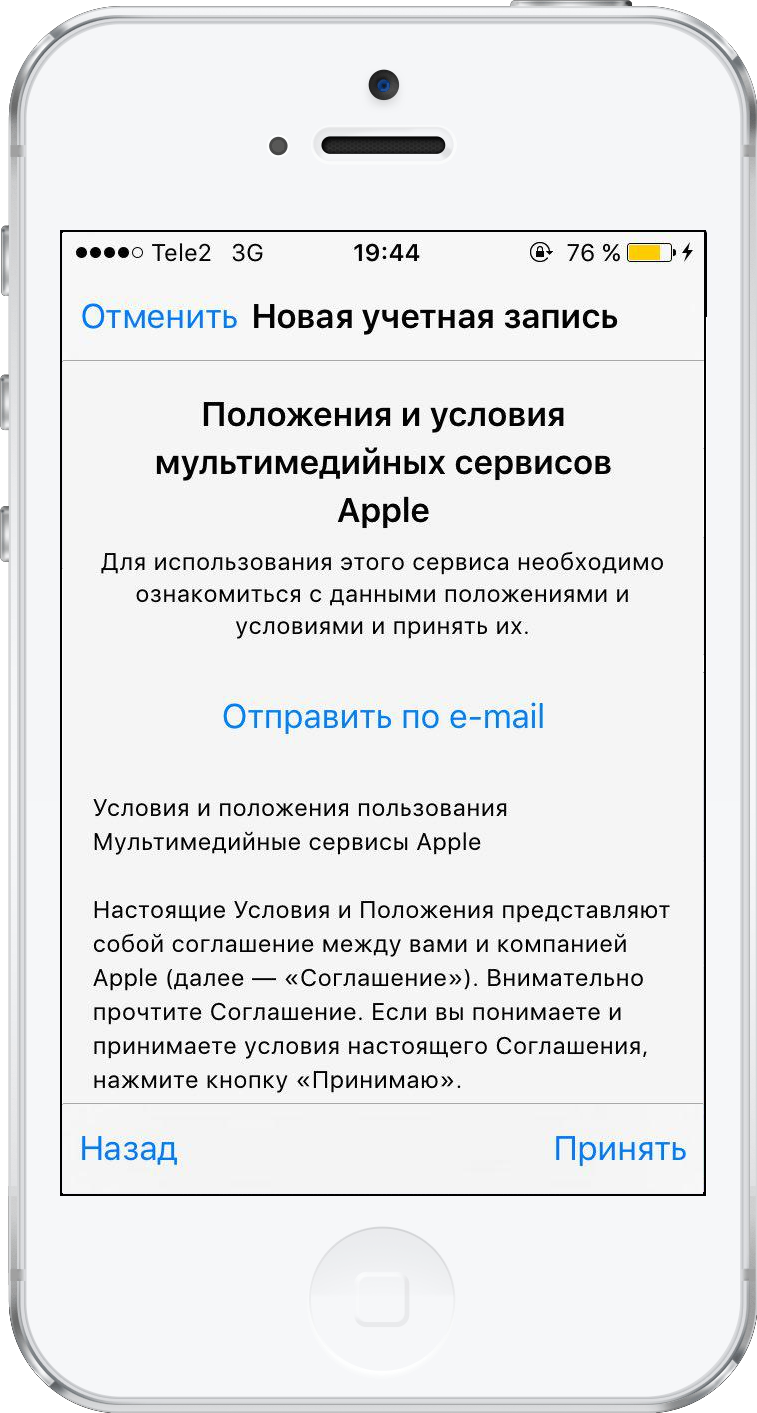

Step 12:Click Accept again when another agreement appears on the screen.

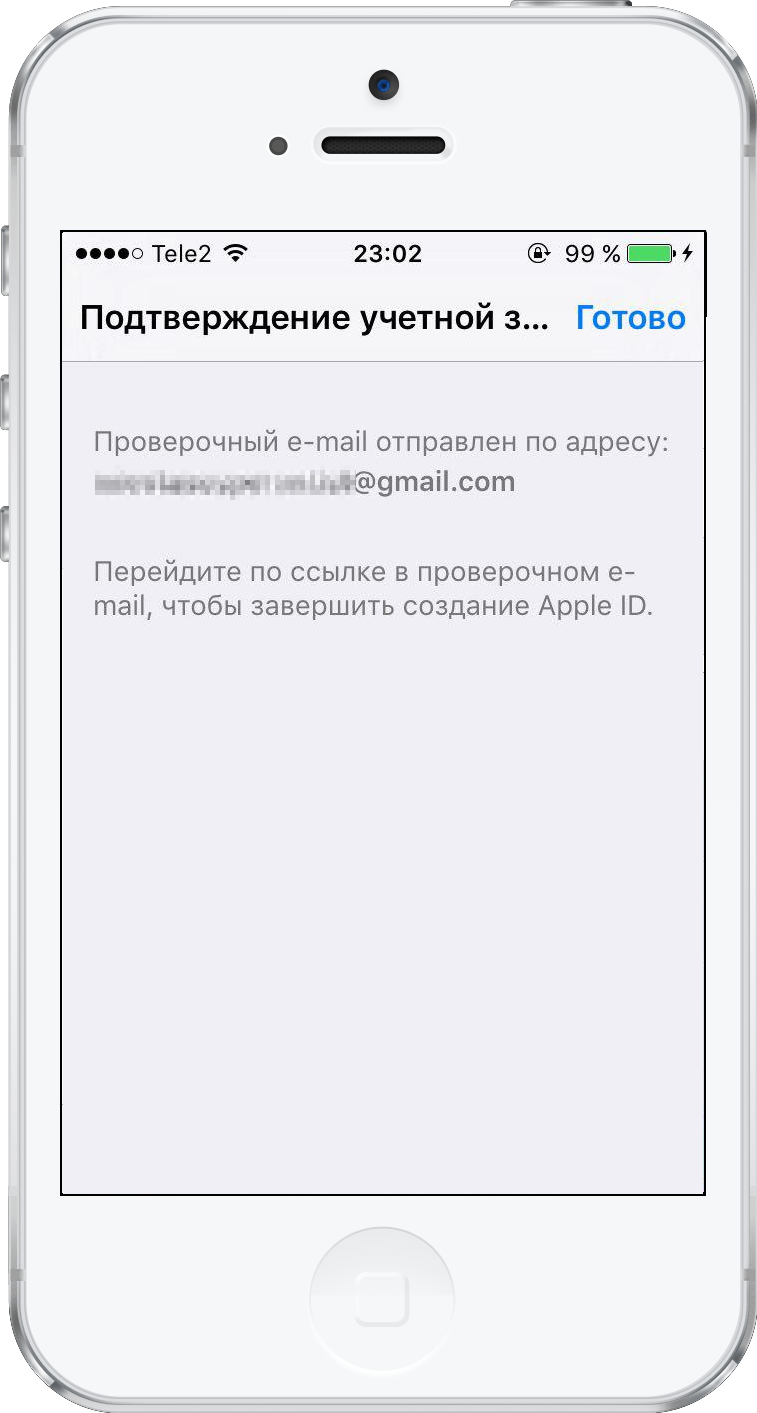
Step 13:A verification message will appear on the device screen.

Advertising
Advertising
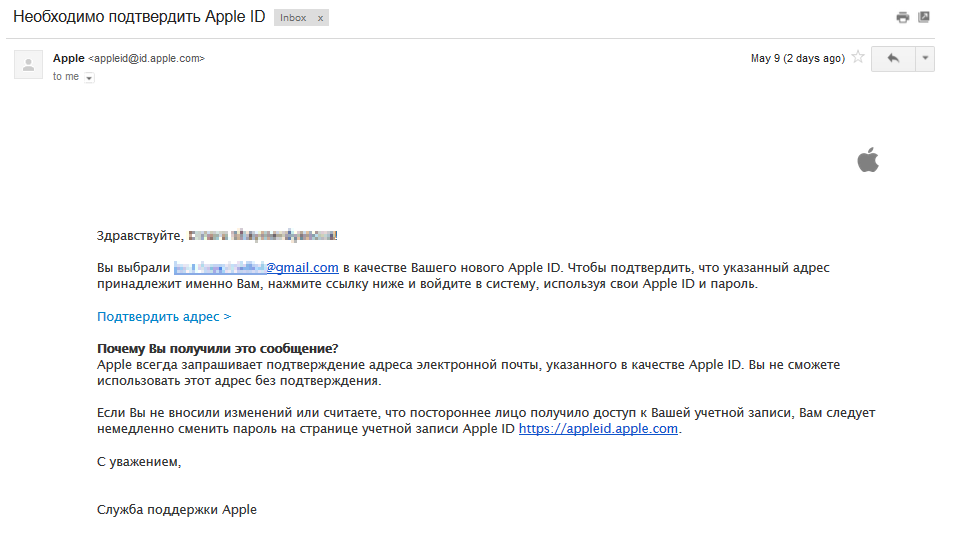
Step14:Now you need to confirm the entered e-mail. Check your email and click on the link to confirm the address.

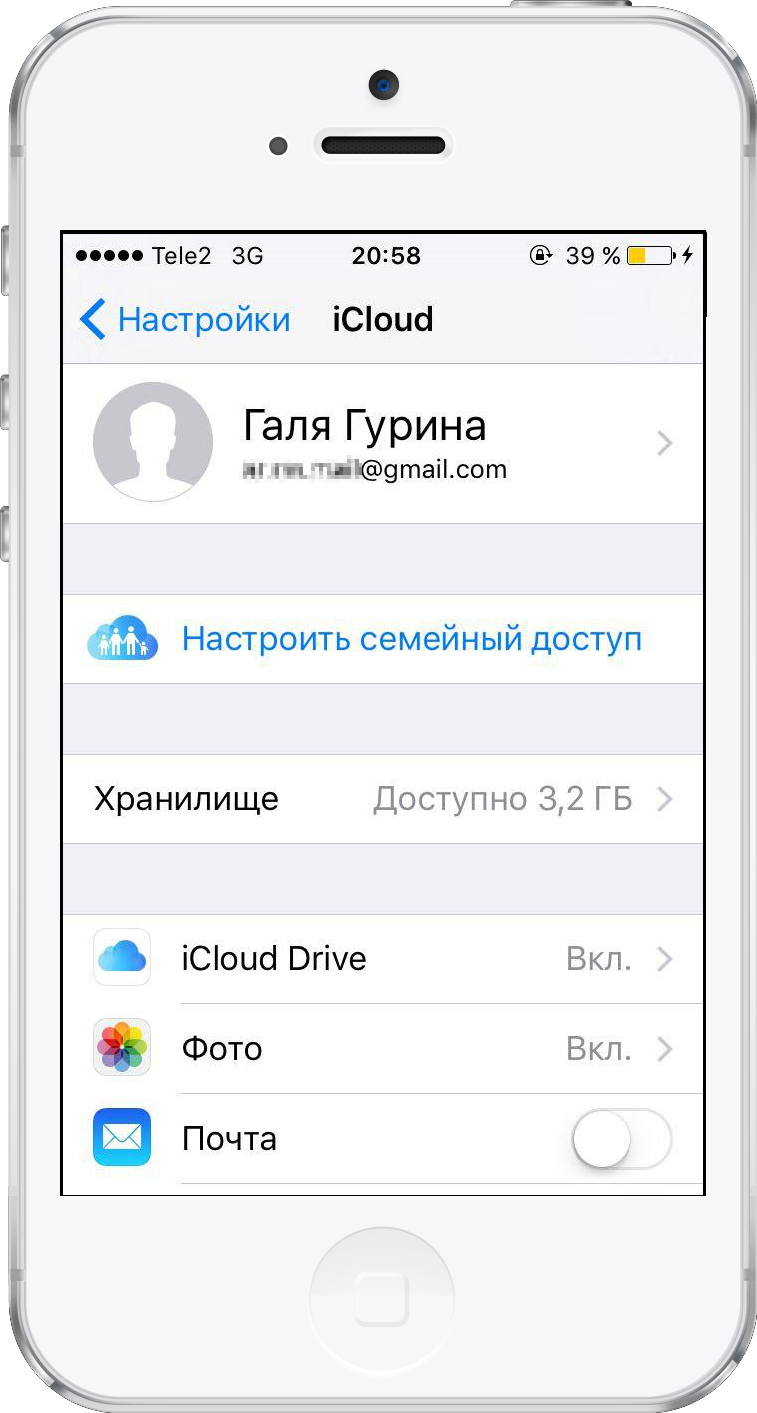
Step15:After confirming the e-mail, you will be automatically authorized on the device using the new Apple ID.

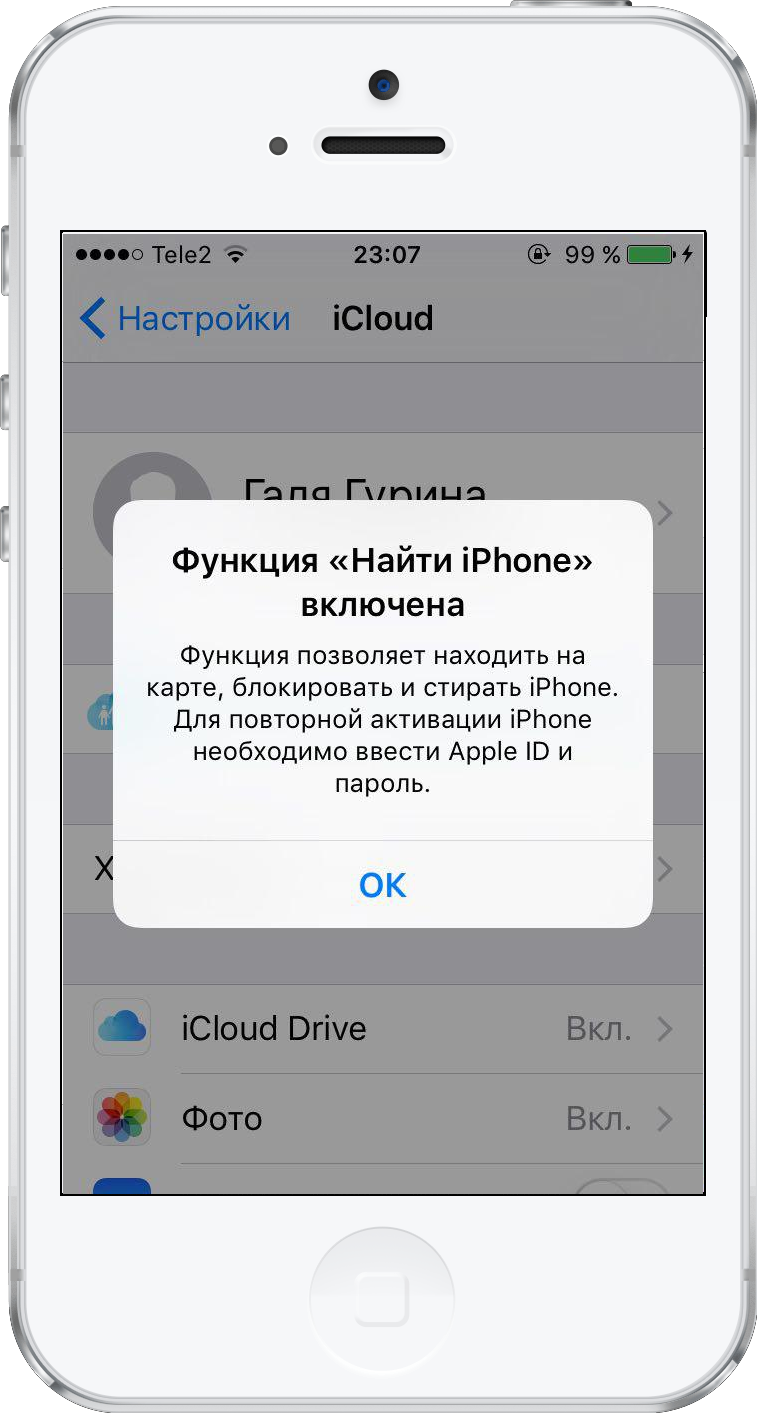
Step 16:The Find iPhone / iPad feature will automatically become active. Click OK.

How to create an Apple ID from a computer for an iPhone
You can also create a new Apple ID via a computer in a browser by clicking “Create Apple ID” on the Apple ID website (https://appleid.apple.com/).
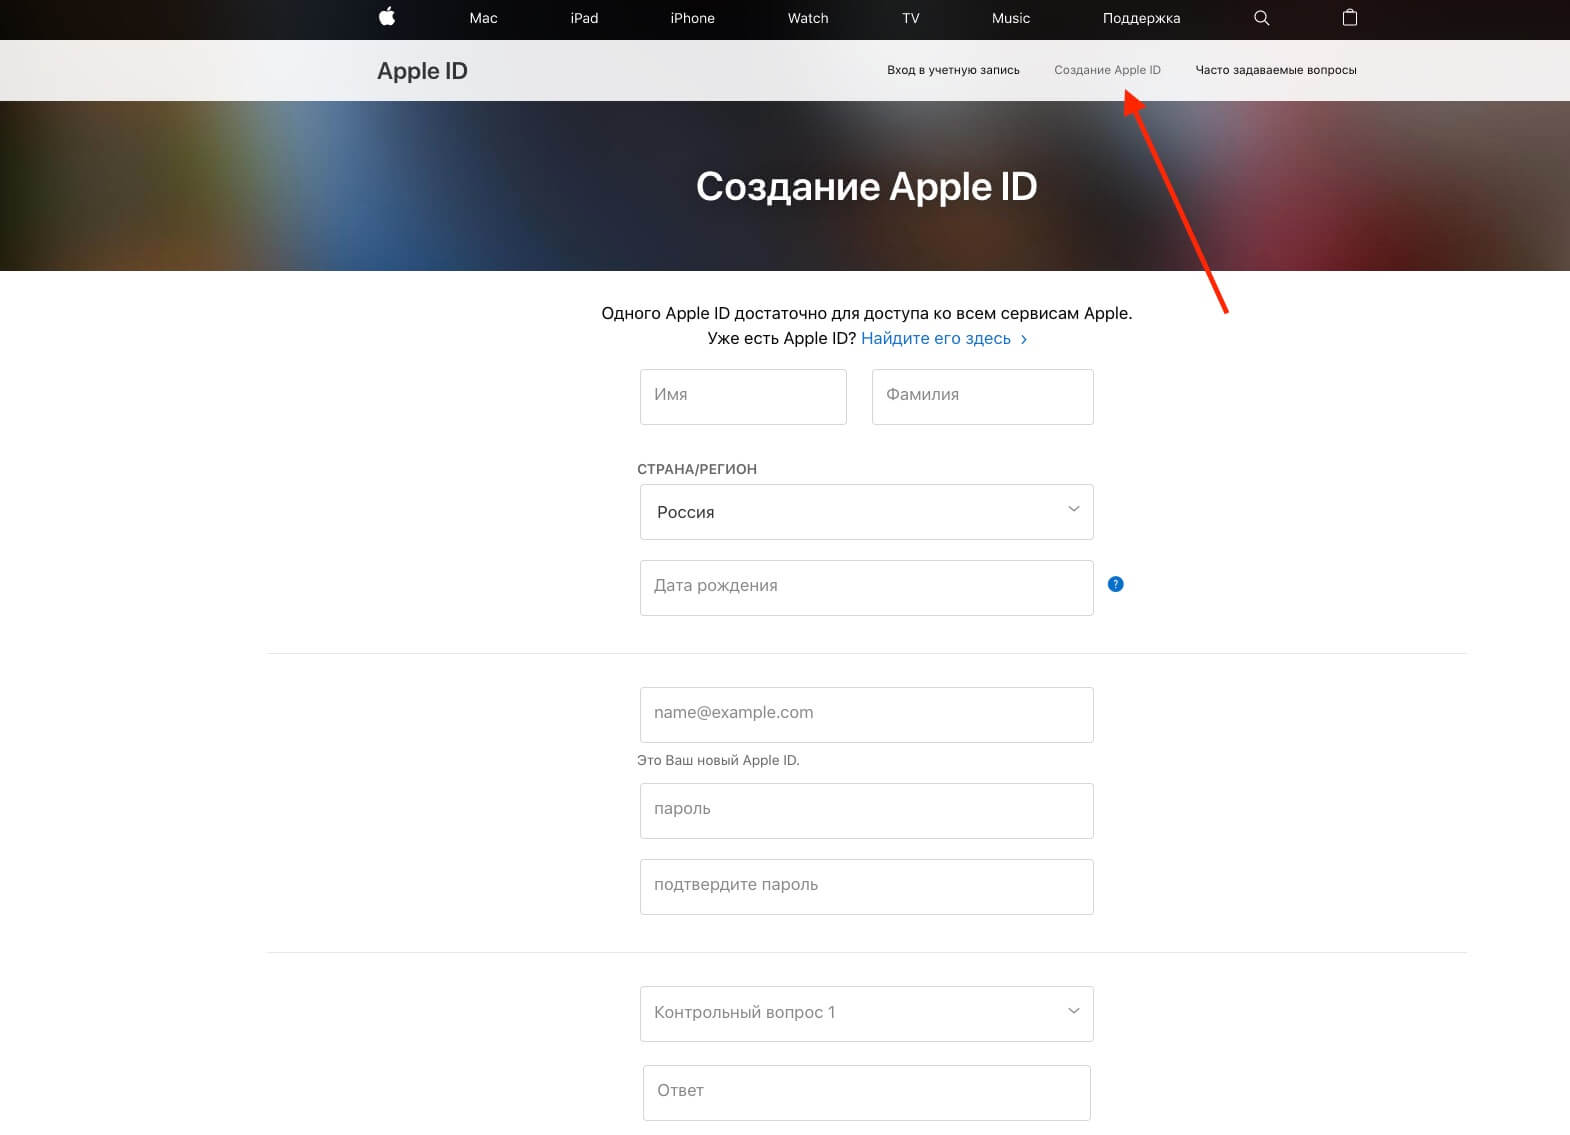

However, in this case, Apple will ask you to entercustom email to create an iCloud address. If you create a new identifier through the Apple ID site, the original address will remain tied to your Apple ID.
Therefore, if you want to use only an email address as an Apple IDiCloudwithout linking other email addresses, then toWhen entering your e-mail, select “Create an e-mail on iCloud.” Then the only email associated with your Apple ID will be your iCloud email address.
How to create an Apple ID without map binding
You can create an Apple ID without tying a cash card to it. This is done through the App Store.
Step 1:Go to the App Store on your iPhone or computer.
Step 2:Find and select any free application or game, clickDownload.
Step 3:In the window that appears, selectCreate Apple ID.
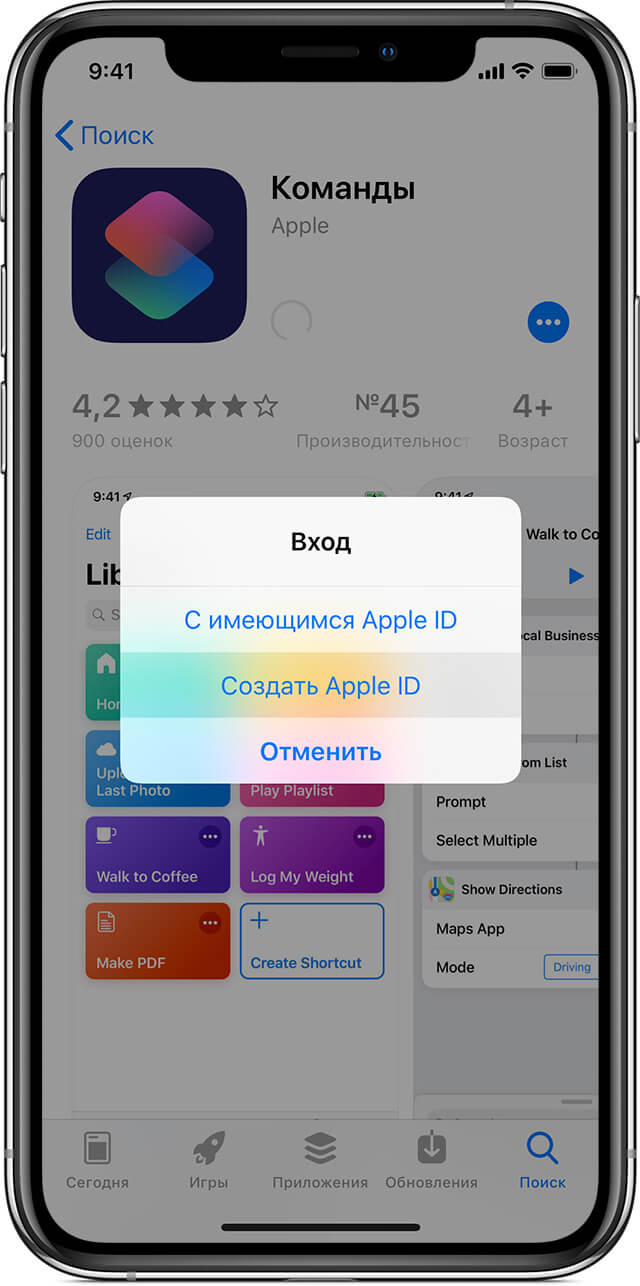

Step 4:Complete all required fields as indicated in the instructions above. At the stage of entering a payment method, you need to select an optionNot. Next, complete the account creation process.
Note:When creating an Apple ID through Settings, as in the methods above, there is “no” will not be. In order not to link a card, you need to use only this method.
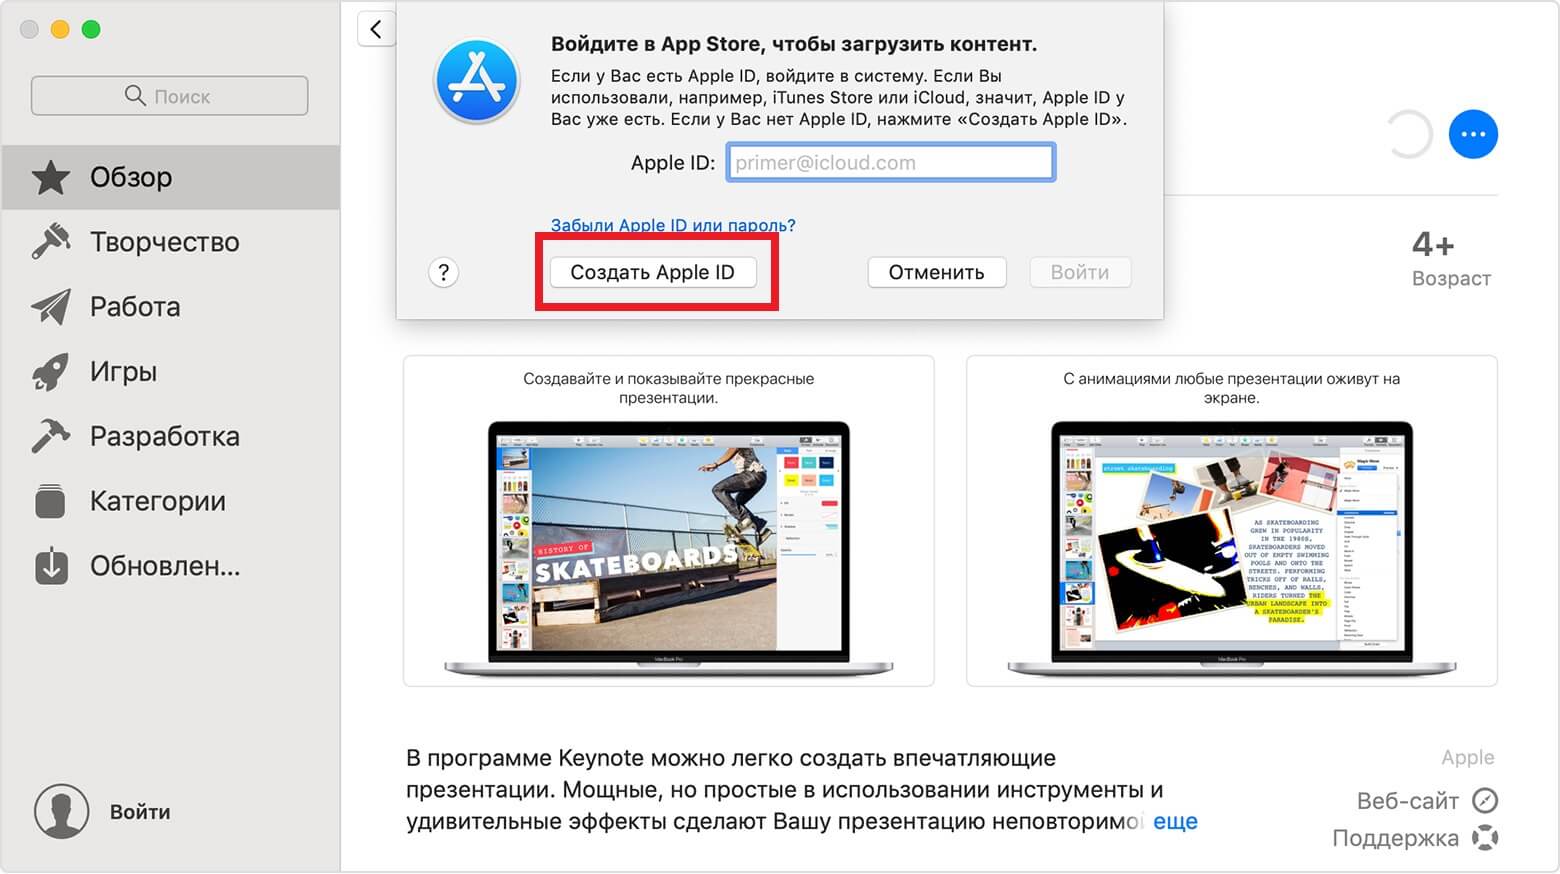
On a PC, the same can be done through iTunes. Find the free app, click “download”, and then select an optionCreate Apple ID.

Advertising
Advertising
Near the point “Payment method” choose your favoriteNot.
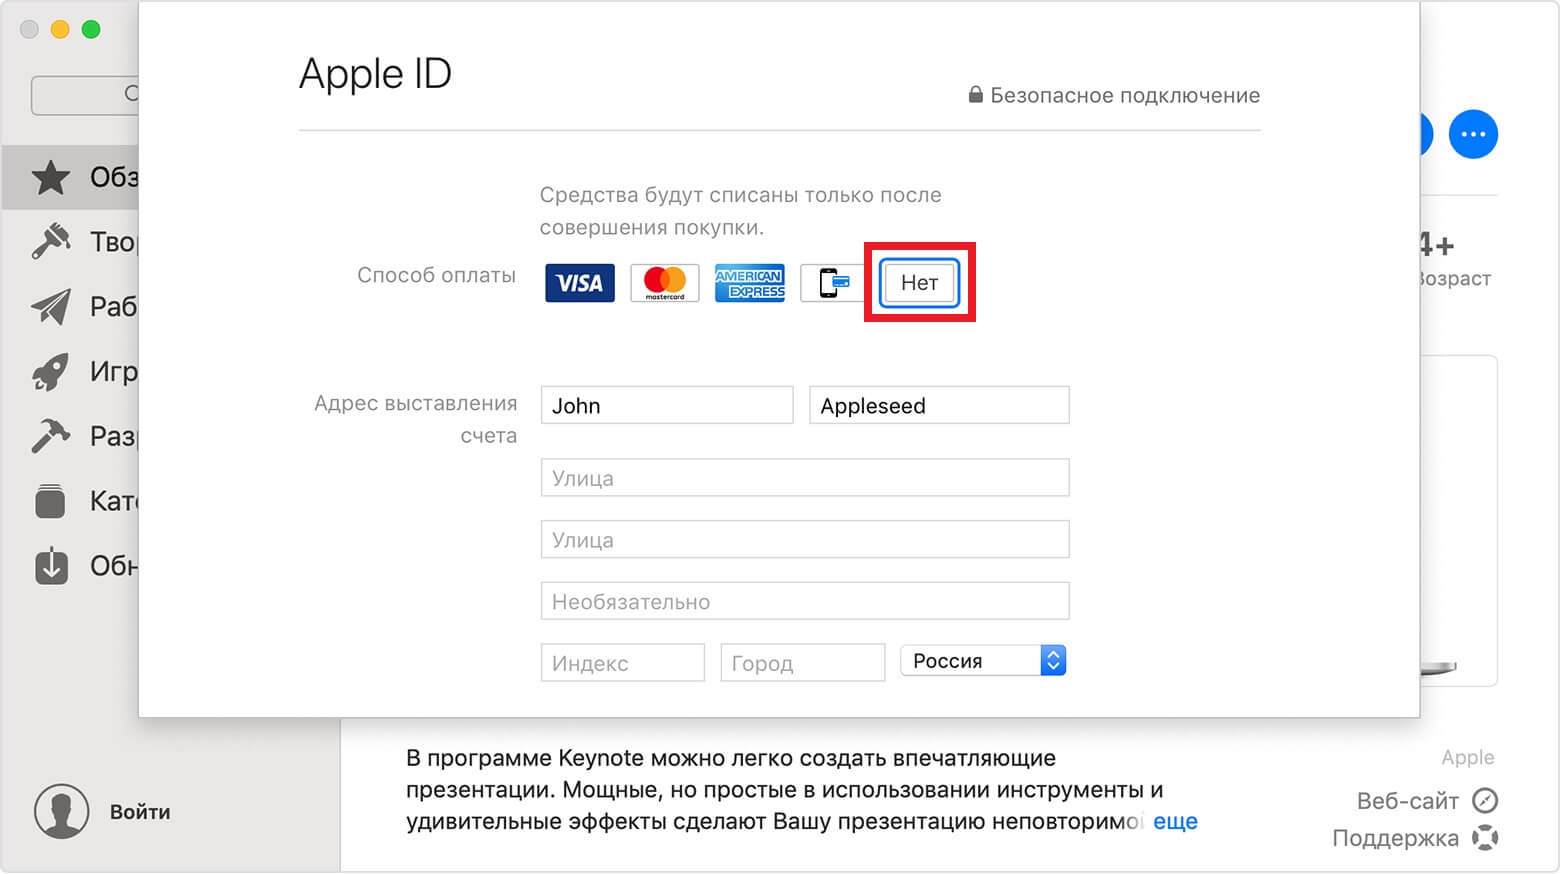

By creating such an Apple ID, you can safelyInstall any free games and applications from the App Store. However, no cash card can be used. The iTunes method works not only on a Mac, but also on a Windows PC.