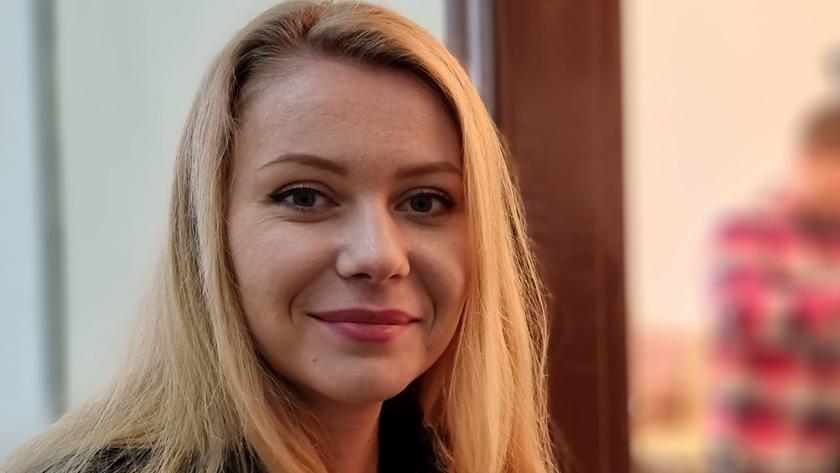
Regular readersggprobably remember the three shooting modes in Samsung cameras in 2020, which impressed
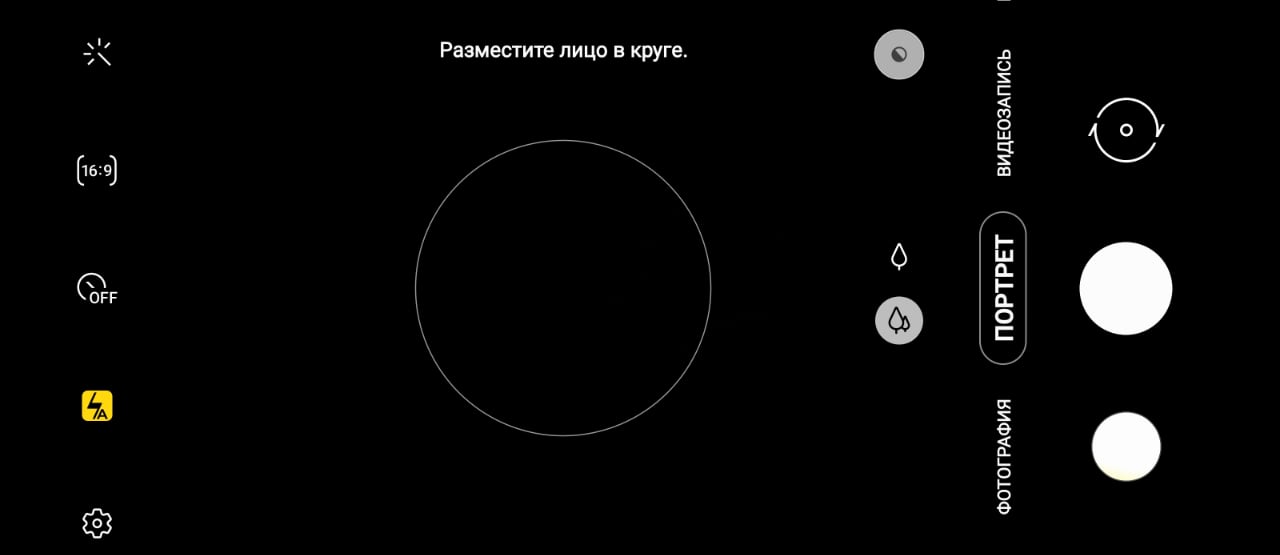
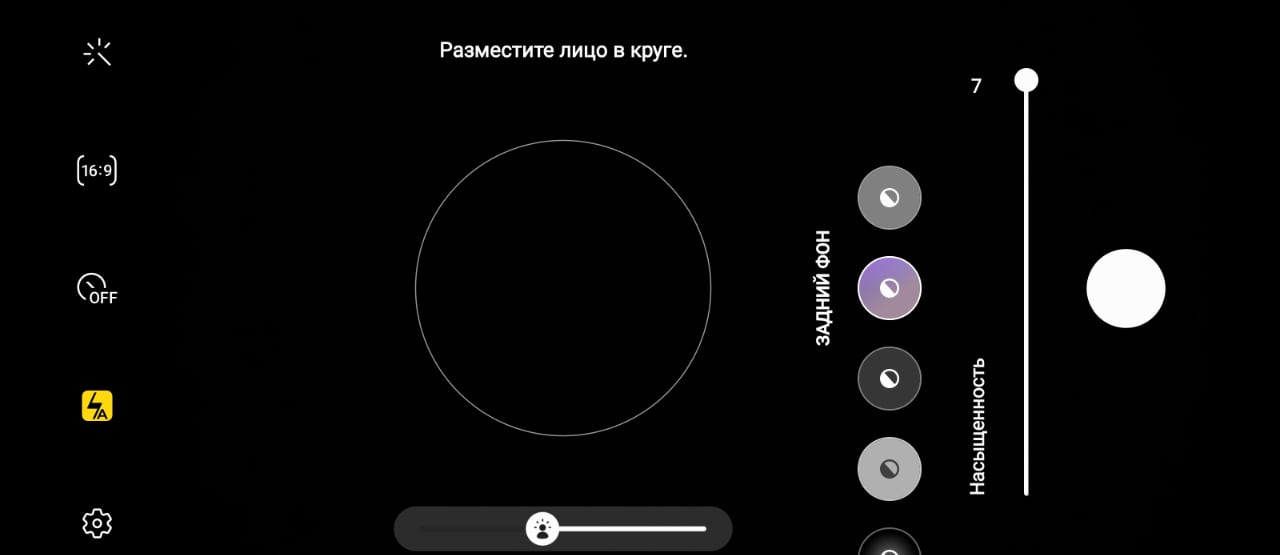
When this mode is selected in the center of the viewfindera circle appears and the words “Place your face in the circle” appear. To take pictures, you can use the main wide-angle camera module or a telephoto lens with 3x zoom. There are no other zoom options. If you click on the button in the upper right corner of the viewfinder working area, a list will open with options for filters used when shooting - you can select them in advance (and roughly estimate what the result will be, but you can also add them after shooting). The vertical slider with numbers from 1 to 7 controls saturation (the activity of the blur algorithms), the horizontal slider at the bottom controls the brightness in the shadows (“studio” light).
</ img>
</ img>


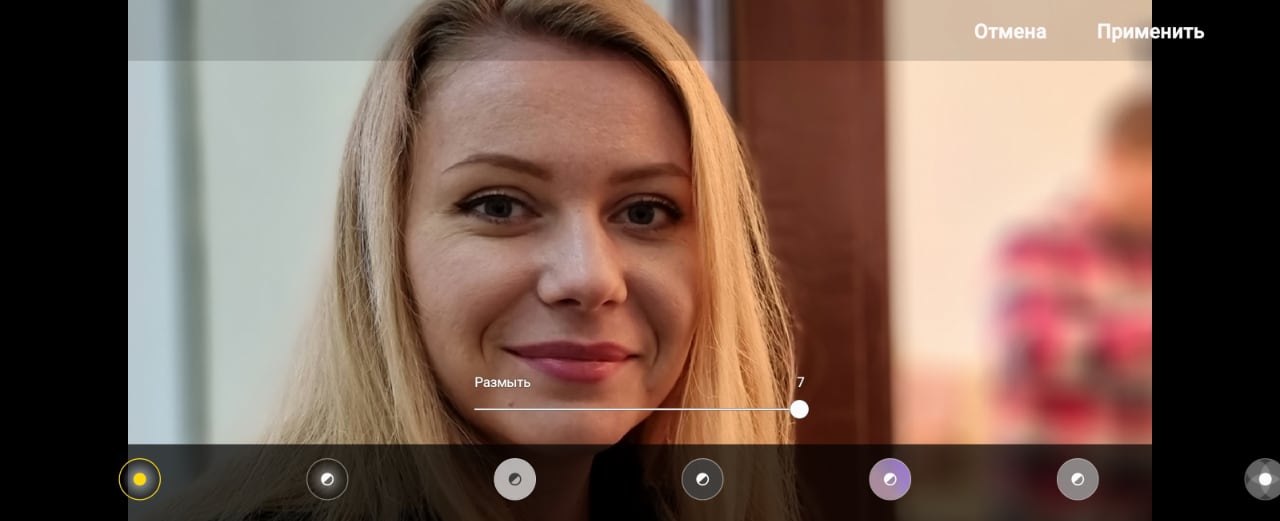
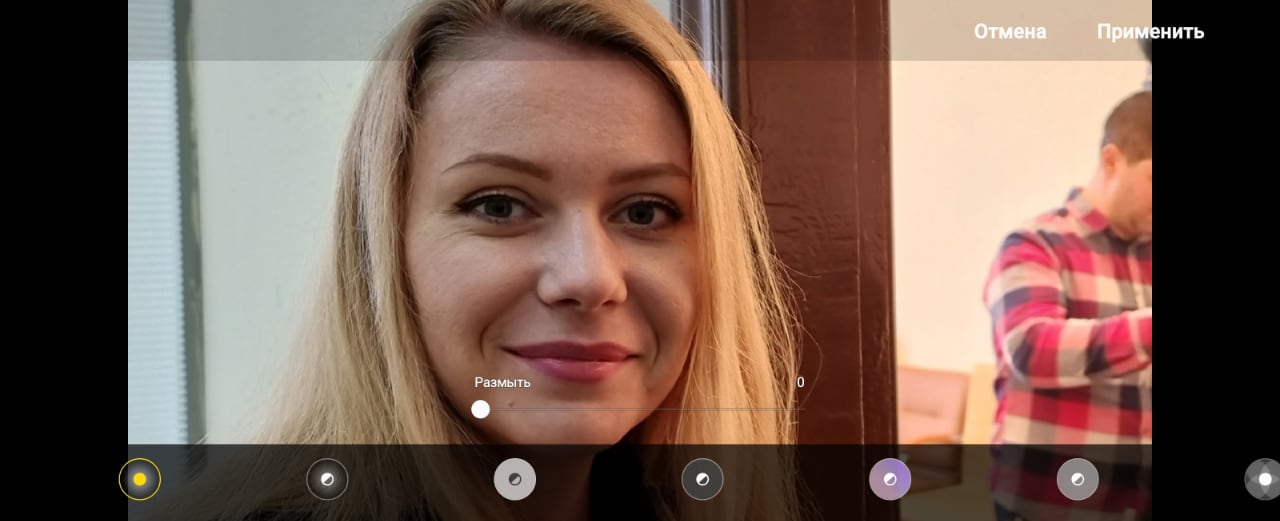
1. Blur
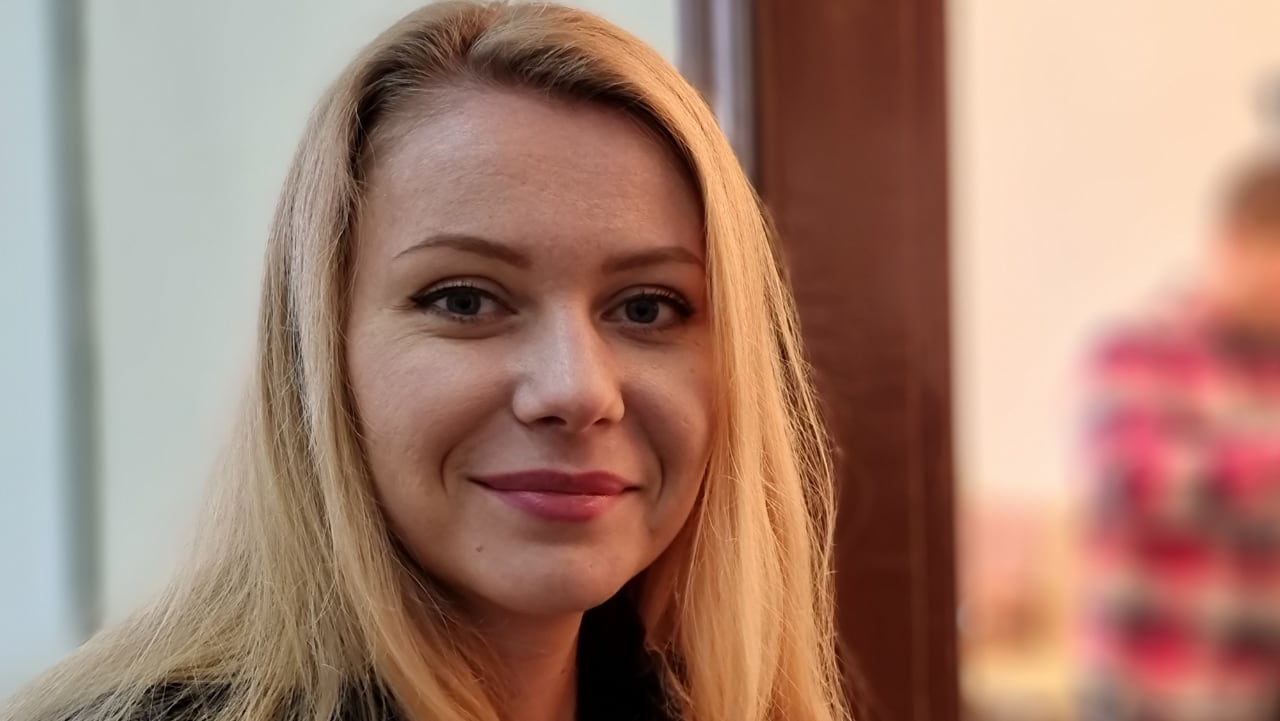
Here and then the first screenshot of the gallery shows the best, in my opinion, version of the filter, followed by other variations and the last one - a version of the filter with minimal blur.
</ img>
</ img>


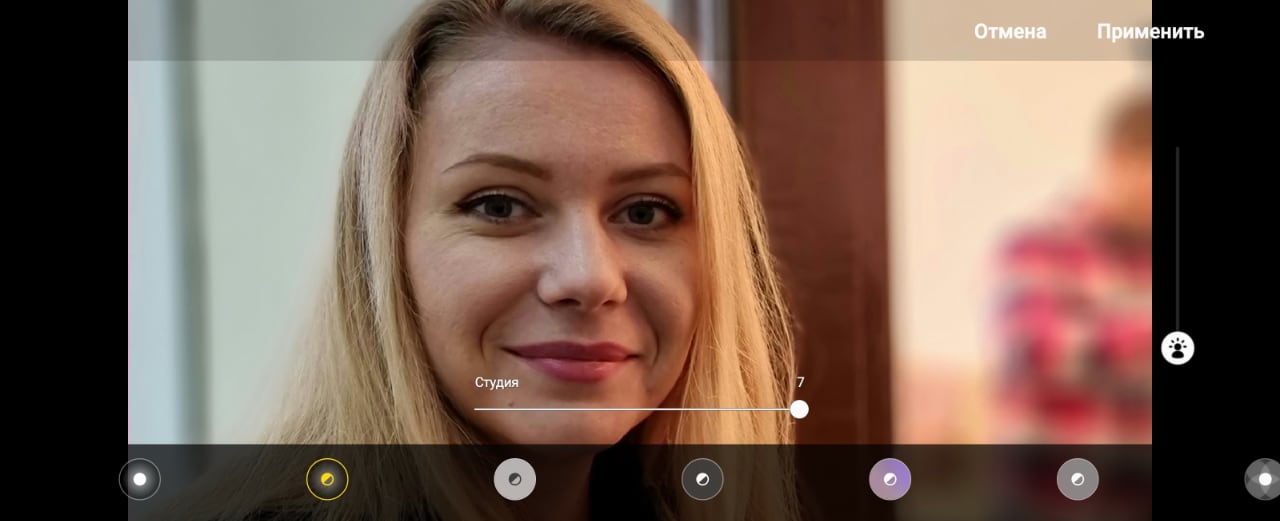
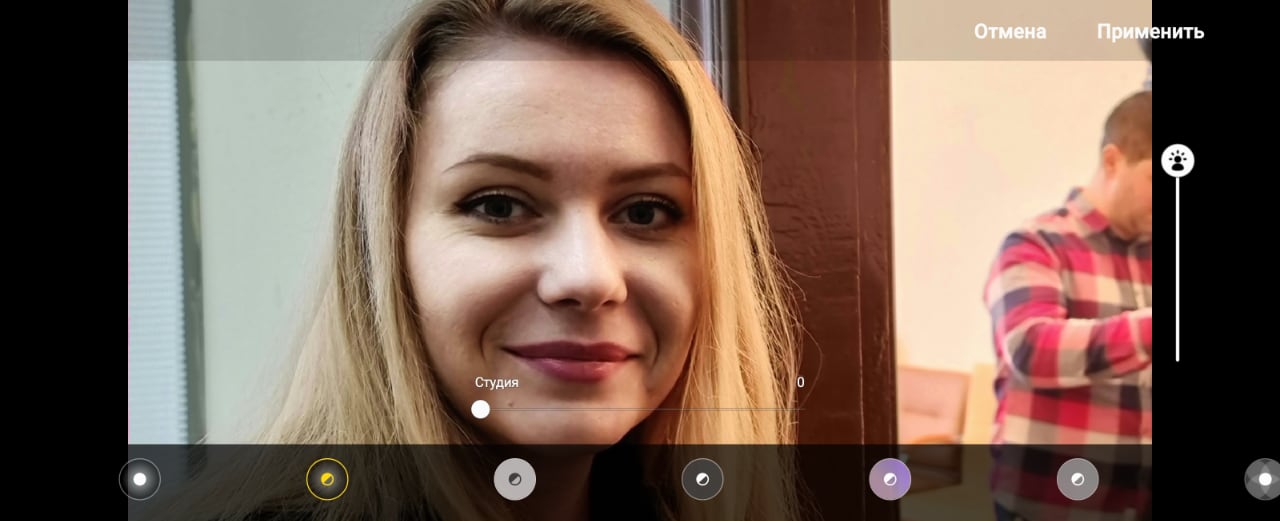
2. Studio
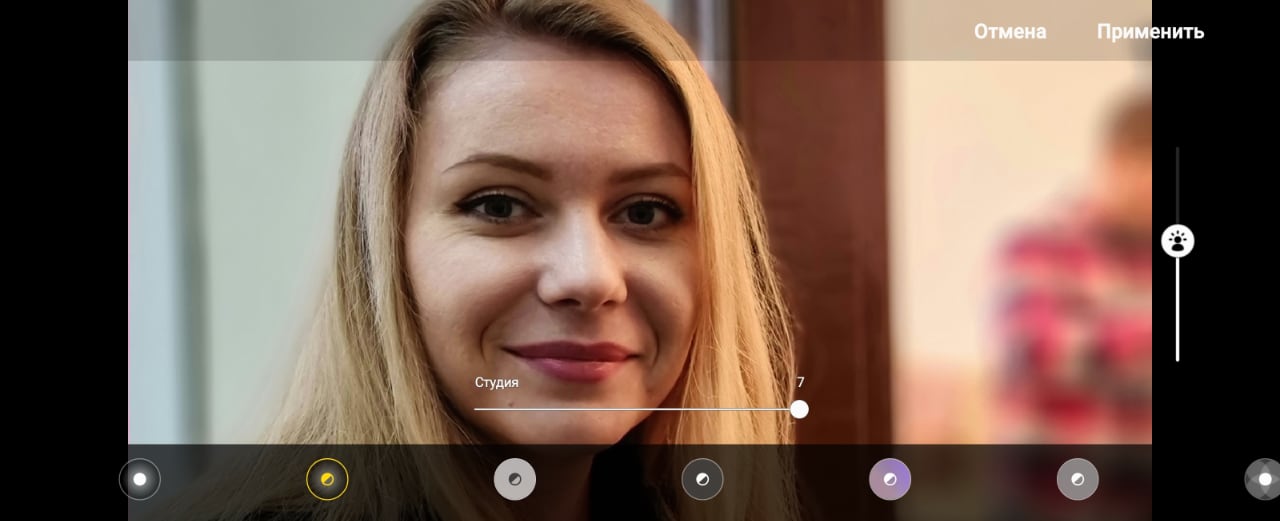
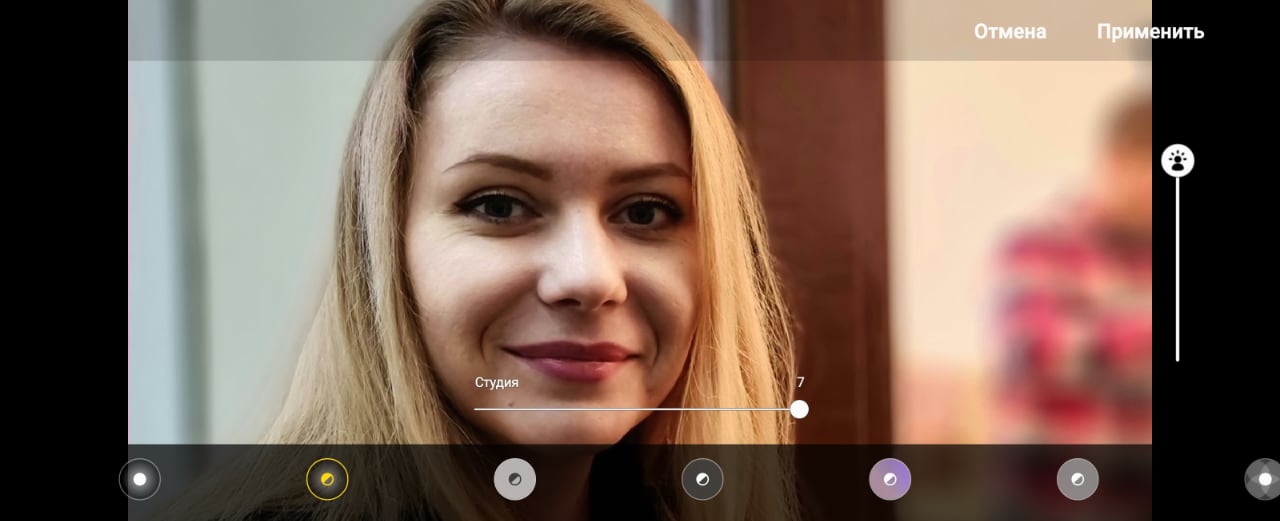
This processing mode is probably the most interesting.for artistic portraits, because they will greatly change the perception of the picture depending on the brightness of the lighting. In general, this is a very "sticky" process in practice, so that amateurs of photography (and lovers of taking pictures) can spend a lot of time choosing the best options. In this gallery there are 3 options for how lighting works: minimum, medium and maximum. But in fact, there are also intermediate ones, which, if you count all the possible options for processing a picture, makes hundreds of options for presenting the same photo.
</ img>
</ img>
</ img>
</ img>




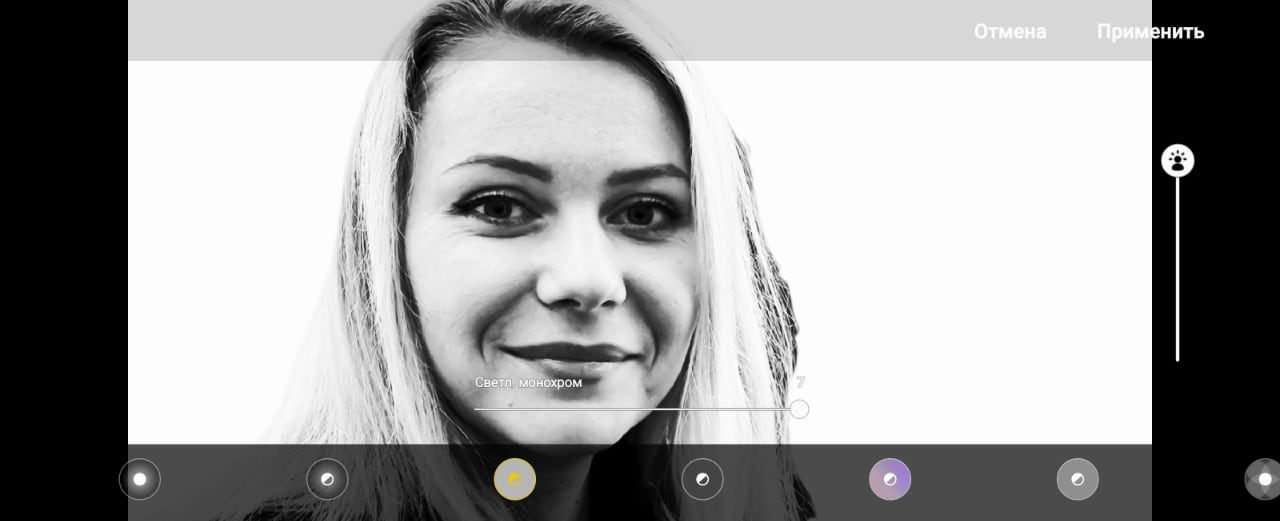
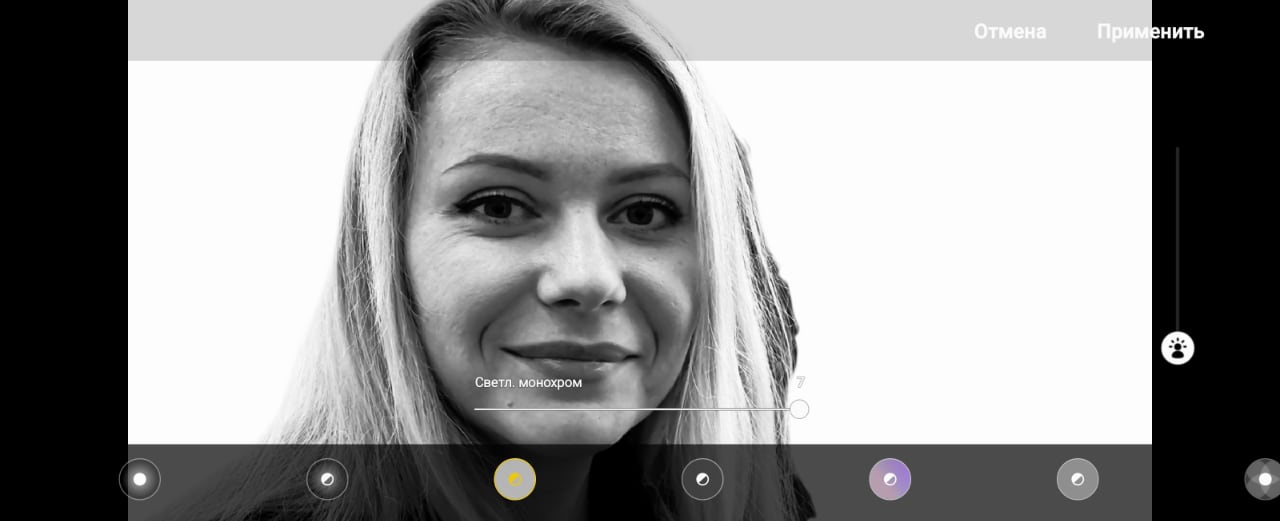
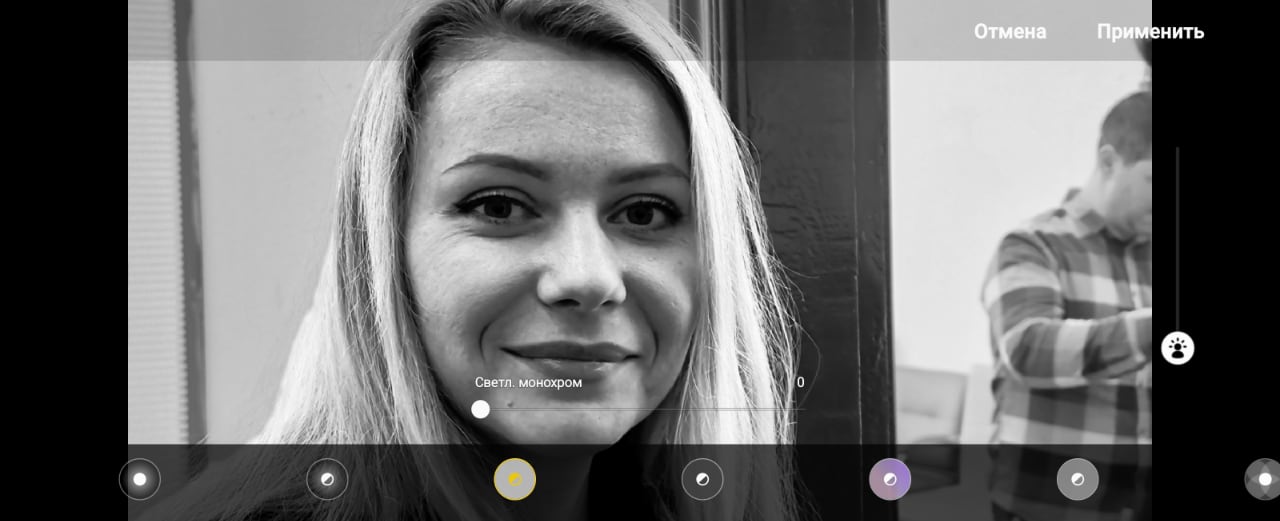
3. Light monochrome
I remember a similar technique in portrait photography.is called "High Key" and consists in shifting the key to the light part to achieve an artistic effect. You can fill the entire background with light, making it completely white.
</ img>
</ img>
</ img>



4. Dark monochrome
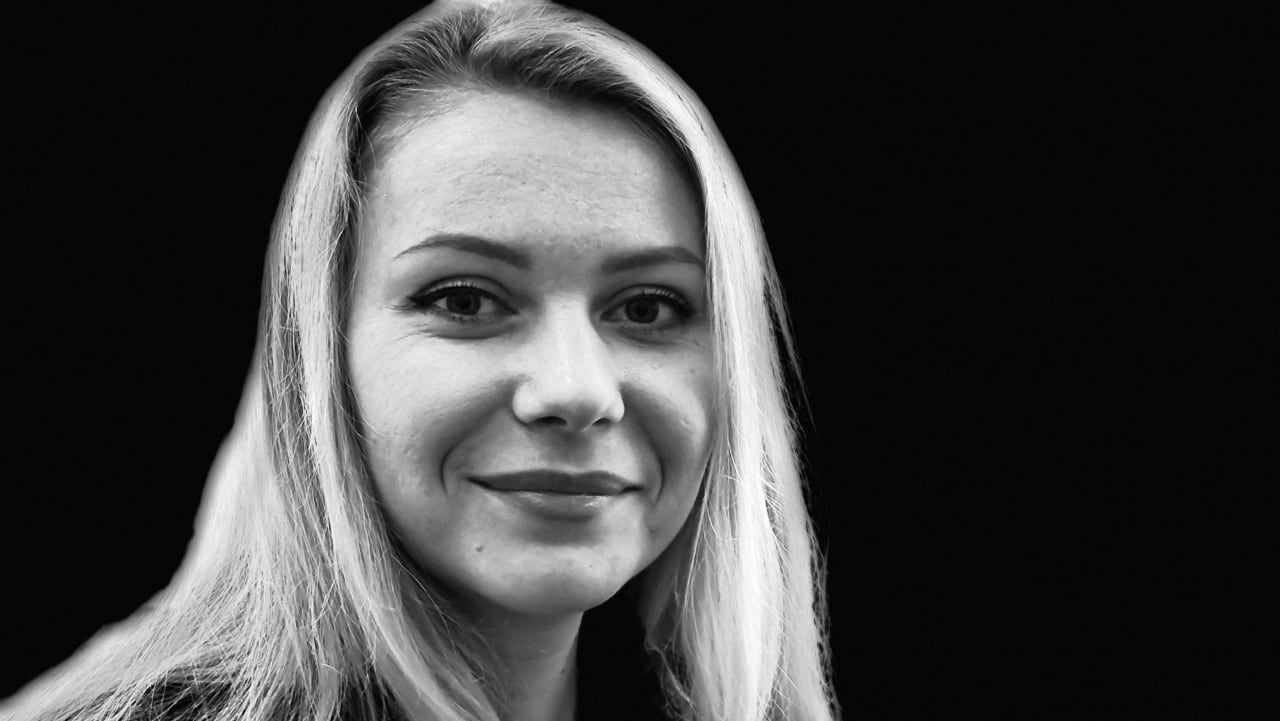
The reverse process to light monochrome - the result, on the contrary, is with a black background, and the tonality is shifted to the dark part.
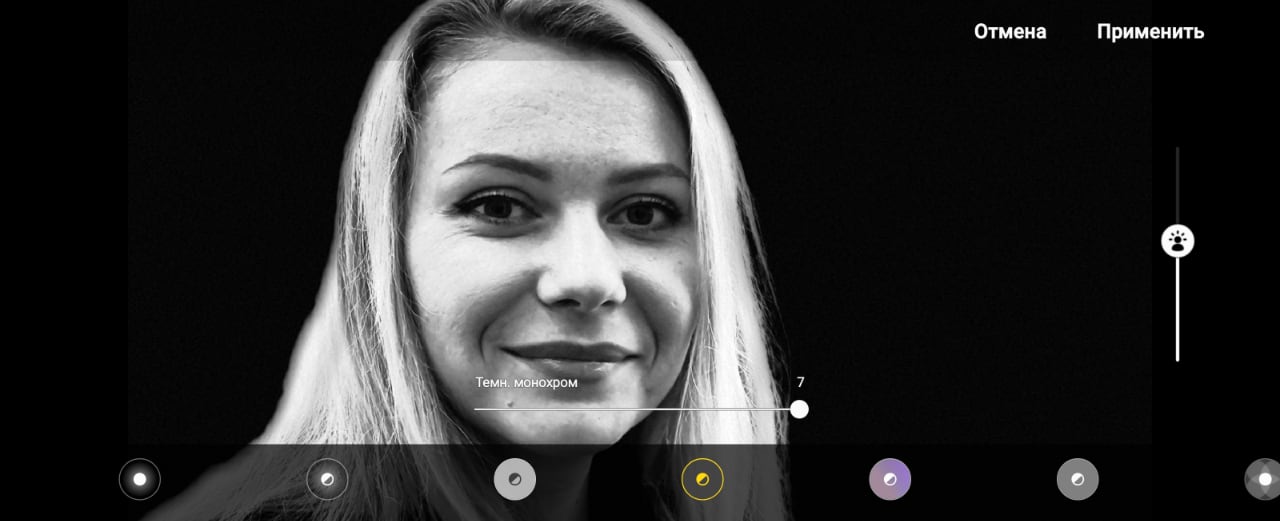
</ img>
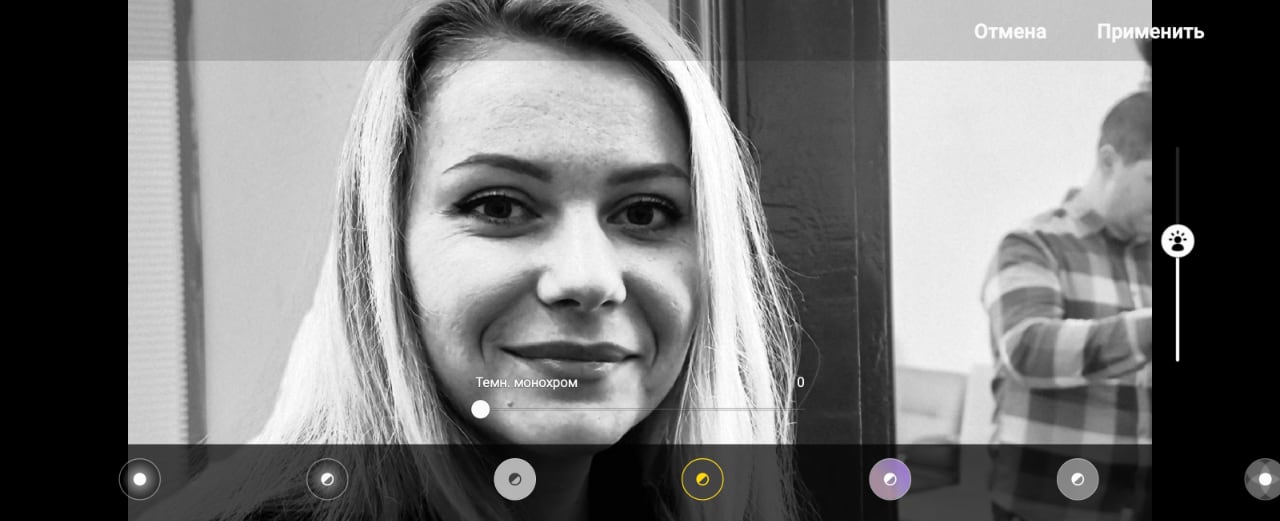
</ img>

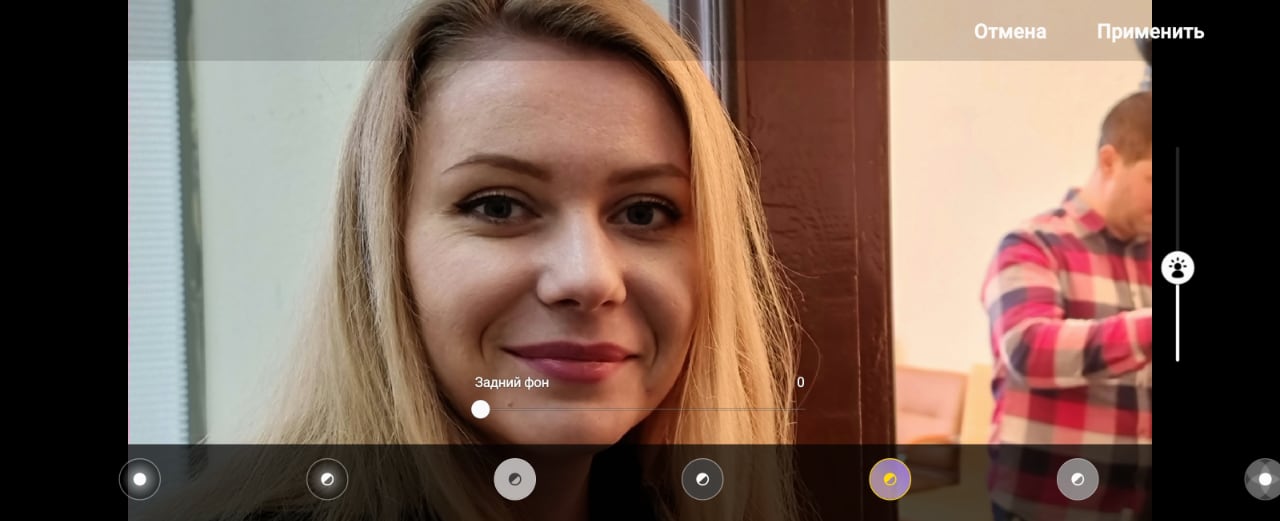
5. Background
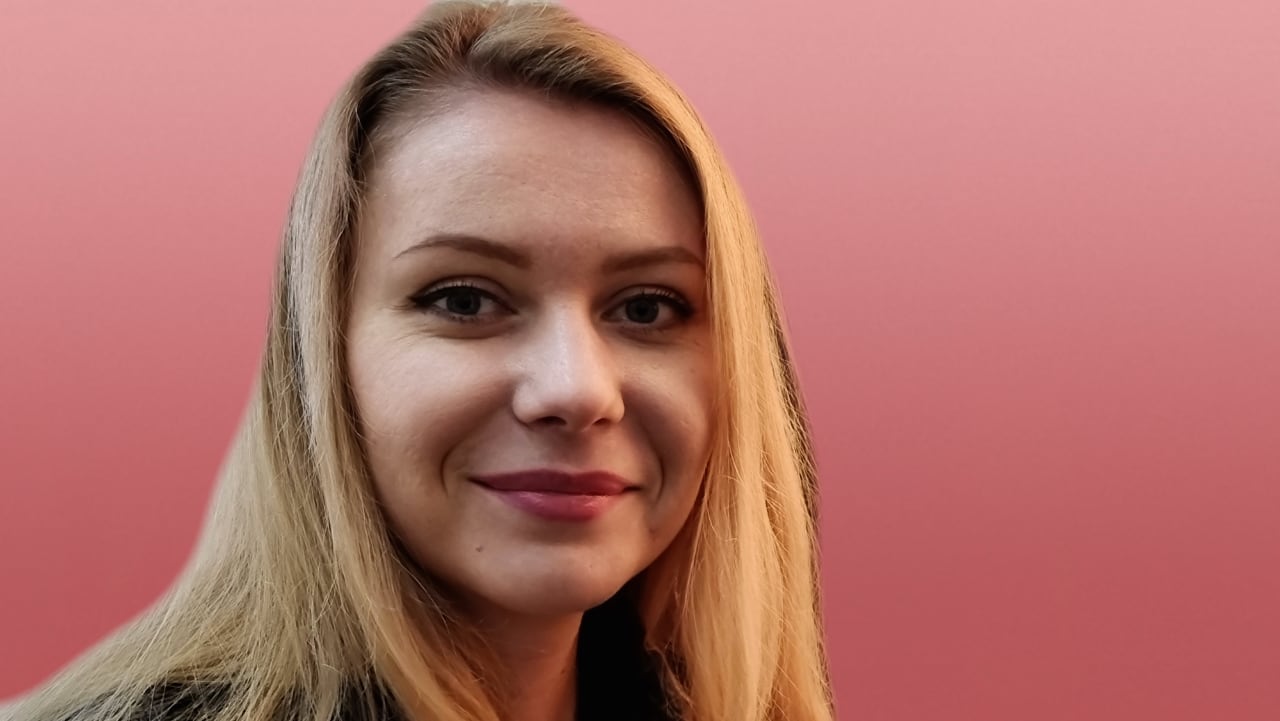
In this option, the face in the frame remains in color, andthe background is selected by an algorithm depending on the prevailing color in the frame. This is probably the best option for processing a portrait if you only want to highlight the face.
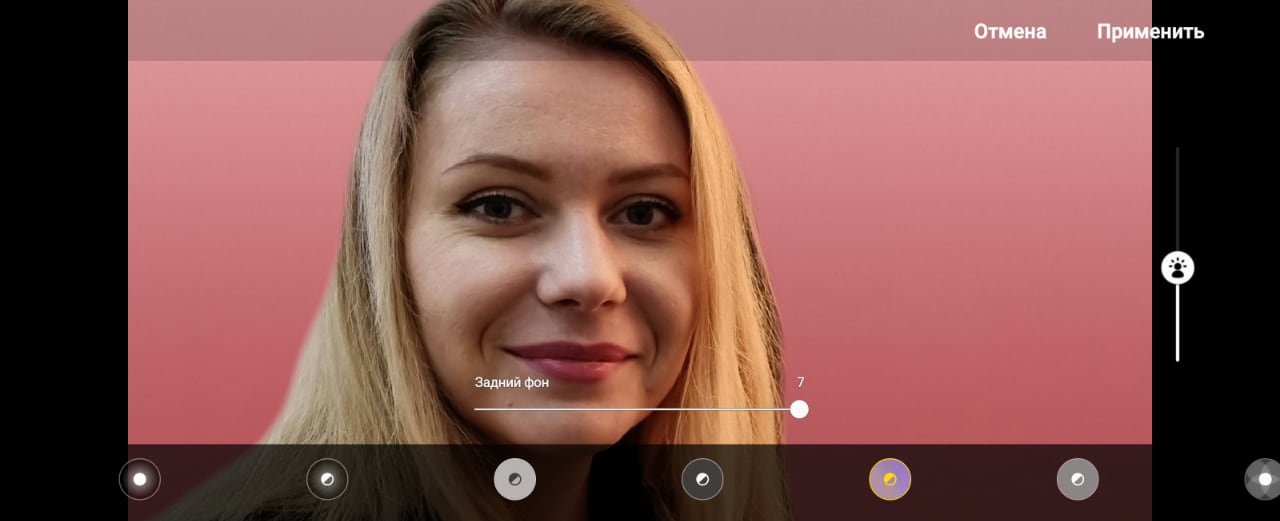
</ img>
</ img>


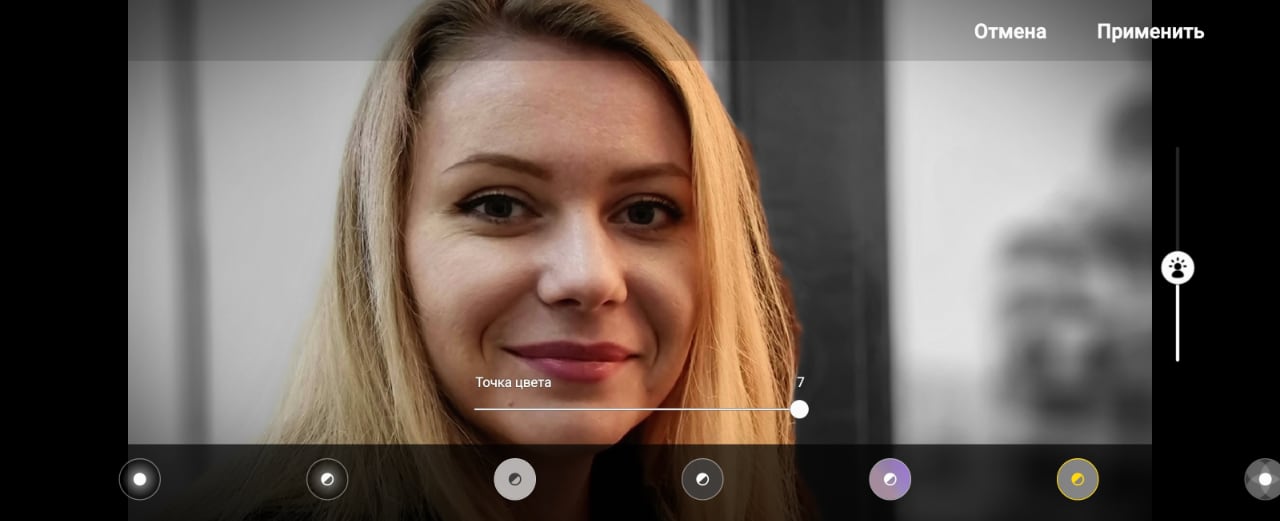
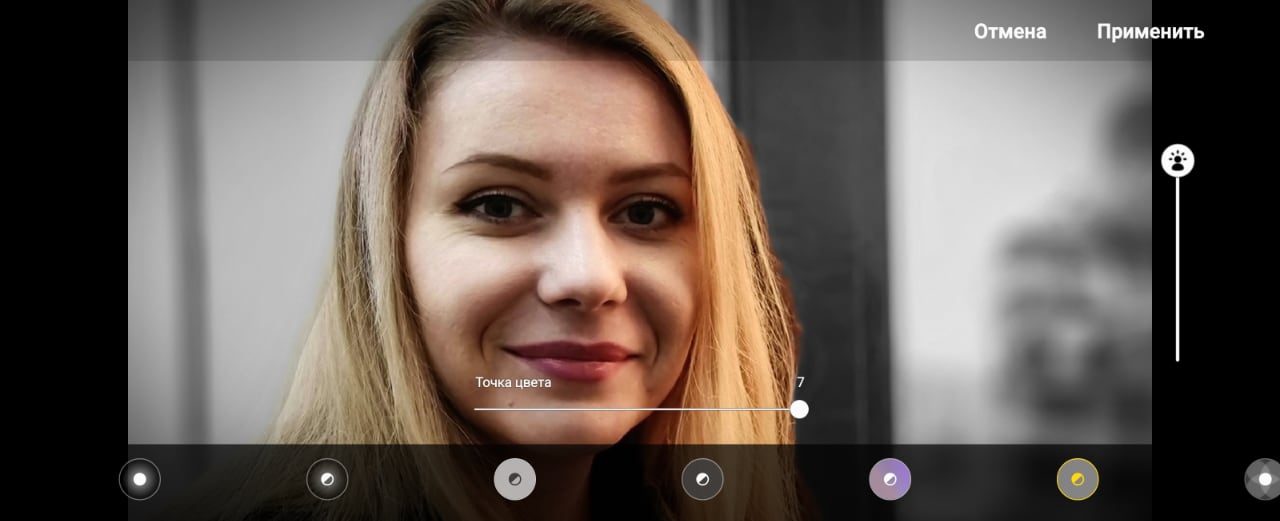
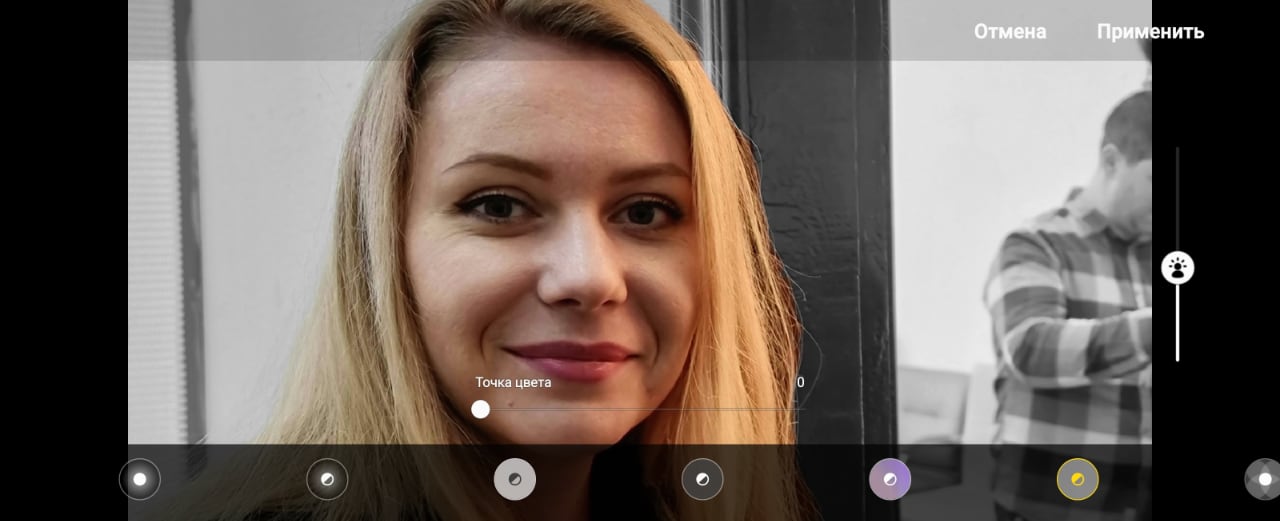
6. Color point
My favorite processing option that allowsleave the background, but desaturate it by selecting the part of the image that is worth leaving in color (and thus highlighting it in the image). Theoretically, this, of course, may not be a person, but there is, of course, little sense in such a choice.
</ img>
</ img>
</ img>

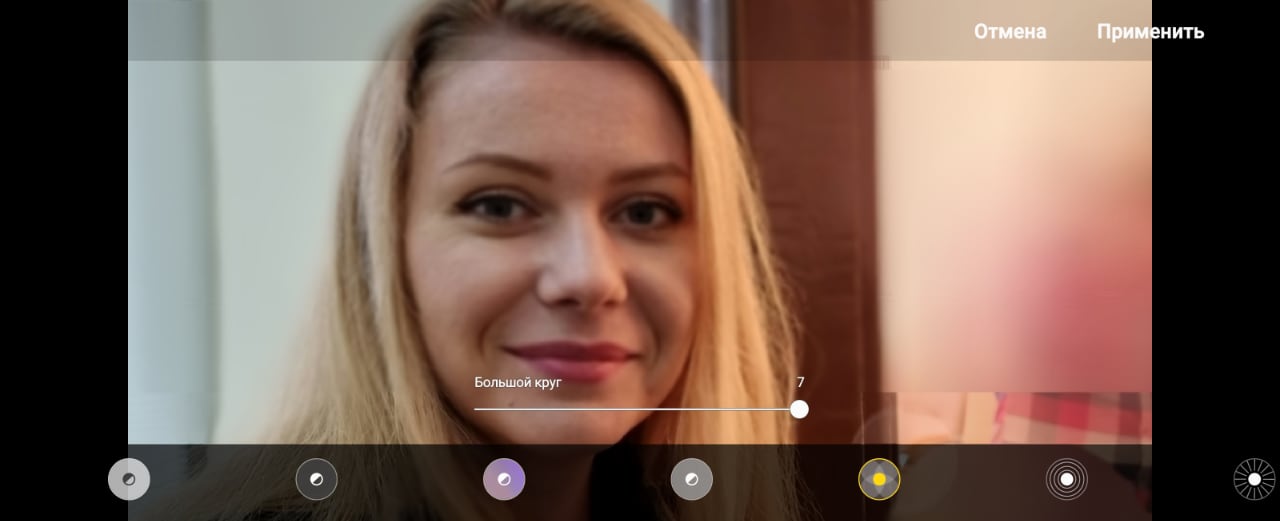
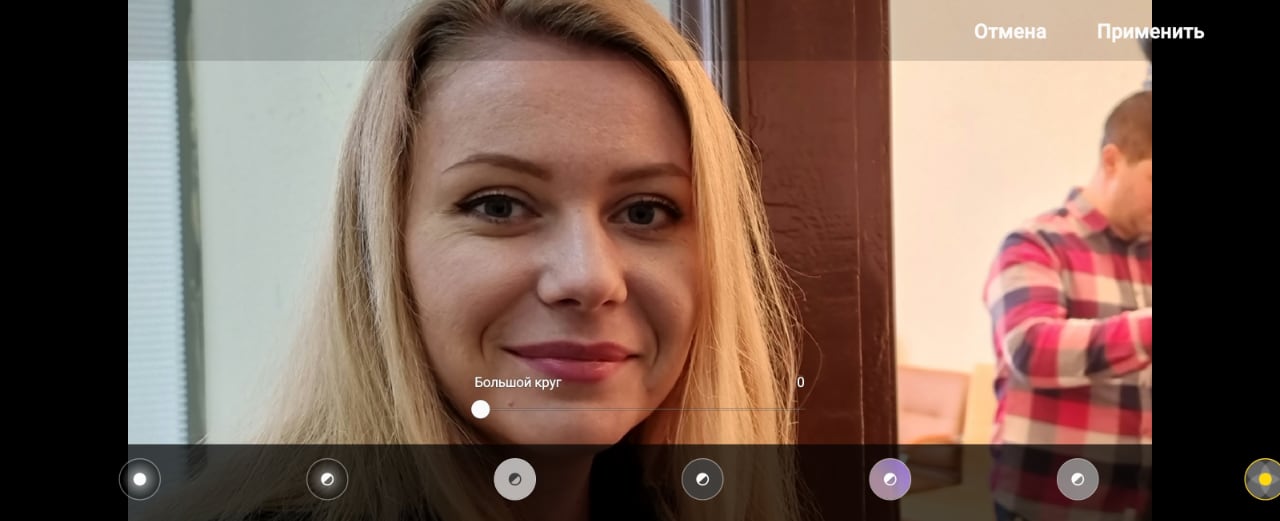
7. Big circle
In this case, the processing algorithms gave someglitch, the face lost its sharpness. No matter how much I tried to change the impact point of the blur algorithms, I couldn’t achieve a good result. That is, not all processing options are suitable for automatic processing, but the choice is still significant.
</ img>
</ img>

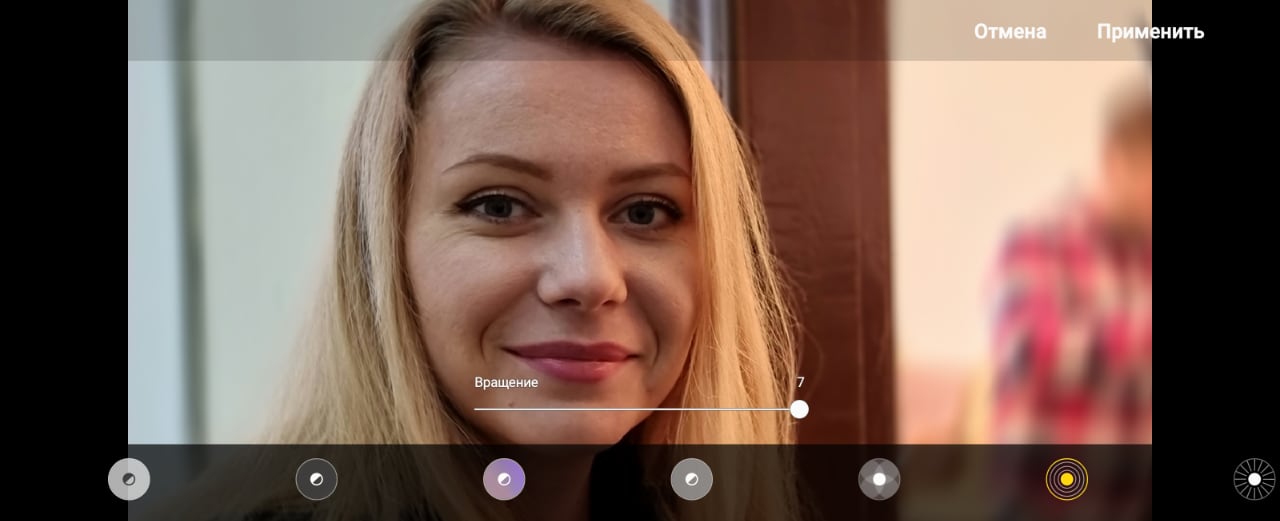
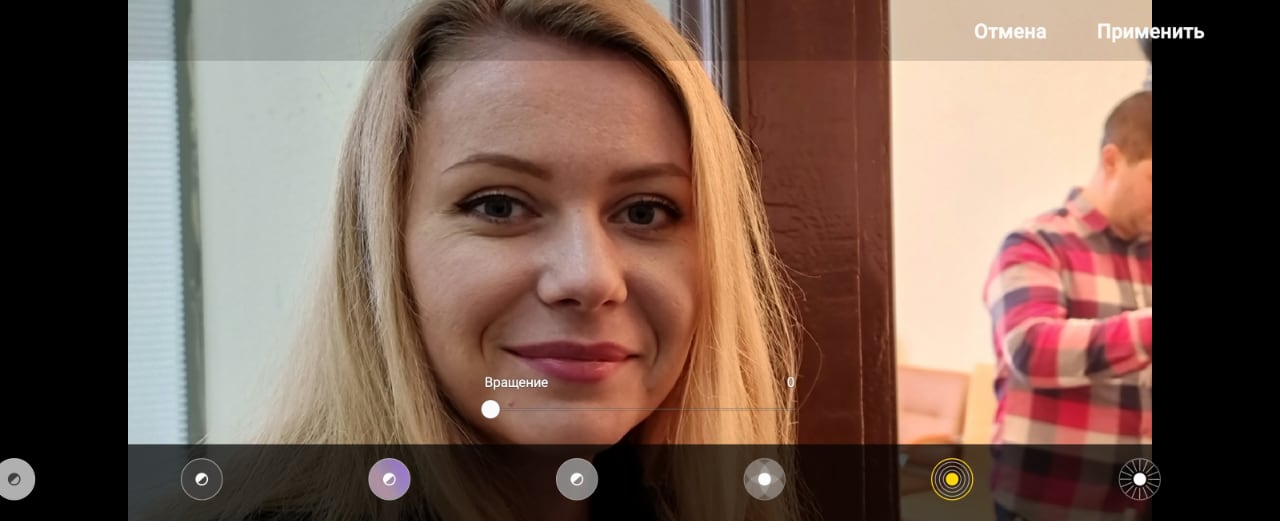
8. Rotation
The rotation isn't particularly noticeable in this photo - what we're talking about is that all the objects around the face are blurred along the circumference. But specifically in this photo it is not so noticeable.
</ img>
</ img>


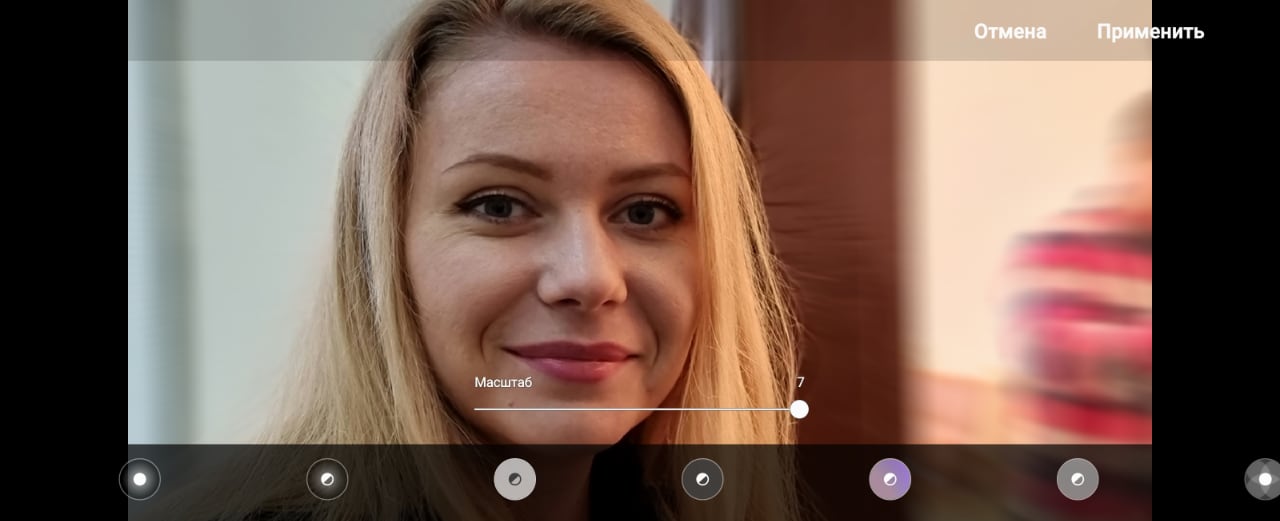
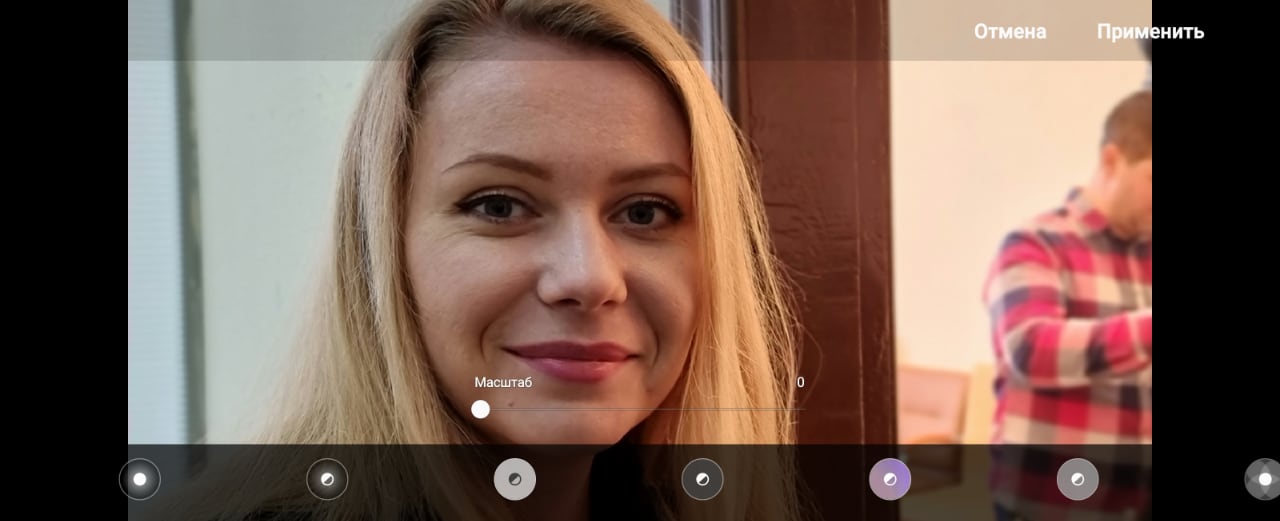
9. Scale
Background blur option that createsthe effect of movement and speed. In this particular scene, the effect is also subtle - the frame just lacks depth. When shooting outdoors, everything looked much more impressive.
</ img>
</ img>


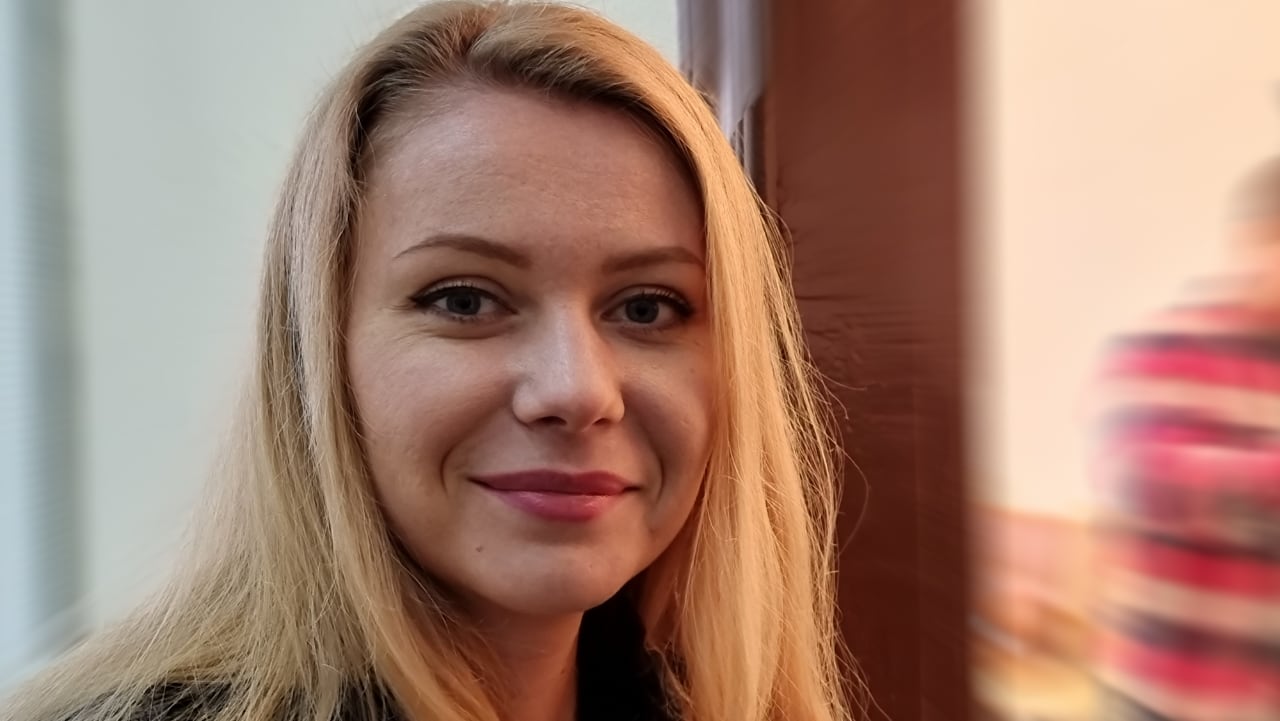
The results of images with different processing options are below. In order: blur (1), color point (6), background (5), dark monochrome (4) and scale (9).
</ img>

</ img>
</ img>
</ img>
</ img>





In addition to the updated “Portrait” shooting mode, the Galaxy 21 Ultra camera now has new video shooting modes; more about them in the next text. To be continued.
Three things to remember about Portrait mode on the Samsung Galaxy S21 Ultra
- It allows you to control not only the blur of the background, but also the illumination of the face
- You can process the picture after shooting (and all this right on the phone, without any photoshop)
- 9 processing options, 7 gradations of blur and several gradations of brightness in the shadows allow you to take dozens of pictures from one frame