Nope, today we won’t dwell on the characteristics of the controller and NAND, run benchmarks and so on, because
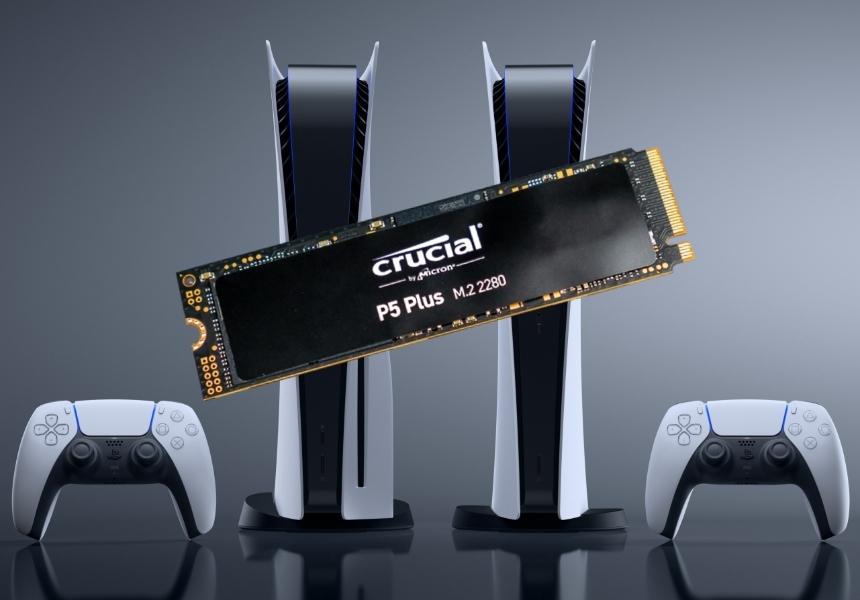
Table of contents
- SSD to be installed
- Install
- Checking the speed of work
- Competitors
- Total
SSD to be installed
We will put the experiments on the SSD Сrucial P5 Plus,the CT1000P5PSSD8 model is now a more or less reasonable option compared to all sorts of "swag-kid-racing-enthusiast" SSDs that are still approved for use with the PS5. This is a 2280 format SSD - i.e. Fits into 22mm M.2 slot with 80mm mount. Note that the PlayStation 5 supports 40, 60, 80 and 100 mm formats, that is, the choice is wide.

 12
12
Crucial P5 Plus packaging
Only here is the radiator or even the plates for the outletThere is no heat on the SSD from Crucial, so it is recommended to install a heatsink additionally (in this case, it is better not to peel off the sticker on the chips, otherwise the warranty will "fly off").

 12
12
SSD Crucial P5 Plus
I chose one of the cheapest radiators for 620rubles 6 mm thick. When installing in a PlayStation 5, you need to keep an eye on the total thickness of the SSD + heatsink - it should not exceed 11 mm. Here it is worth considering that some radiators have a “bottom” part, but not all. I advise you to choose a heatsink already with adhesive heat-conducting tape for installation on an SSD, so that you do not have to buy it in addition.
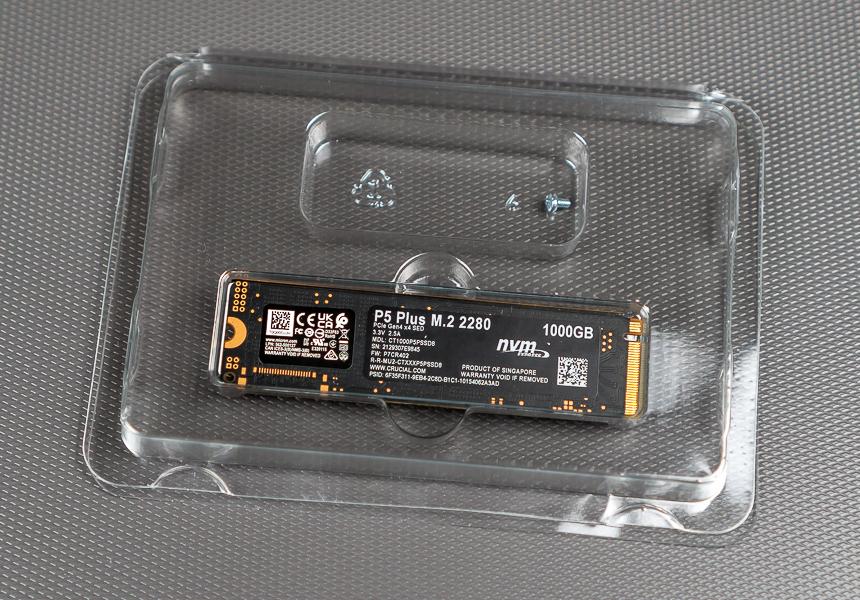
Crucial P5 Plus Kit - Drive Includes Screw
But the SSD comes with an additional mounting screw, but the PlayStation 5 already has its own.
Install
To install, you need two screwdrivers: a flat head and a Phillips screwdriver.

To start, the PlayStation 5 must be completelyturn it off if you haven't already. When the console is in the background, it glows orange, so turn it on first, then press the PS logo button on your controller, select the “Power” menu item at the bottom, and there - “Turn off the PS5 system”. Wait until the TV screen, the indicator on the controller, and the backlight of the console itself go out.


 13
13
Press the PlayStation logo button on your controller to bring up this menu
Now disconnect all wires from the PS5 and put ithorizontally with the drive panel facing up. If you have a diskless PS5, when the back is facing you (where is the power port), the tower stand should be on the left.
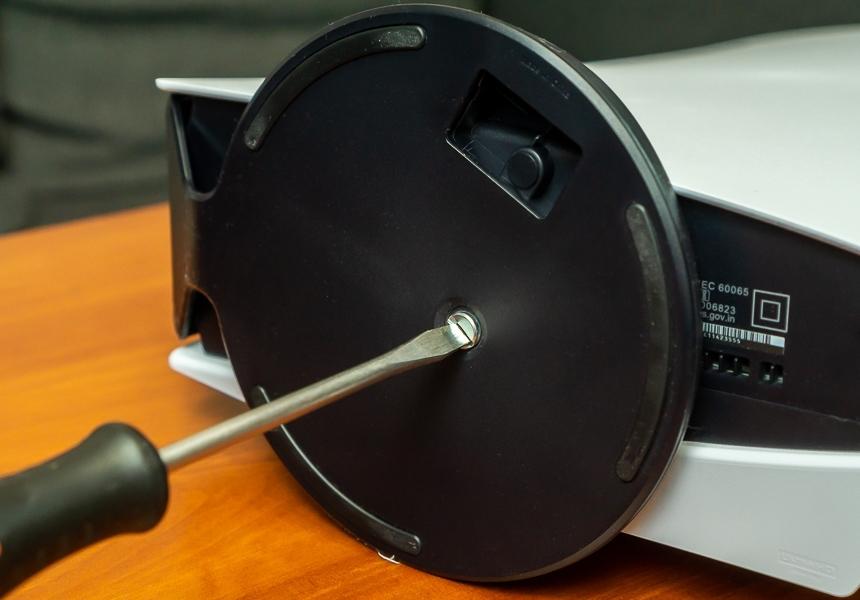
Unscrew and remove the stand (for horizontal installation, the stand can be removed without a screwdriver)
Remove the stand (if the console was placed vertically, unscrew the screw with a flat-head screwdriver).
Now you need to remove the cover.It can be removed without a screwdriver, but you need to apply a little force. Lift up the cover pieces at the rear ports and at the top of the console, and pull the cover towards the bottom of the console (the side where the tower stand was).

 12
12
Console cover is latched inside
The SSD slot here is also covered by its own metal cover. To remove this cover, you need to unscrew the screw with a Phillips screwdriver.

 12
12
PlayStation 5 without cover
We got to the main point: here it is the M.2 port.On one of the sides (opposite from the one where the screw was) you will see contacts. By the location of the contacts, it already becomes clear which side to put the SSD on (and, accordingly, where to attach the radiator - it is attached to the adhesive tape that should be supplied with it). Hint - Look for the notch (key) on the SSD pad.

 12
12
M.2 connector pins
Generally speaking, M.2 assumes as many as three options for such cutouts (keys), but if the SSD is installed in the PS5 (taking into account that this SSD is certified for PS5), there should be no other options.
But first we unscrew the screw that willsecure the SSD in place. Attention! Below it is a cylindrical washer that will need to be installed on the correct hole - in our case, where it says 80.
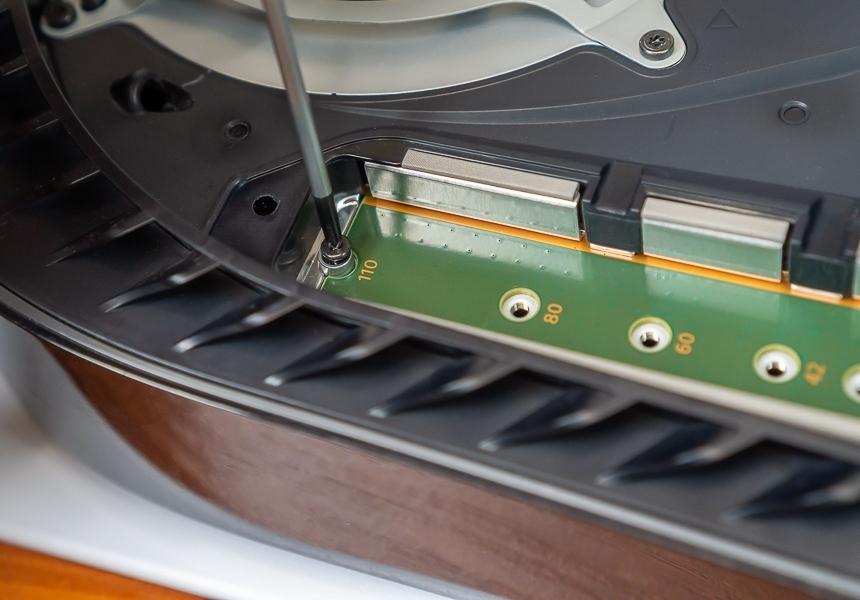
Unscrew the screw, and do not forget about the cylindrical washer under it (at this stage, the screw does not hold anything yet)
Carefully install the SSD into the slot - you need a littlepush towards the port so that the drive locks in there. It will tilt slightly upward - this is normal. Now we need to tighten the screw on the top of the drive. Make sure the barrel washer hasn't gone anywhere. Well, at this stage, you do not need to tighten the screw too much - just so that nothing dangles.

 12
12
Install the SSD into the slot. It will rise slightly – This is fine. Place a washer under it
We install the metal cover back and also secure it with a screw.
Now we attach the outer panel - you need to attach it to the console body, slightly press towards the body, and pull it to the side where the top of the PS5 is located when installed vertically.
That's it, now you can turn on the console.
Checking the speed of work
One of the most important compatibility parameterssolid-state drive with PlayStation 5 - support for the PCI-e 4.x bus and an uncompressed data reading speed of at least 5.5 gigabytes per second. Well, and the slot format, of course.
Crucial P5 Plus Drive (Model CT1000P5PSSD8)fully fits into these requirements, even with a margin. Immediately after installation in the console and permission to format, the PlayStation 5 measured the read speed of the SSD - 5788.304 megabytes per second. Those. 288 megabytes per second faster than the PS5's internal storage.

 12
12
Turning on the PlayStaiton 5 for the first time after installing the SSD
In terms of memory capacity, this is also a beauty.The inscription 1000 Gigabytes on the case means exactly what it should - the manufacturer is not trying to deceive you with the good old trick, when instead of, say, a terabyte, due to the “peculiarities of memory recalculation” it turned out to be 950 gigabytes. In the console itself, the total storage capacity is generally shown as 1.01 terabytes.
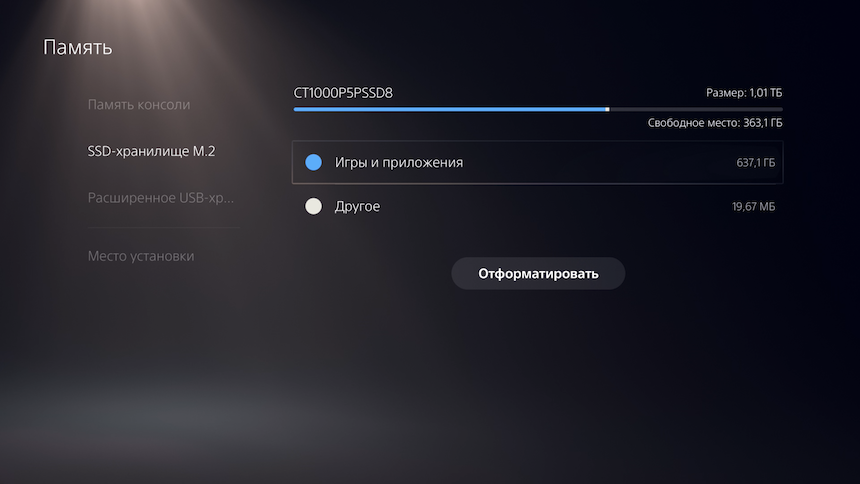
Thus, in SSD Crucial P5 Plus by 332.8gigabytes more memory than the internal storage of the PlayStation 5 (since part of the memory is occupied by the system, the PS5 user has 667.2 GB available on the internal storage of 825 GB).
I tested launching games both from internaldrive, and with Crucial P5 Plus. I selected the following games for the test: Ratchet&Clank: Rift Apart, Demon’s Souls, Deathloop, and the PS5 version of Death Stranding.
In all cases, loading the game from the internaldrive and installed SSD from Crucial occurred either the same or with a very small difference. The only test where loading from the Crucial P5 Plus was slower than from the PS5's internal drive was Ratchet & Clank, where the difference was 17 milliseconds. Yes, exactly milliseconds.

Games load as fast as PlayStation 5 internal storage or Crucial P5 Plus
Death Stranding, on the other hand, loaded faster from the Crucial drive - a little more than a second.
Copying games from PS5 to Crucial P5 Plus is usuallyfaster than in the opposite direction, and, with a large game volume (like Demon’s Souls - 53.7 GB), the difference can reach up to 5 times - most likely, this indicates a relatively low write speed of the PS5 internal drive. For example, copying Demon's Souls from internal memory to Crucial P5 Plus takes 53 seconds, and back - 3 minutes 55 seconds.
Well, one last thing.I didn’t have the opportunity to objectively measure the heating of the SSD from Crucial - in an amicable way, you need to measure the temperature inside the PS5, because... Even if you remove the outer panel, the heat dissipation intended by the console manufacturer is already disrupted. However, during the entire testing period, including during intensive play (especially in Ratchet & Clank, with these ubiquitous portals), no problems were noticed. Games did not suddenly crash, and loading times did not increase.
Competitors
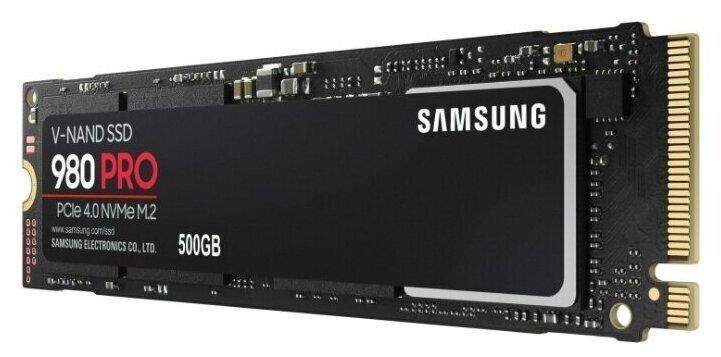
Samsung V-NAND 980 PRO
Of course, the Crucial P5 Plus isn't the only oneSSD option for installation in PlayStation 5. Alternatively, for about the same money, you can consider Samsung V-NAND 980 PRO (MZ-V8P1T0BW) or WD Black NVMe 1000 GB (WDS100T1X0E-00AFY0). True, the Samsung model is scolded for installing cheaper TLC memory cells instead of more durable MLC, but in fact all these drives (from Crucial, WD and Samsung) have a 5-year warranty and a 600 TBW rewrite resource. Also, all three drives are sold without a standard heatsink.
Total
If you directly compare memory expansion on XboxSeries X/S and PlayStation 5, then the Xbox side is simplicity and convenience. You just take the drive and plug it into the slot on the back of the console. There is no need to disassemble or even turn off the console (it’s better to turn it off, of course, but it works without it).
But on the side of the PlayStation 5 - the ability to choose a drive yourself, save on this, and even use it later on a PC, if necessary. But you have to tinker with the installation.
As for the Crucial P5 Plus, this is an excellentoption for installation in PS5, but it is advisable to purchase a radiator for it. But for 17 thousand rubles you get an excellent drive for the PlayStation 5 and PC, the volume is "honest" terabyte, the speed is even higher than that of the console's internal drive.
The main thing is that if you decide to take such a drive, do not confuse it with a “regular” one. Crucial P5, which is no longer suitable for PlayStation 5. Well, don’t forget about the radiator!
Upgrade instructions, reviews and news - here
Subscribe to