In iOS 11 and macOS High Sierra, Apple introduced a new energy-efficient image format - High Efficiency Image File Format (HEIF). This
Images on iPhone 7/iPad Pro 2017 and later are saved in HEIF format with the extension.HEIC. HEIF photos and HEVC videos take twice as longLess memory than JPEG images and videos of popular formats, without losing quality. After installing iOS 11, the camera automatically starts saving photos in HEIF format with the .heic extension.
As a result, many use this format and are not even aware of it. This will not be a problem until you need to transfer photos to your PC.
iOS 11 and macOS High Sierra automaticallyconvert images when shared, but only if you use the "share" function. You can also transfer HEIF images to your Mac via AirDrop, and they will automatically be converted to JPEG during the transfer process.
But what if you need to publish a photo in an application that does not support the “share” function? Or if you need to upload photos to social networks from a laptop?
In this case, you will have to manually convert the .HEIC file to JPEG format.
This can be done in various ways and in this article we will showthree ways to convert HEIC to JPG format.
- 1. HEIC to JPG converter – iMazing
- 2. How to convert .HEIC photo to JPG on Mac using the standard Photo program
- 3. How to convert HEIC to JPEG format in macOS with standard viewing software
HEIF in the world of JPEG
Sometimes there are problems with the HEIF format whensynchronization. Although all devices with iOS 11 and macOS High Sierra can open images / videos in new formats, many applications still do not support them.

Pixelmator supports HEIF, but other popular applications do not.
For example, Pixelmator can importHEIF images, but cannot save them in a new format. Photoshop and Illustrator, as well as Microsoft Windows and Office, do not yet support the HEIF format, and they will have to convert photos to JPEG.
JPEG is still the most common format, and for compatibility or for some other reasons, you may need to convert HEIC to JPG format.
Also read: How and when to switch between HEIF / HEVC and JPG / MOV formats in iOS 11
About converting HEIC (HEIF) → JPEG
If you just want to share the image online, it does not need to be converted to JPEG.
If you want to move your HEIF images to your computer as JPEGs, iOS can help you with that too. Go toSettings → Photoand select the optionAutomaticallyunderPort on Mac or pc.
With this setting, all HEIF images and H.265 videos will be automatically converted to JPEG / H.264 when transferring files to a computer via USB.
No need to convert HEIC (HEIF) to JPEG, evenif the image quality is very important to you, because it is the same in both formats. And with the constant conversion of an image from one format to another, its quality is lost.
But there are cases in which the conversion of HEIC → JPEG is logical, so we will tell you how to do it later.
1. HEIC to JPG converter – iMazing
one)Download and install the free HEIC to JPG converter – iMazing HEIC Converter from the Mac App Store or here for Windows and Mac.
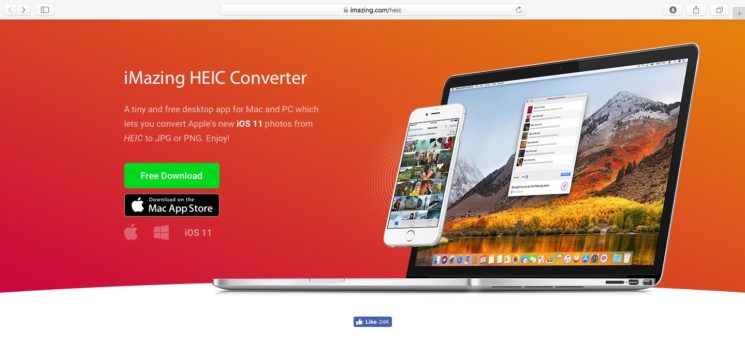

The program requires macOS version 10.8 and higher. The Windows version can be downloaded from iMazing if you have Windows 7 or higher.
2)RuniMazing HEIC Converter.


A screen with instructions will appear, on which it will be said that you need to drag HEIF images from the Finder into the program window.
3)First, let's follow the instructions.
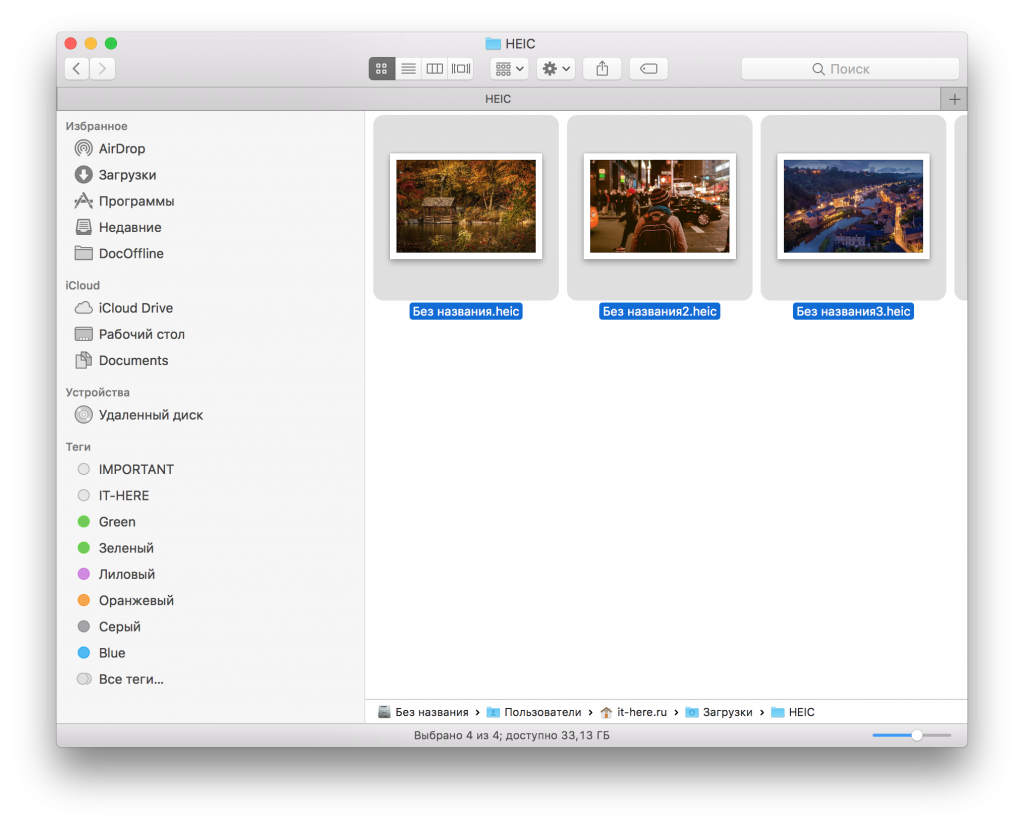
Open the folder with the .HEIC files you want to convert.
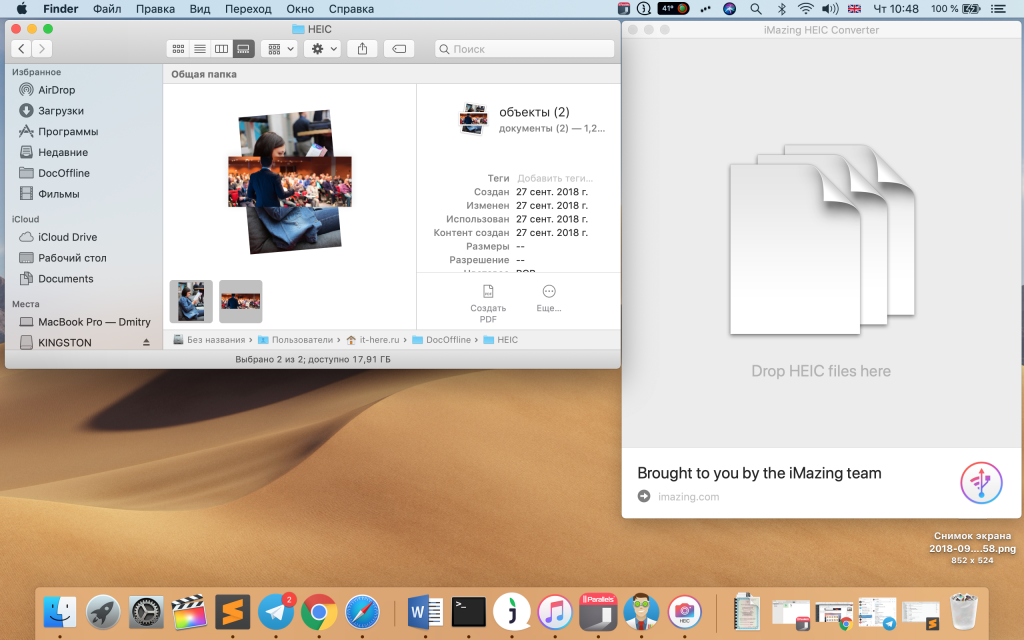

four)Select the images you want with the powerCommand(⌘) - mouse clickor clickChoose allin the Finder menu. You can also clickCommand(⌘) -Ato select all files in a folder.
five)Drag the selected files into the iMazing HEIC Converter window.
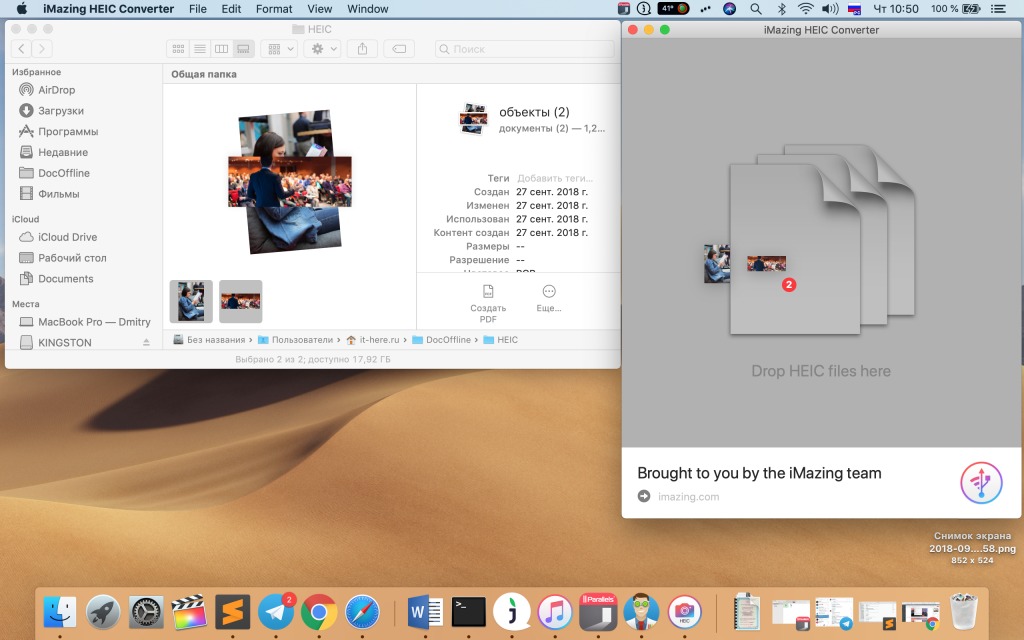

6)Make sure you move all the desired HEIC (HEIF) images into the program window.
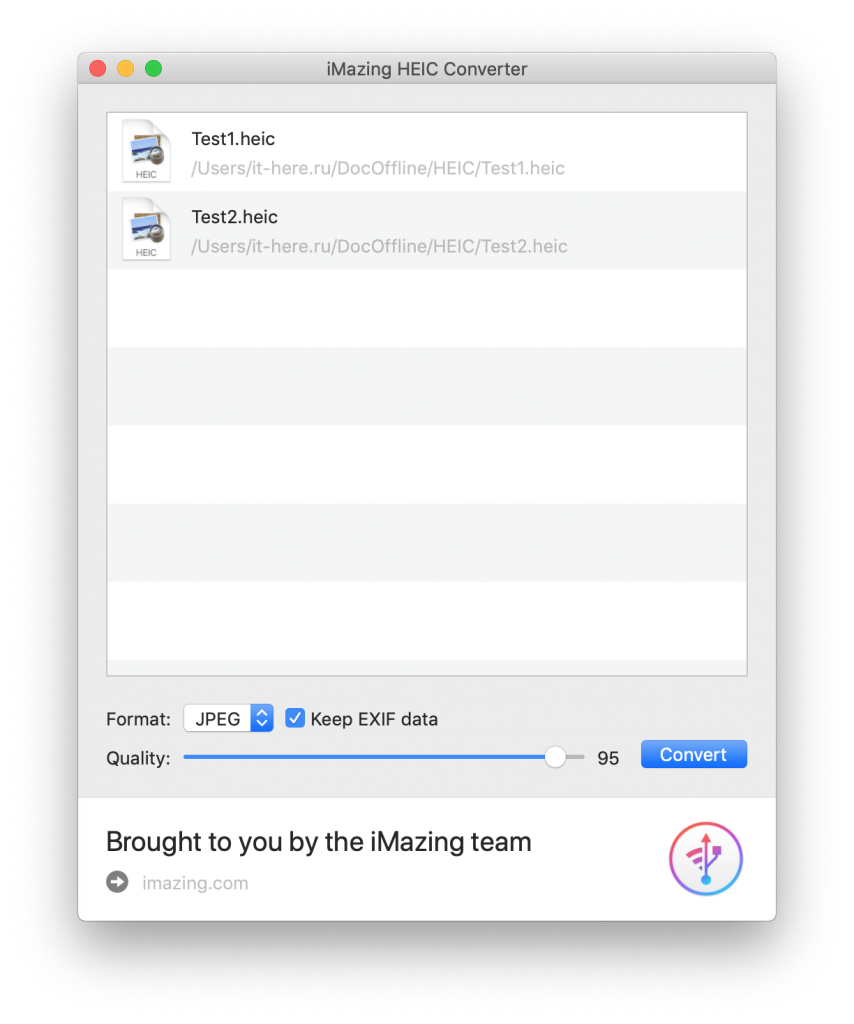

7)Open the menu next toFormatand selectJpeg.


Note:If you choose PNG format, it will solve the quality loss issue.
eight)Check the box next to the itemKeep EXIF data.
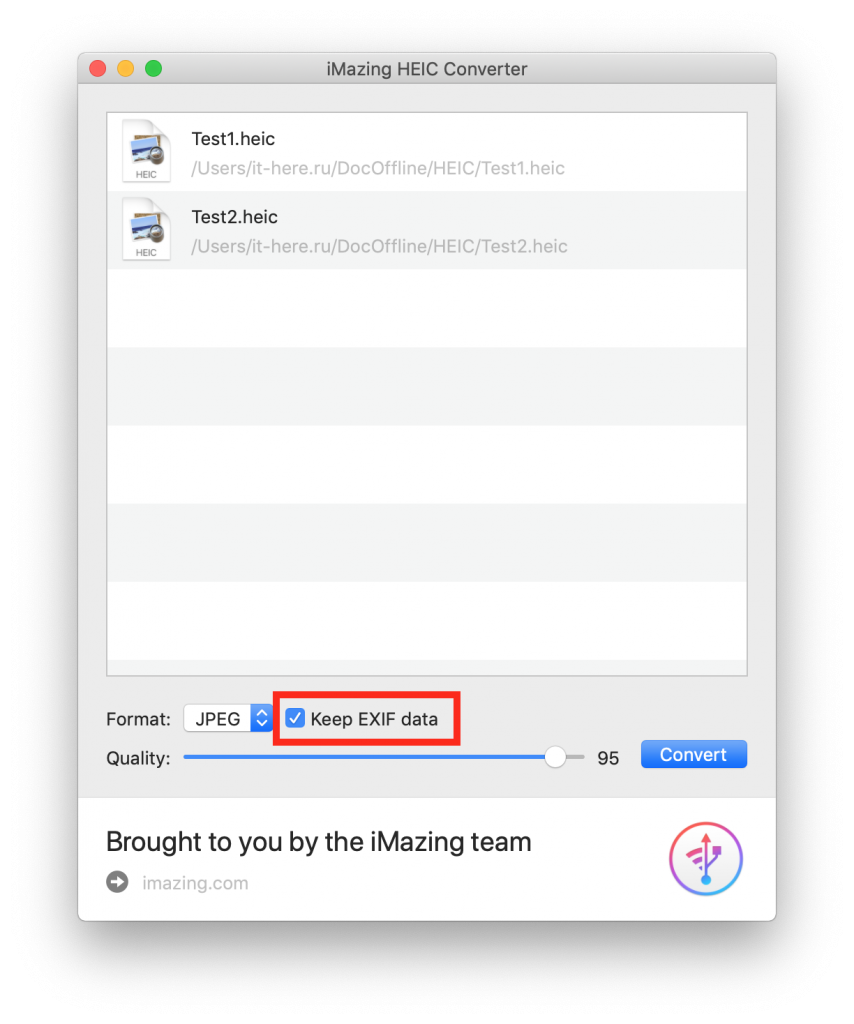

Note:If you uncheck the box, data such as shutter speed, exposure, brightness, etc. will not be saved.
9)Slider next to the wordQualityselect the desired quality.
The higher the quality, the more memory the file will occupy. If you make the quality low, significantly reduce the file size, but its quality will be lost.
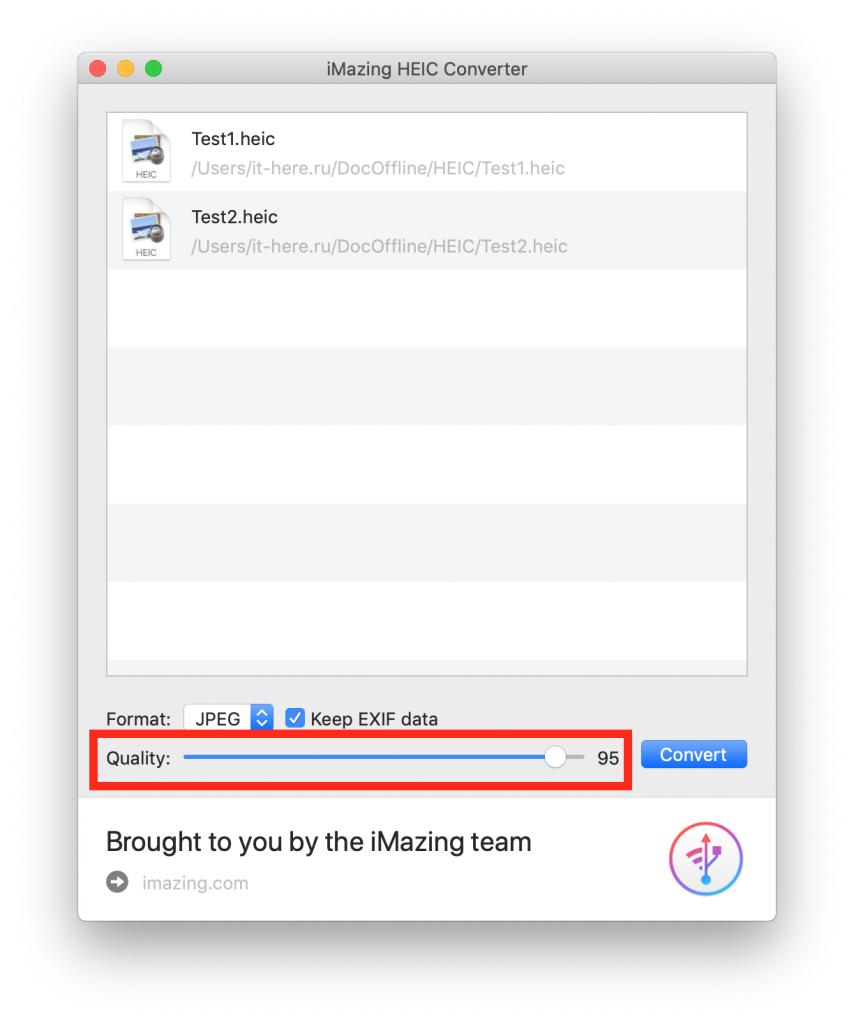

We recommend setting the slider to 85 percent, as this is a balance between file size and quality.
ten)Click the buttonConvertto start the process.
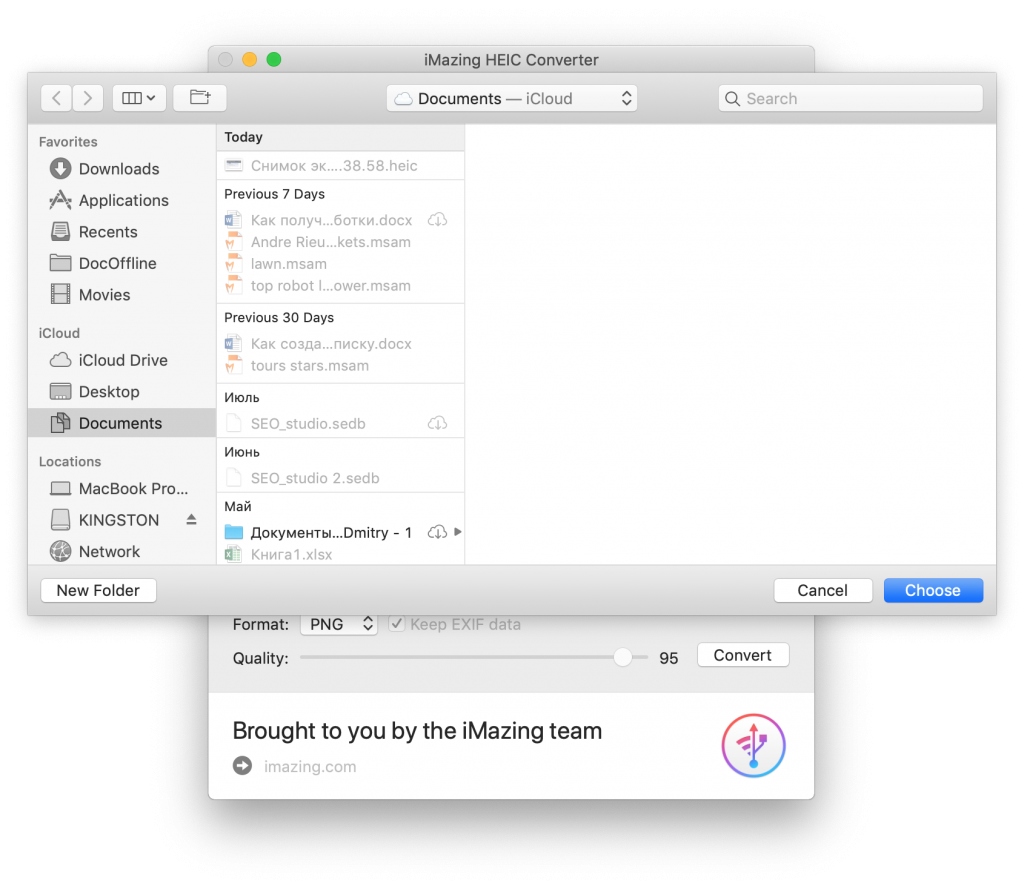

You will need to select the folder on the Mac where the files will be saved.
Then the program will start work. Depending on the number of files and the capacity of your laptop, the process will take from several seconds to several minutes.
You can monitor the conversion process using the indicator on the screen.
eleven)When the process is completed, a dialog box will appear.


ClickOkto close iMazing HEIC Converter and search for JPEG files manually, or clickShow filesso that the folder with the files opens automatically.
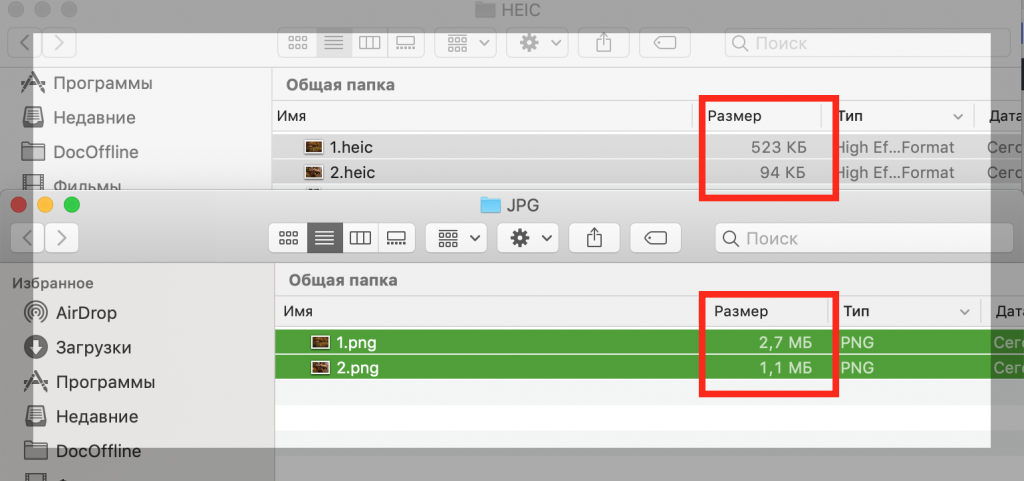
Comparing the originals with the resulting files clearly shows how economical the HEIF format is. In most cases, JPEG weighs at least twice as much.

What about EXIF data and quality?
Unlike other converters, iMazingsaves all EXIF data and other useful information like shooting date, color profile, etc. Thus, you can move the converted images back to Photos, and they will be placed by date.
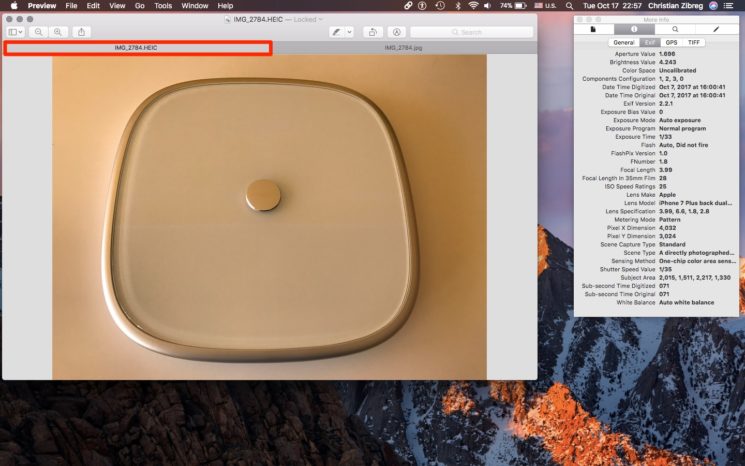
Here are the EXIF data for the original HEIF image.

And this is the EXIF data of the converted version of JPEG.
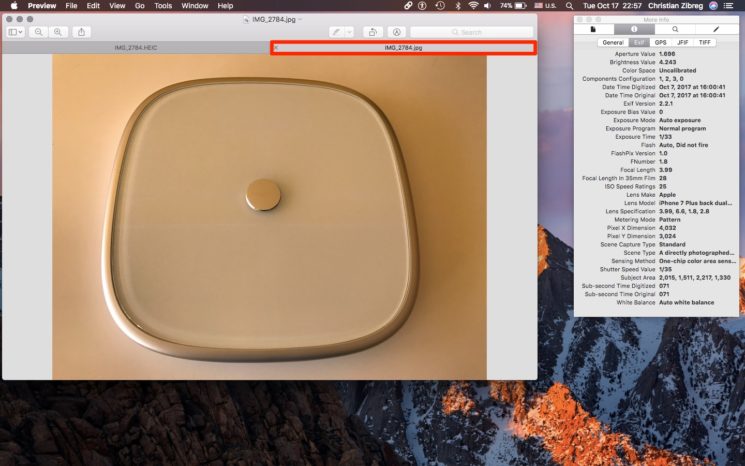

As you can see, all the data was saved and remained the same, which is very convenient.
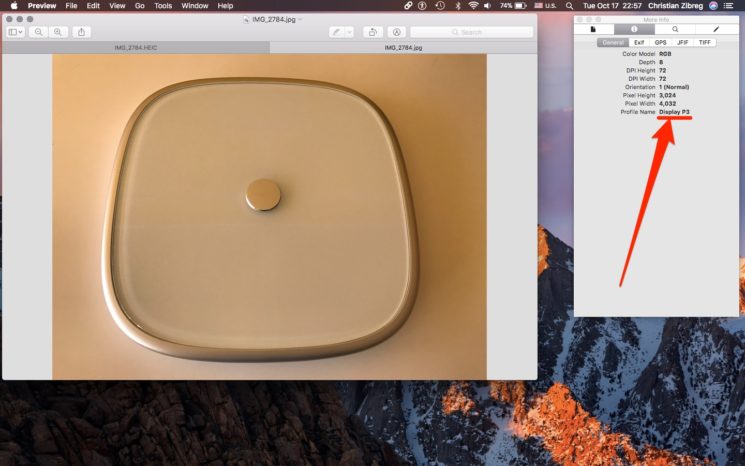
In addition, iMazing HEIC Converter saves color profiles, so as not to lose image quality. This is especially true for owners of iPhone 7 and newer, as well as the iPad Pro 2017.

Tip: Just in case, save your HEIF originals in Photos, iCloud Library, or elsewhere.
2. How to convert .HEIC photo to JPG on Mac using the standard Photo program
In the previous method, we showed how to convert HEIC images to JPEG using iMazing software.
However, this can be done even without a third-party program.
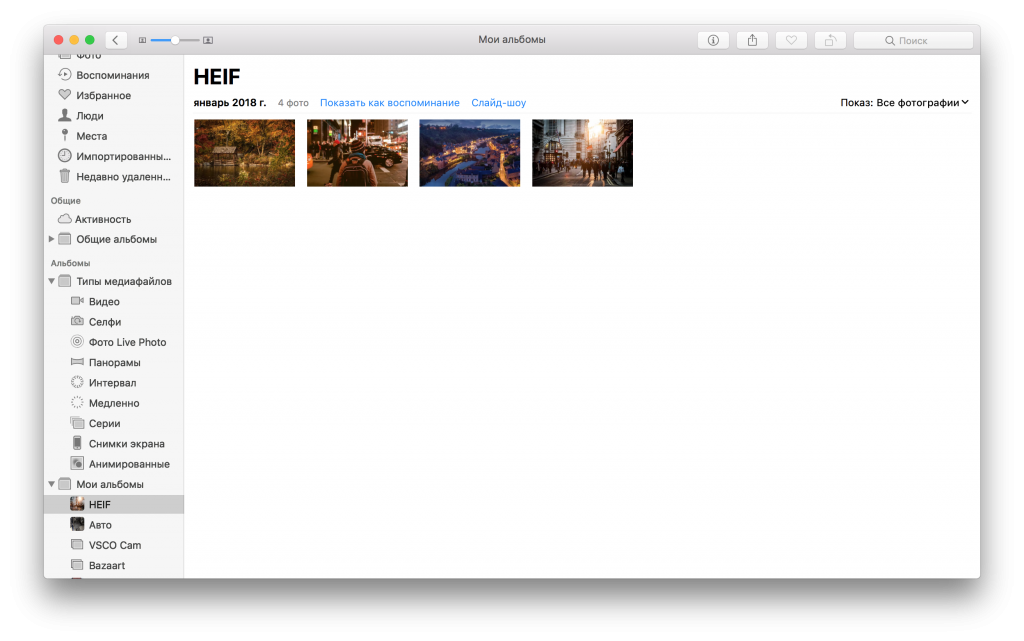
one)Open Photos on your Mac.
2)Select one or more HEIC images you would like to convert.

Tip:To find out the image format, select it and hold down the keysCommand(⌘) -Ito open the information panel.
3)On the menuFile → Exportselect itemExportx a photo.
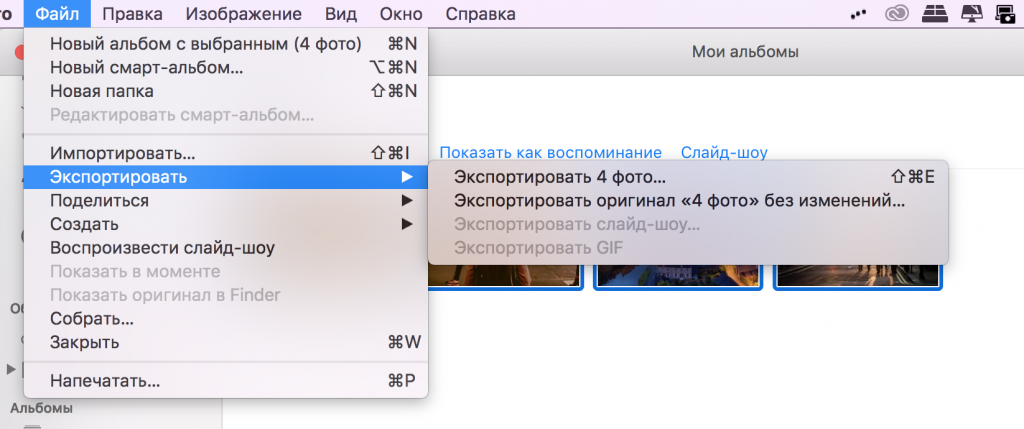

four)INType of photoselectJpeg.
Also choose the best quality, compatible color profile and full size.
five)Click the buttonExport.
6)Select the folder where you want to save the finished images and begin the export process.


The process may take some time depending on the number and resolution of images, as well as the power of your Mac.
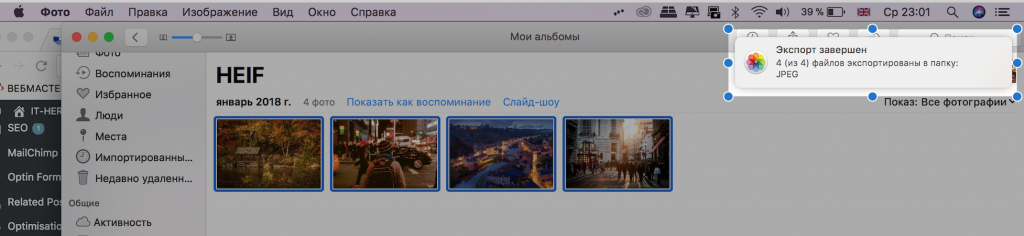

After that, you will see a notification about the end of the process.
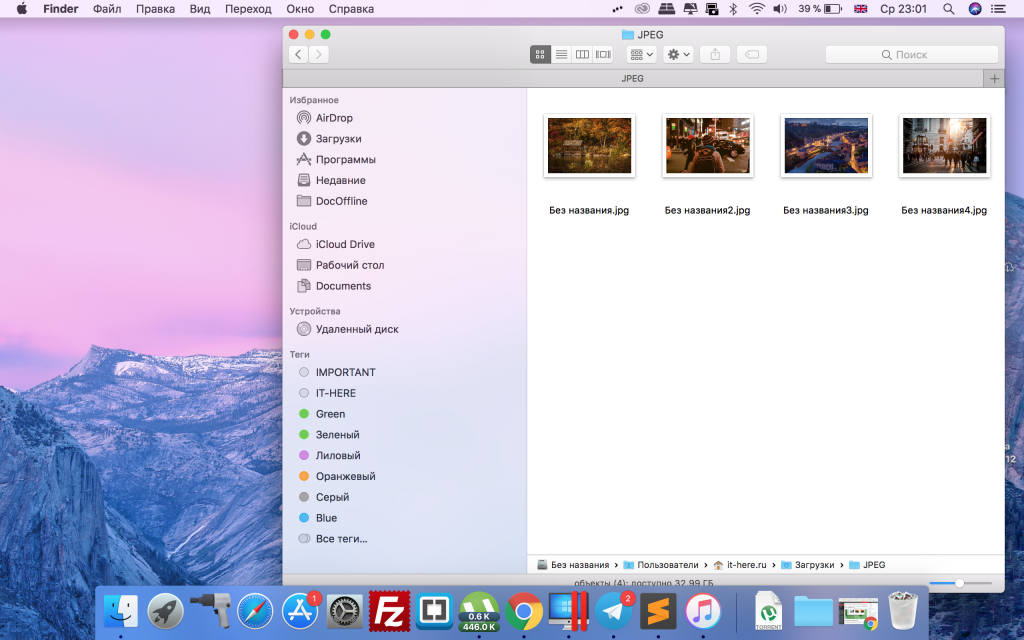
7)You can now close Photos and access JPEG images through the Finder.

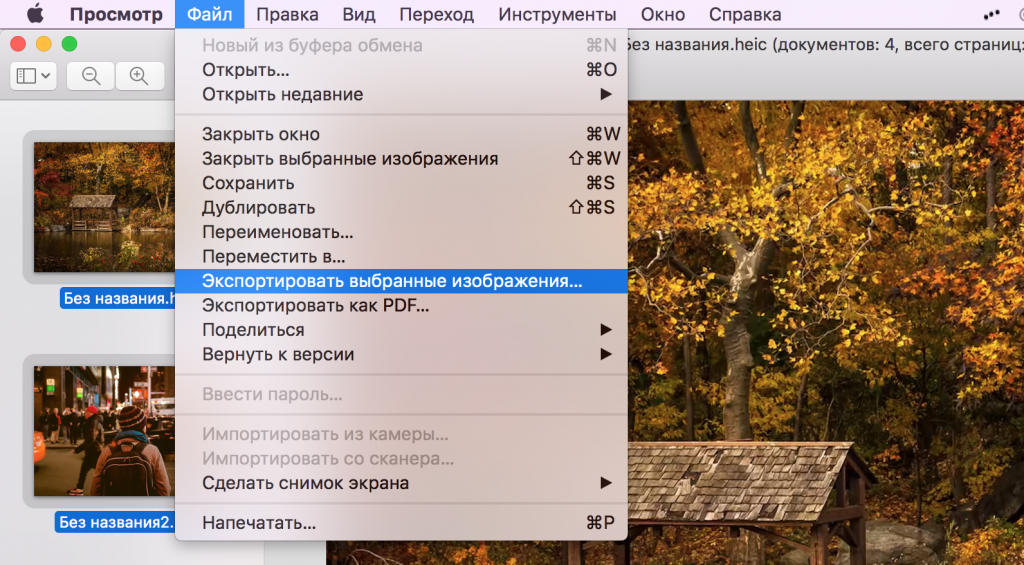
3. How to convert HEIC to JPEG format in macOS with standard viewing software
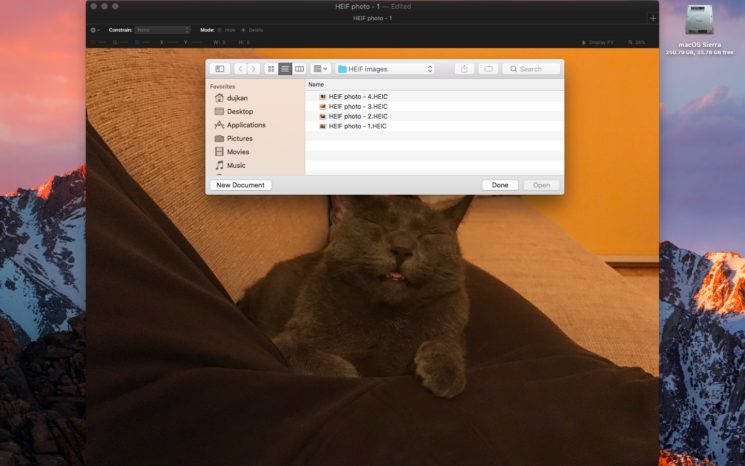
If you are in a hurry or just do not want to download any programs, you can use the standard View function. To do this, you must have macOS High Sierra and newer installed.
one)Using Finder, open the folder with the HEIF images you need to convert.

You can find HEIF images using the HEIC extension.
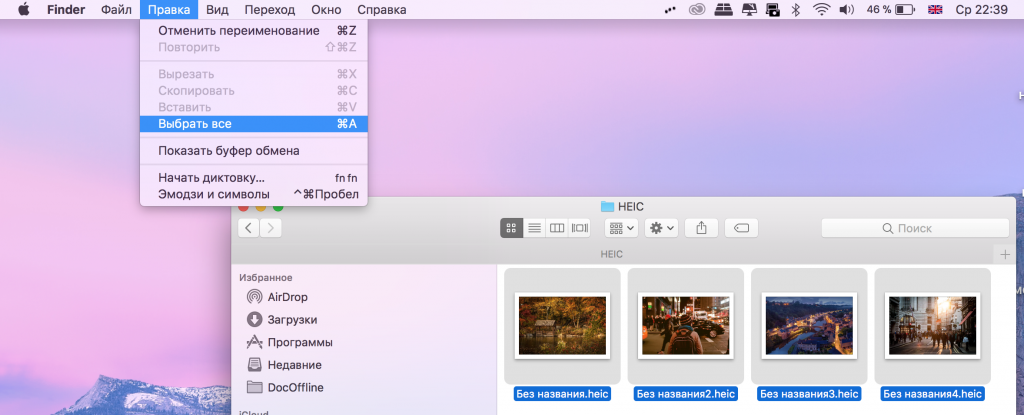
2)Hold Command (⌘) to select all images. You can also pressCommand(⌘) -Aor clickChoose allin the Finder menu.

3)Right-click on one of the highlighted images and then selectOpen in program → View.
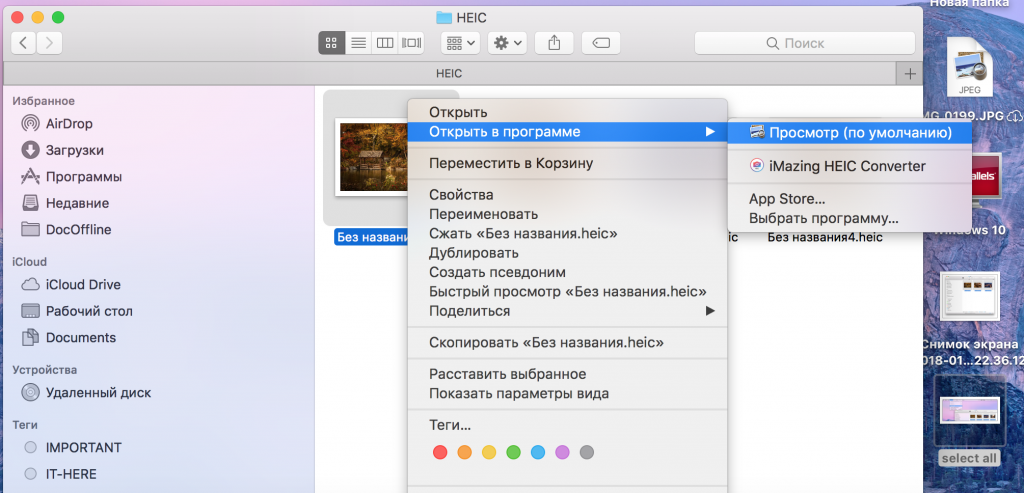

four)The selected images will open in the program.
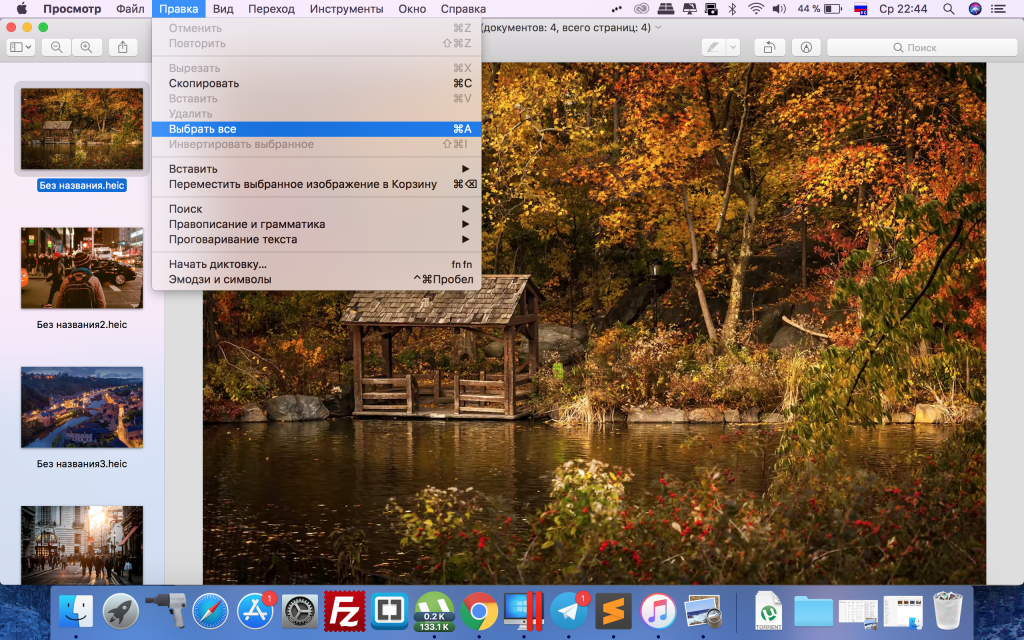

Select images in the side menu of the program using the mouse and holding downCommand(⌘) -A.
five)Then selectExport selected imageson the menuFile.

6)ClickOptionsand selectFormatselectJpeg.
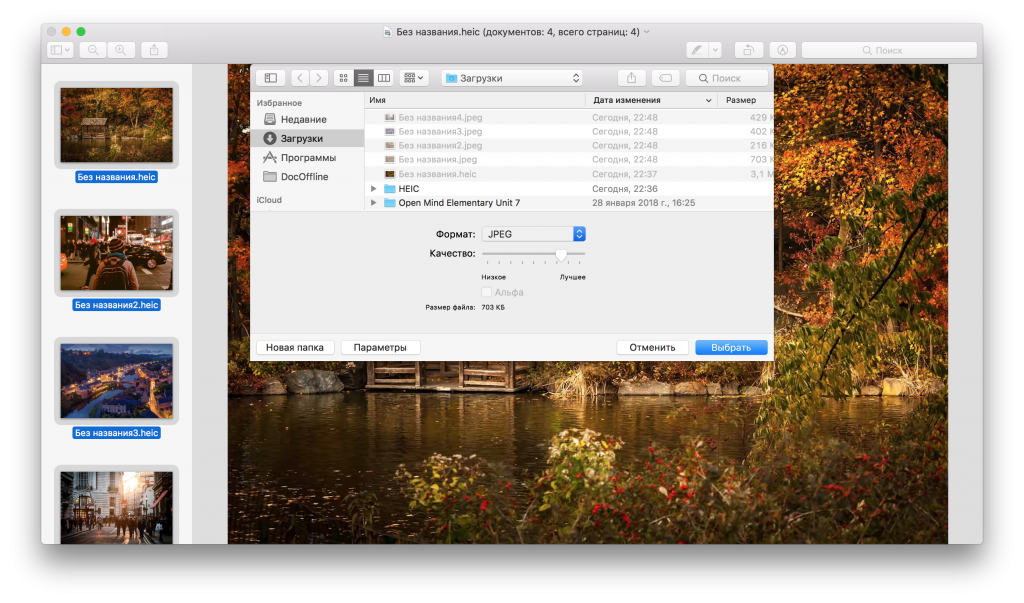

7)Now clickChooseto save images in JPEG format.
You can also convert images in TIFF, PNG, PDF formats. In addition, you can configure JPEG compression.
This method will save the image creation date, location information, color profile, etc., which is a very big plus.


The more often you convert images from HEIF to JPEG and vice versa, the worse their quality becomes.
Why shoot in HEIF format?
Before you convert HEIF format to JPEG, keep in mind that every time you change the format, the image quality will become worse.
If you have an iPhone 7 or later with iOS 11, then your Camera will shoot in HEIF format by default, and most users are not even aware of this.
Also read: How and when to switch between HEIF / HEVC and JPG / MOV formats in iOS 11
You can switch between HEIF/HEVC and JPG/MOV(H.264) inSettings → Camera.
Enter the new sectionFormatsand select the format you need:
- High efficiency- Encodes your photos and videos using the HEIF / HEVC codecs.
- Most Compatible- Makes photos in JPG and videos in MOV.
Note:If your device does not have this section, then it does not support HEIF/HEVC formats.


Changing the format will not affect existing photographs in the Photos application in any way.
In addition, you can shoot 4K video at 60 frames / s, as well as slow motion video at 1080p with 240 frames / s, only with the High performance option in the settings.