On new iPhone models, the HDR feature in the camera is turned on by default. HDR improves the quality of pictures by combining
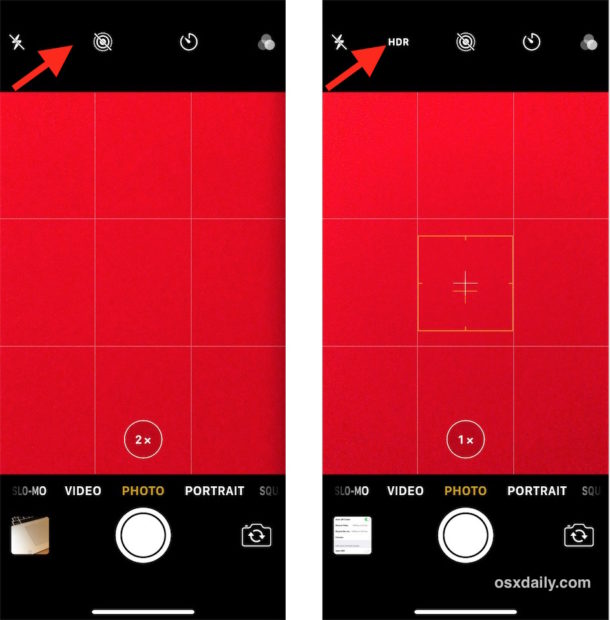
If you turn off auto-HDR, the HDR icon will appear inCamera application, as on previous models. With it, the function can be turned on if desired. On newer models, there is no such icon, since the function is enabled by default. In other words, if you want to control HDR yourself, the function must be disabled in Settings.
How to disable AutoHDR and return the iconHDRto the Camera
This guide applies only to new iPhone models in which HDR is enabled by default.
- Go to Settings, and then to the Camera section.
- Find the “HDR (High Dynamic Range)” section and click on the switch next to “Auto HDR”.
- Open the Camera app and see the HDR icon at the top of the screen.
Using the HDR icon in the camera, you can control the function yourself.

And yes, the HDR Camera can also be set to “auto”. You can also enable or disable the function completely.
There are many other useful functions in the Camera application, such as grid, scanning of QR codes, switching between JPEG and HEIF formats, etc.
We recommend that you enable the option “Saveoriginals". So both photos will be saved in the Photo, and then you can choose the one that looks better. Usually, the HDR function is either very loved or hated, but if you like to use your iPhone to the full, then it will be useful to see the difference between the original and the resulting photo. The only drawback of this option is that often an HDR photo will look almost the same as the original.