</ img>
This thing sees everything, hears everything, and can also speak. Today we are studying a new product - the TP-Link Tapo home Wi-Fi camera
What is it?
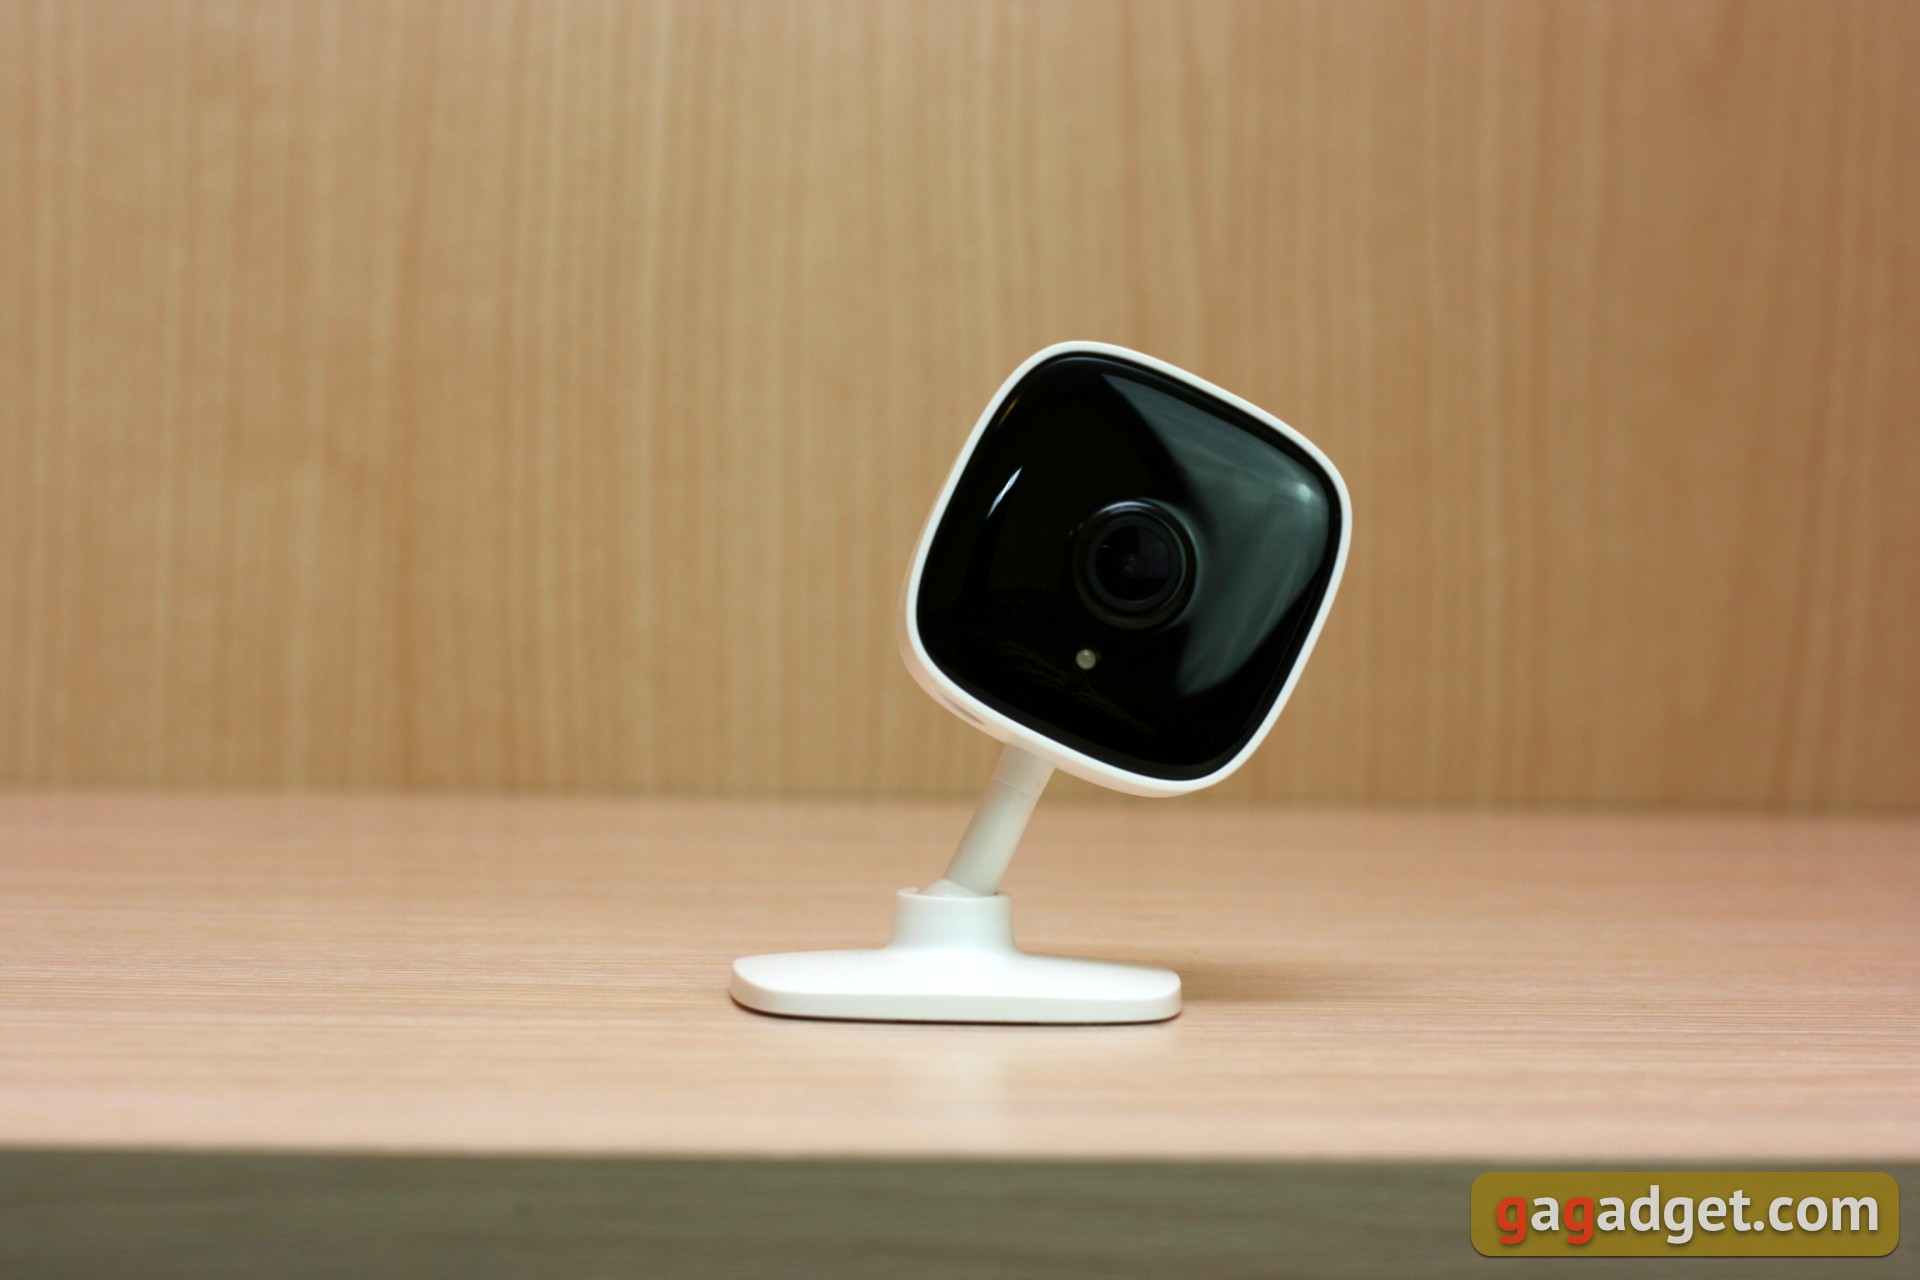
TP-Link Tapo C100 is a compact Wi-Fi camerafor home use. Of course, no one bothers to use it at least in the office, at least in the garage, at least on the construction site. But dust, moisture or vandal protection is not provided for in it, and the possibilities are sharpened to solve everyday problems, so the positioning looks adequate. It shoots video in 1080p, including according to the schedule and motion sensor, can write it to a memory card, and has voice communication functions.
What makes her interesting?
Because it is an inexpensive and autonomous solution forhome video surveillance of FullHD quality. When talking about autonomy, I mean the camera’s self-sufficiency; it does not need any smart home hubs or other specific devices; a regular smartphone is enough to control it. But now let’s take a closer look at the functionality.
What is in the box?
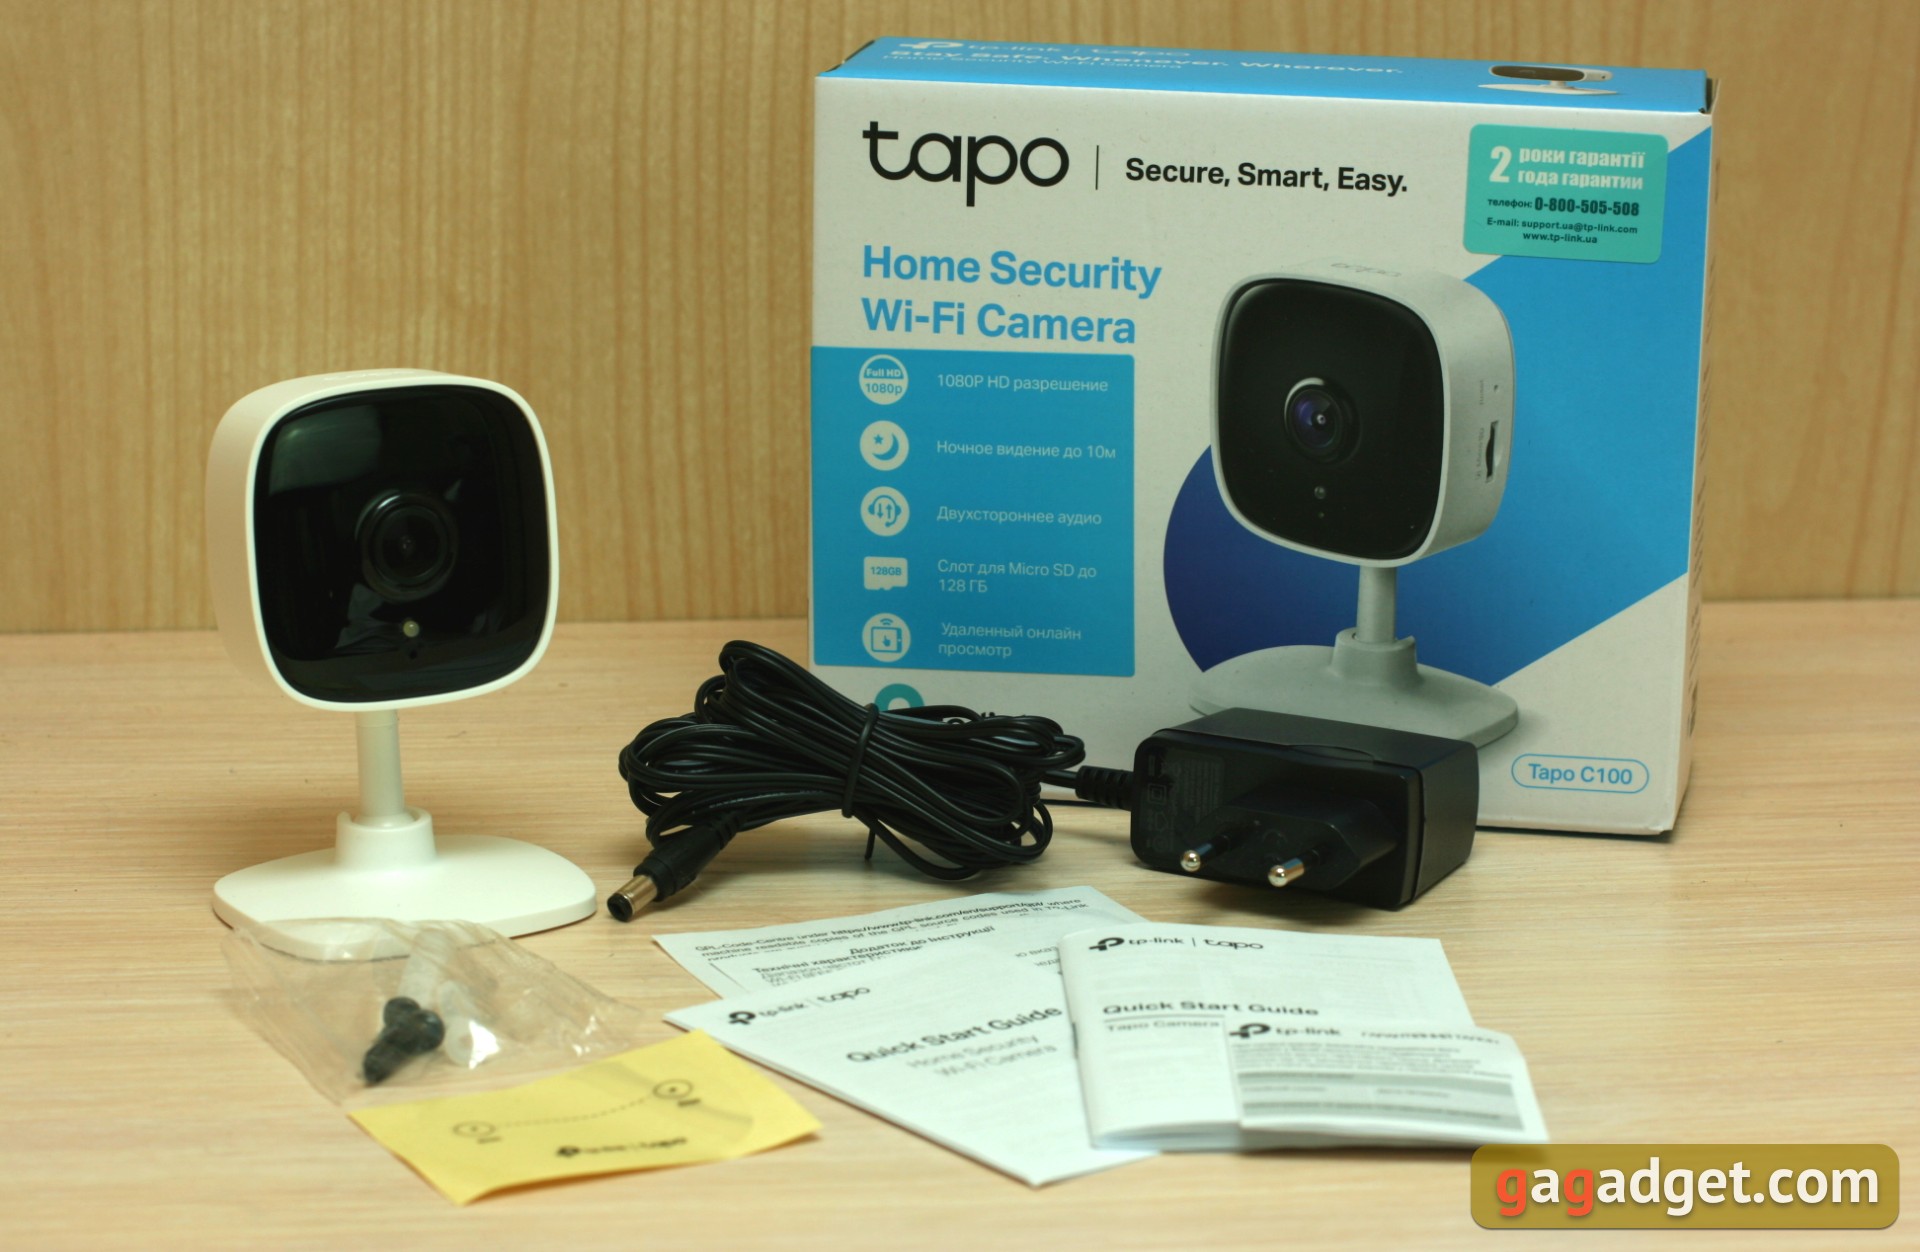
The camera itself, power supply, two screws with plastic dowels, mounting template, instructions, warranty card.
</ img>
The power supply is equipped with a permanent cable lengthabout three meters. At the end there is a round connector for connecting to the camera. For greater versatility, the manufacturer could perhaps use a microUSB USB Type-C connector, as is done in some other cameras. But at the same time, if a three-meter cord is not enough, then there will still be a need for extension cords and adapters, so we think that everything is fine.
</ img>
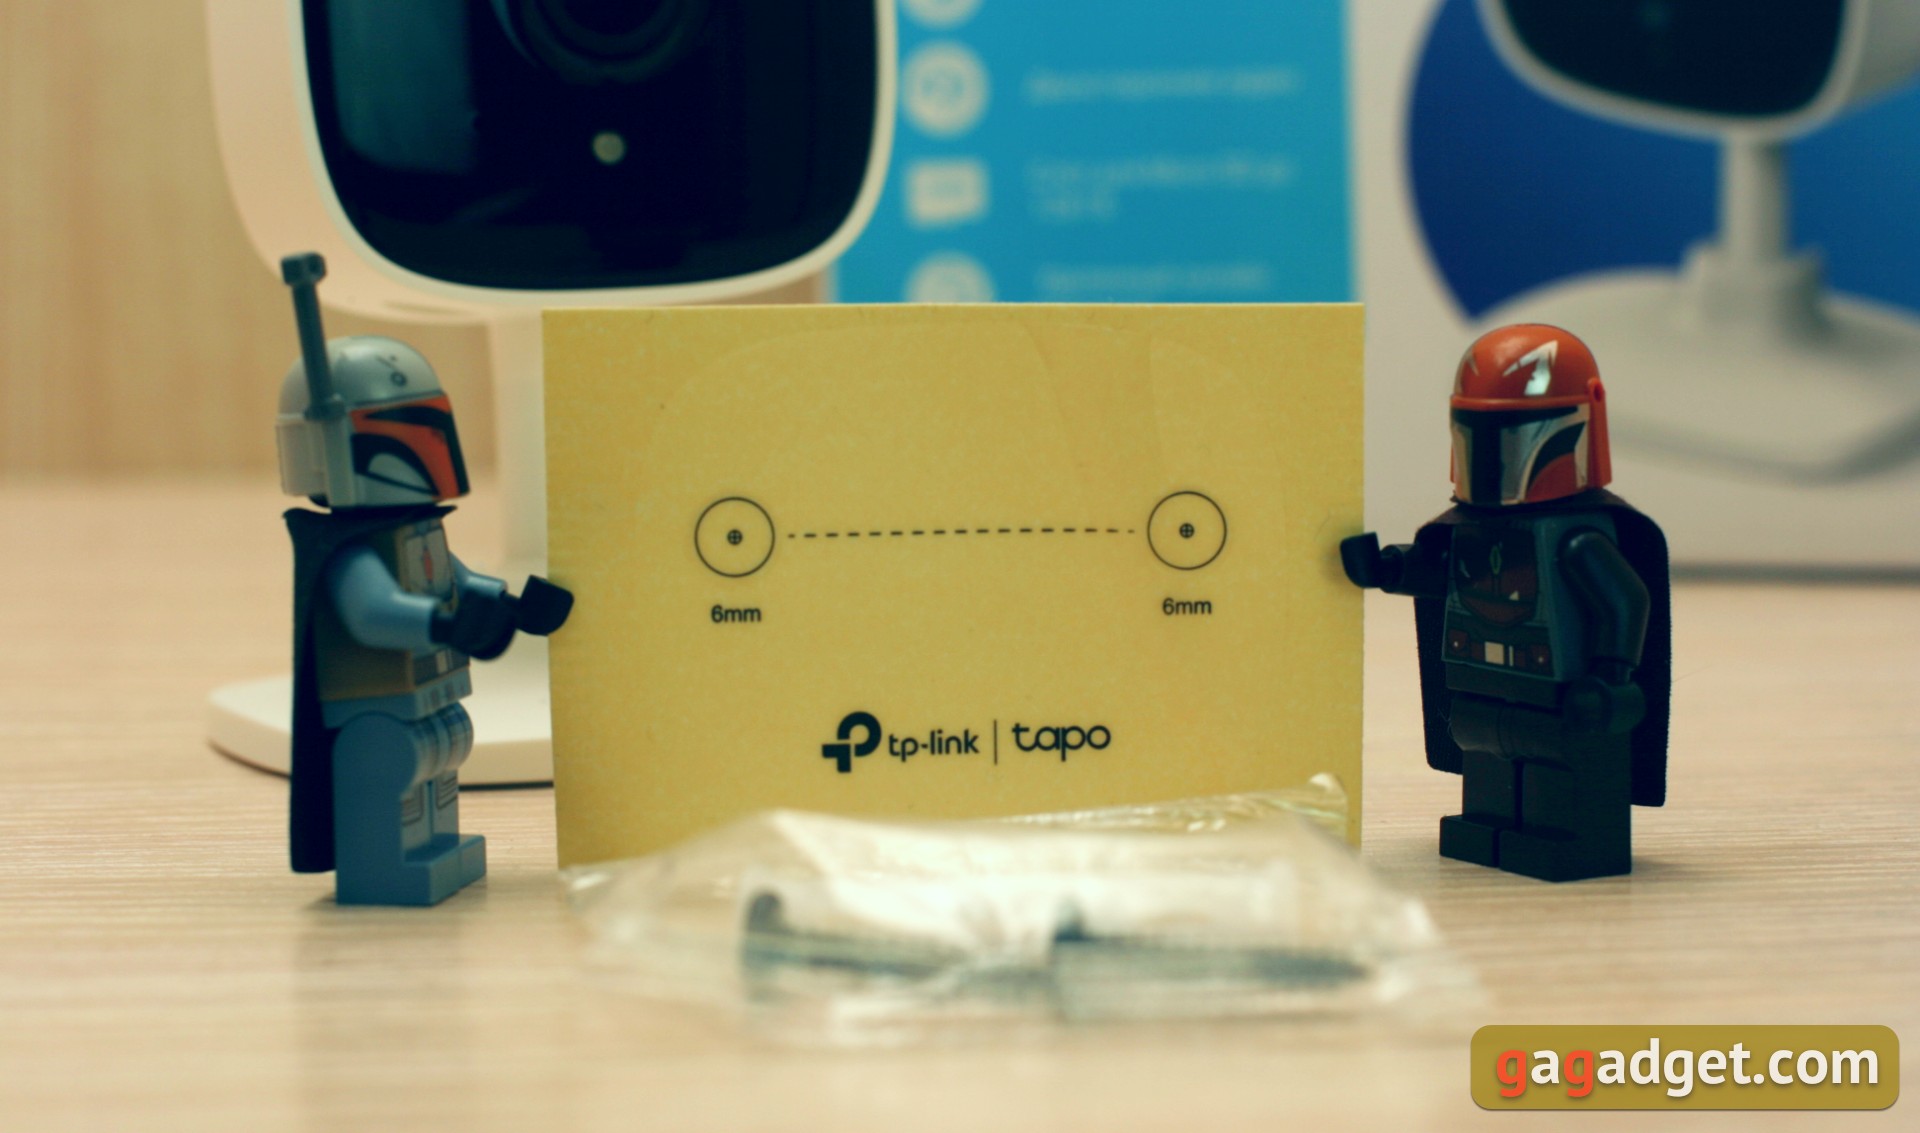
By the way, the installation template is a sticker withmarked points, the distance between which corresponds to the mounting holes on the camera body. We glue it to the surface, drill in the indicated places, screw in the screws and hang the camera on them perfectly evenly. It’s a mere trifle, but for some reason it’s not always put in a box with devices that can be wall-mounted.
What does it look like?
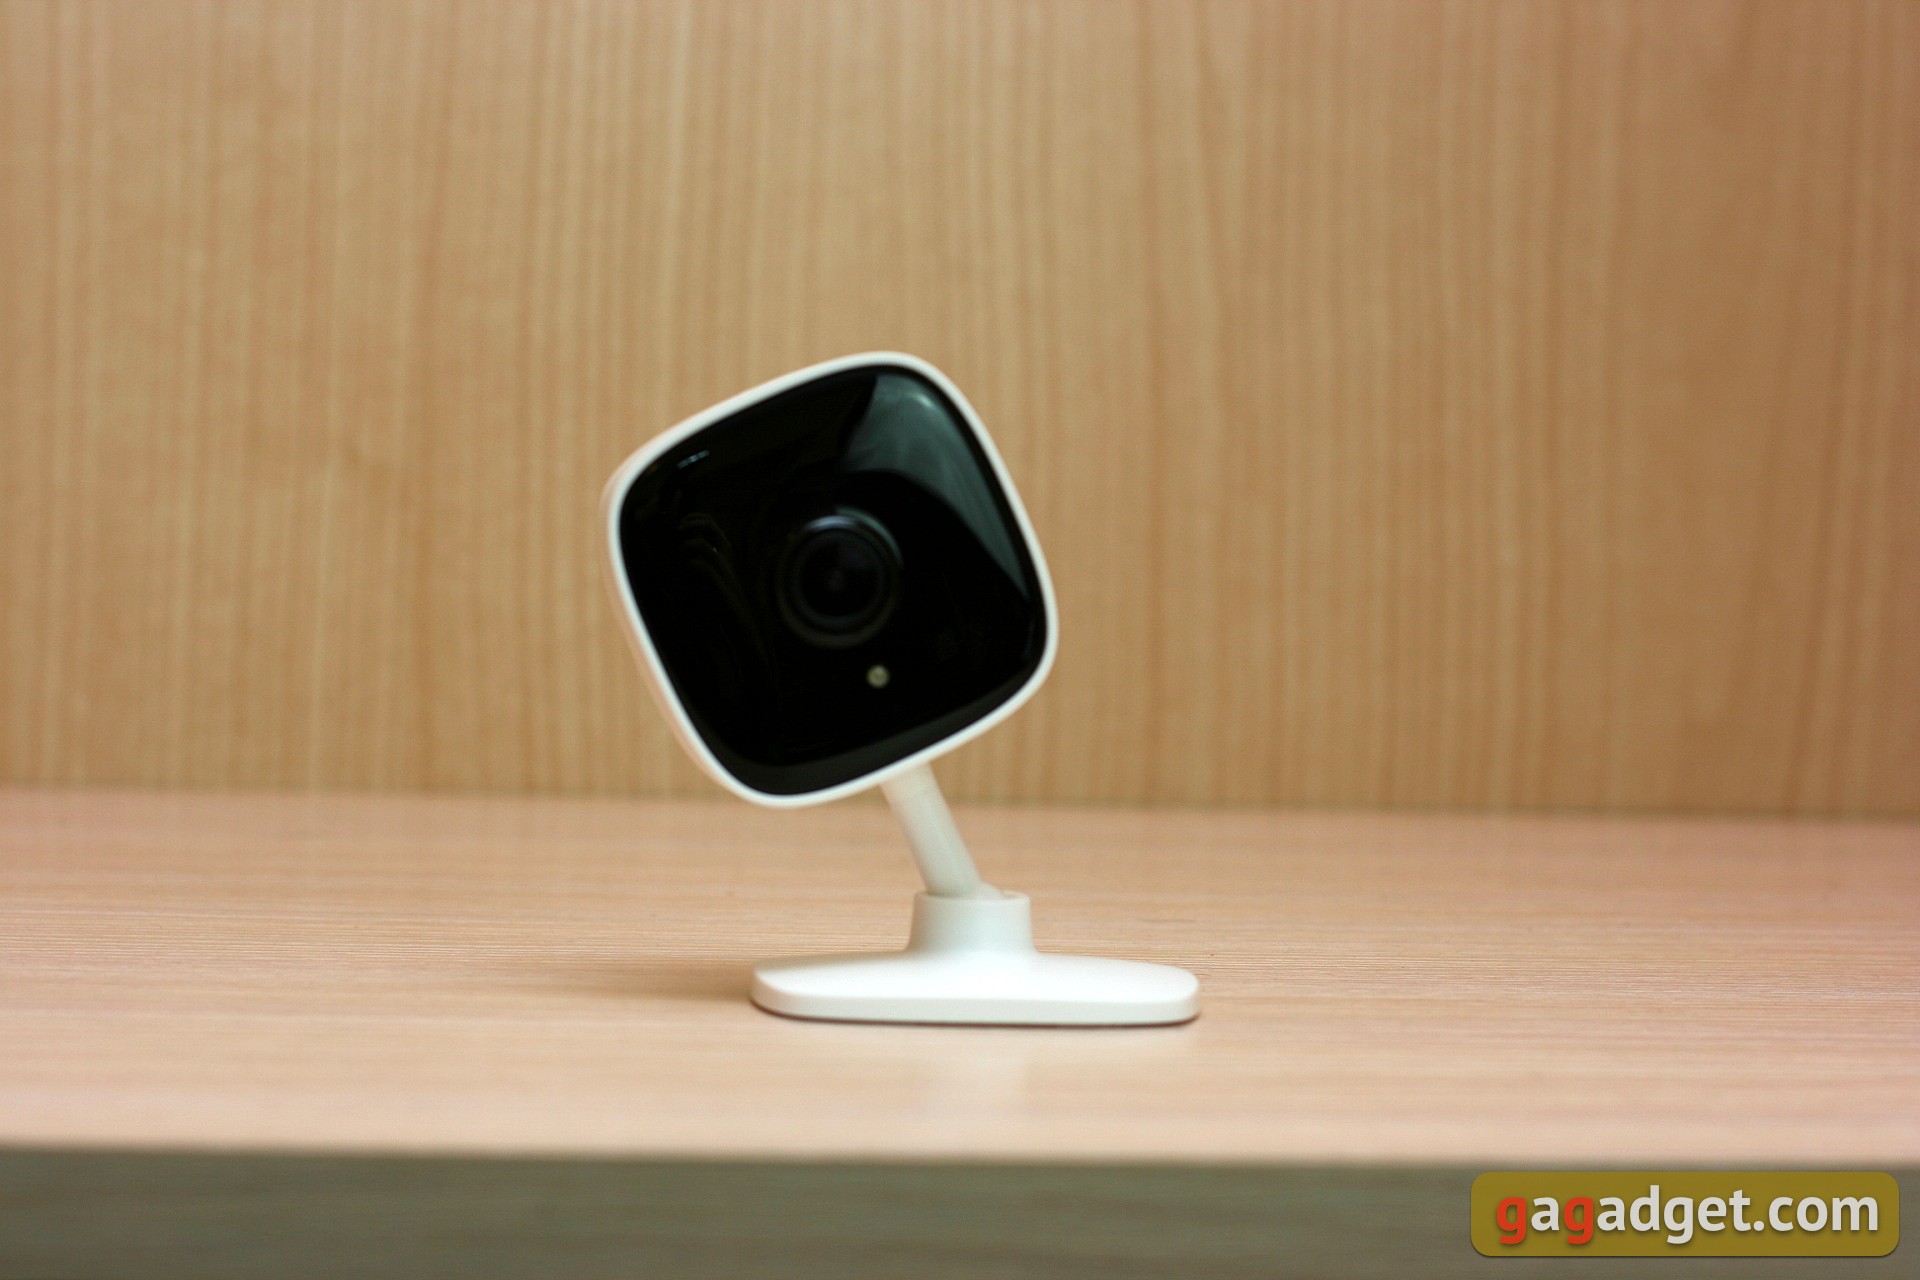
As befits a CCTV camera, without any specialexotic. The matte white plastic of the stand and body frames the glossy black front panel. It is easily soiled and easily collects fingerprints. The rest of the body is not.

</ img>
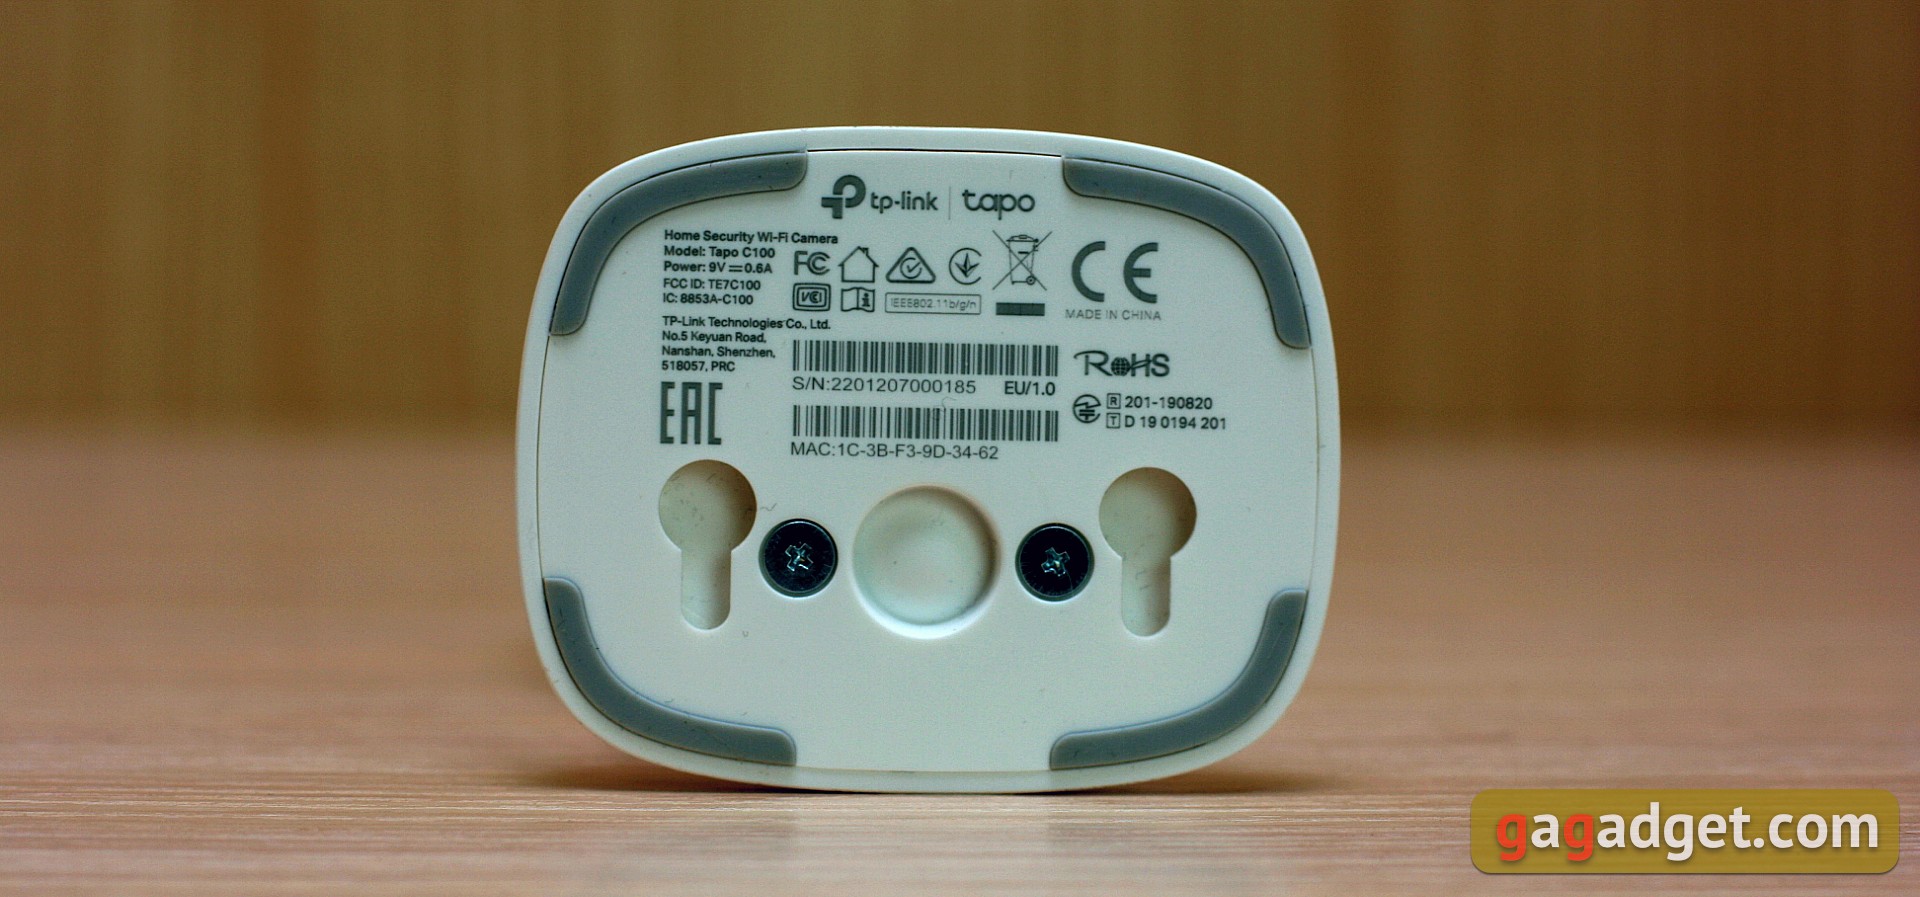
The bottom stand has non-slip pads andrecesses for wall mounting. Thanks to this design, the fit to the surface is excellent. By the way, thanks to the small mass, the camera can also be fixed with double-sided tape.
</ img>
The housing on the leg rotates due to the hinge. I note right away that he turns with his hands, after which he remains in the selected position. There is no electric drive and remote turning function. In the selected position, it holds impeccably, without a hint of looseness. You can twist the camera along the axis of the foot as you like, but there are limitations with turning. From the “on the table” position, it can be put back completely “face up”, but forward or to the side it tilts no more than 30 degrees. I did not measure with a protractor, but something like that. However, in real life it is difficult to imagine a situation where such flexibility is not enough, so move on.
</ img>
</ img>

</ img>

</ img>

</ img>


There is a speaker on the rear panel, so it’s better not to fasten the camera with the rear close to any sound-absorbing surface.

</ img>
On the bottom there is a power connector and on the side there is a reset button hole and a slot for a MicroSD memory card. The second side edge is empty, and on the top you can see a modest logo.
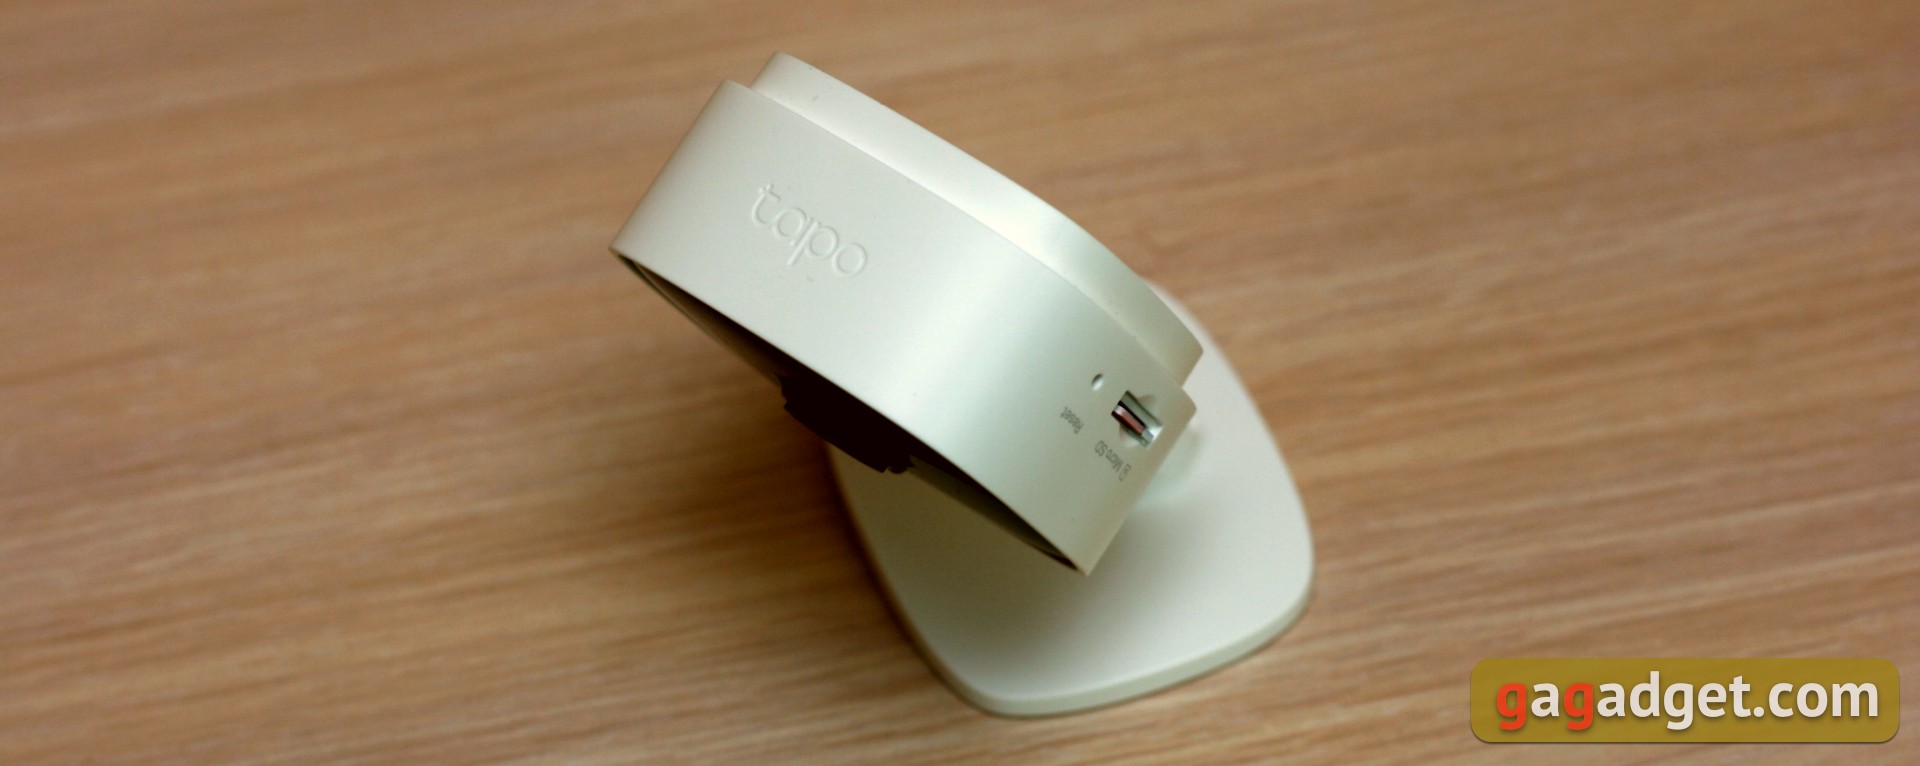
In the center of the front glossy panel is locatedthe camera lens, below it there is a status LED, a more powerful signal LED, and a microphone. Above the lens are three red LEDs that turn on in night shooting mode.
How to configure and connect?
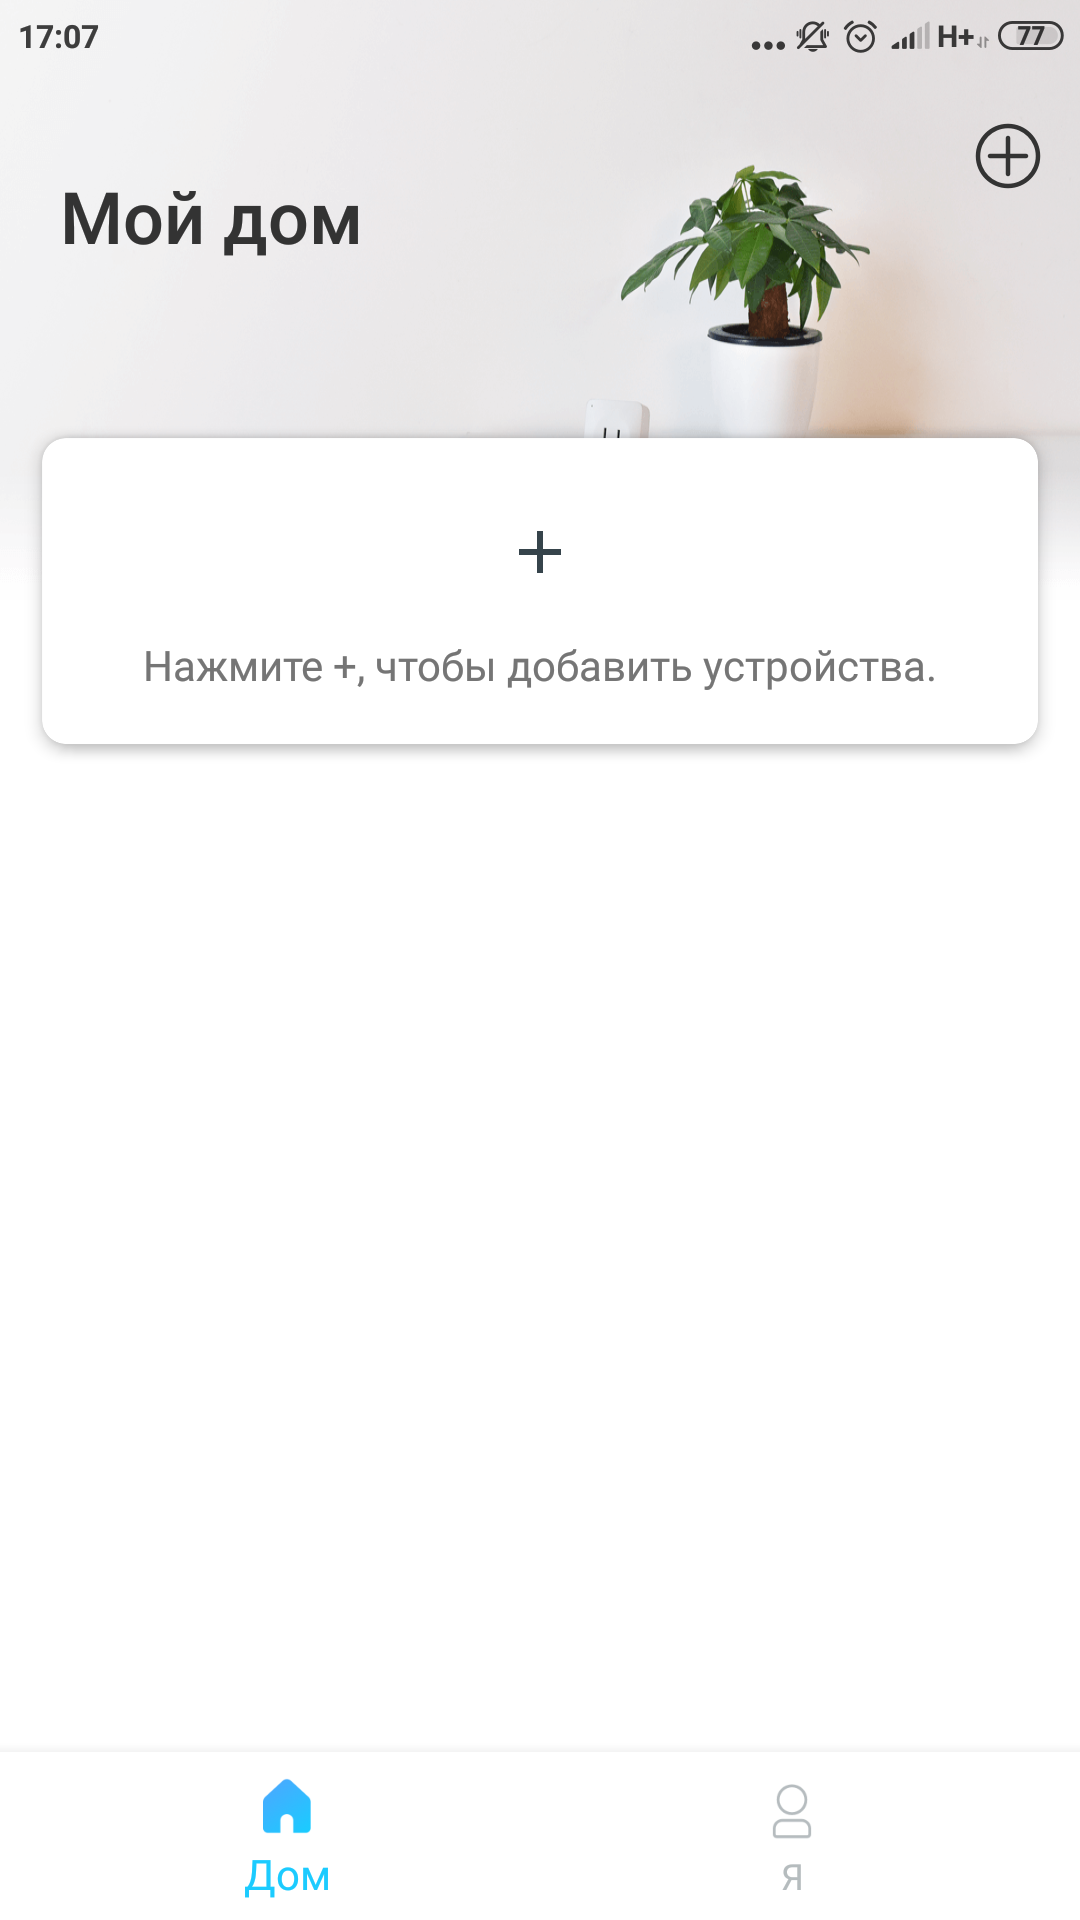
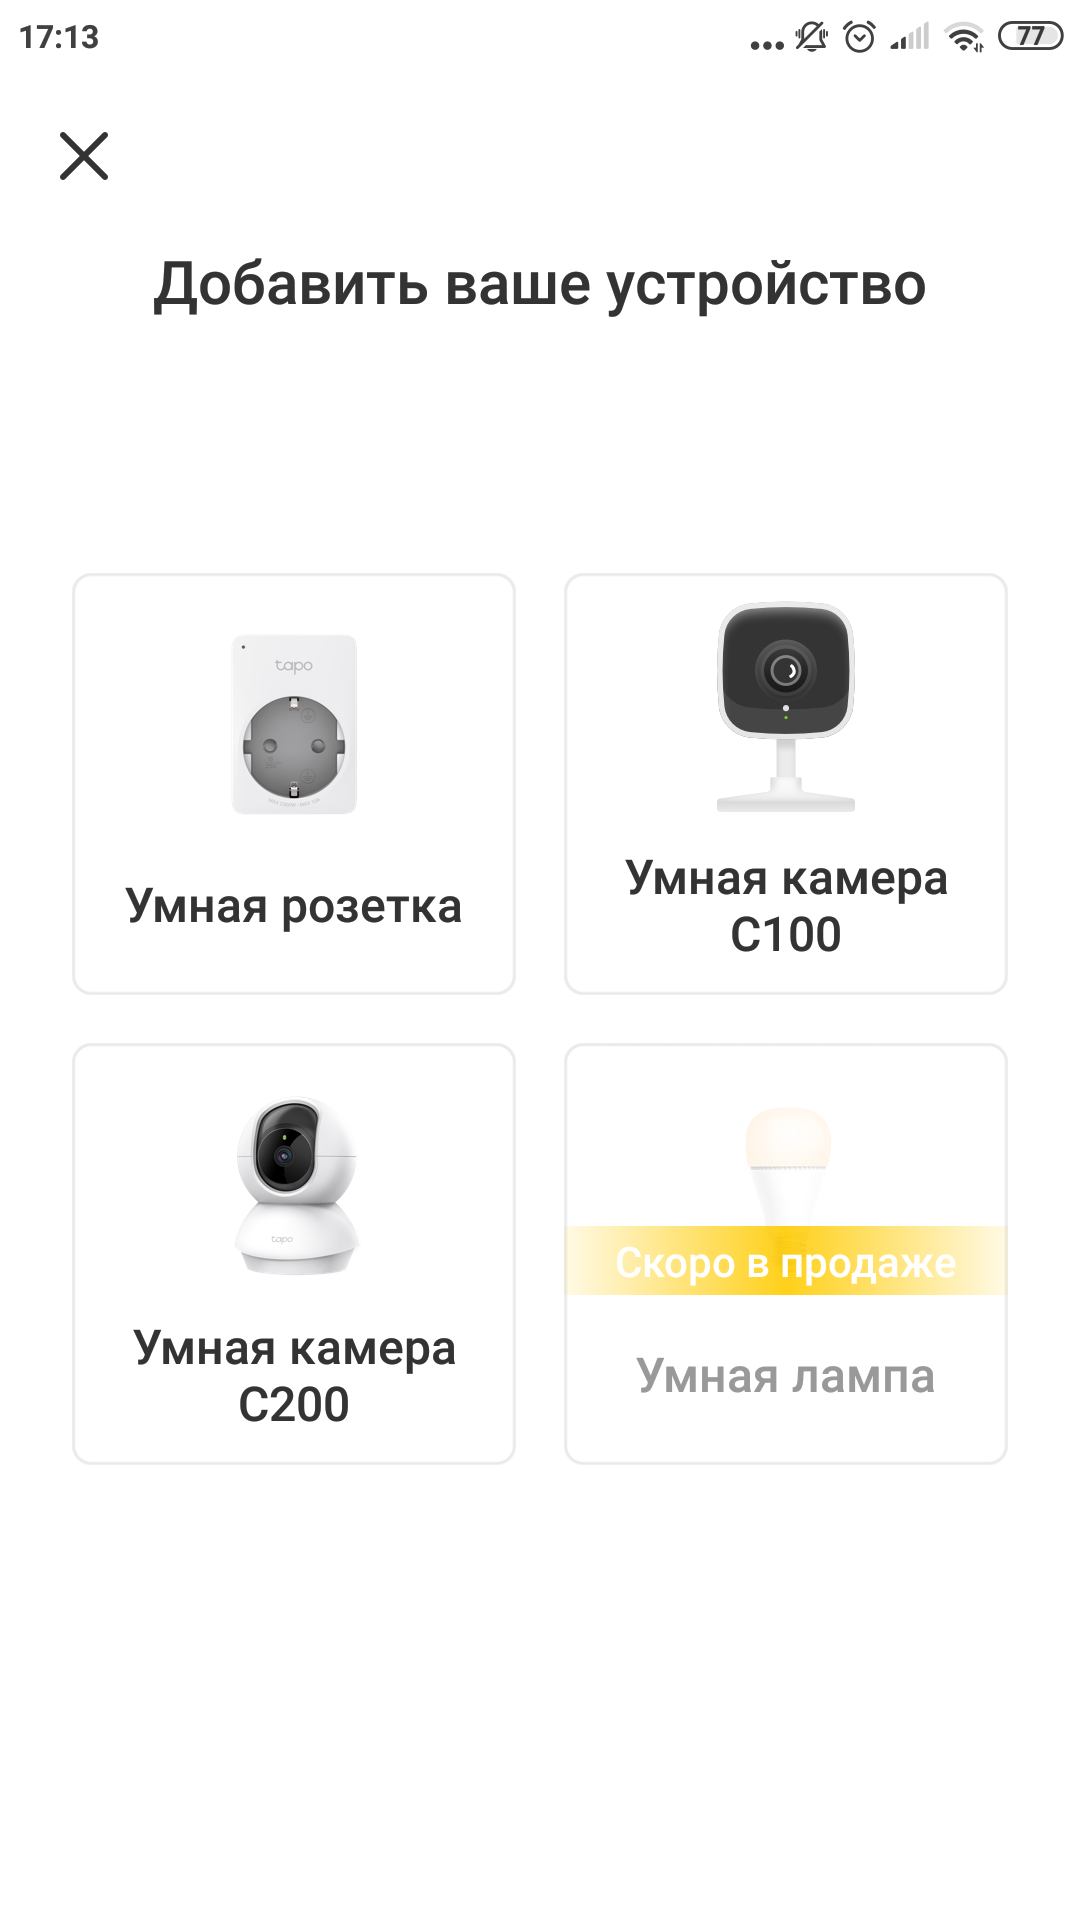
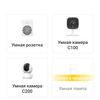
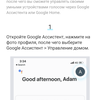
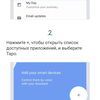
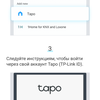
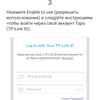
First, download the Tapo application using the QR code ininstructions. It's small, the Android version weighs about 25 MB, if that's important to you. Next, log in using TP-Link ID. If you don't have one, you will need to register first, it's free.
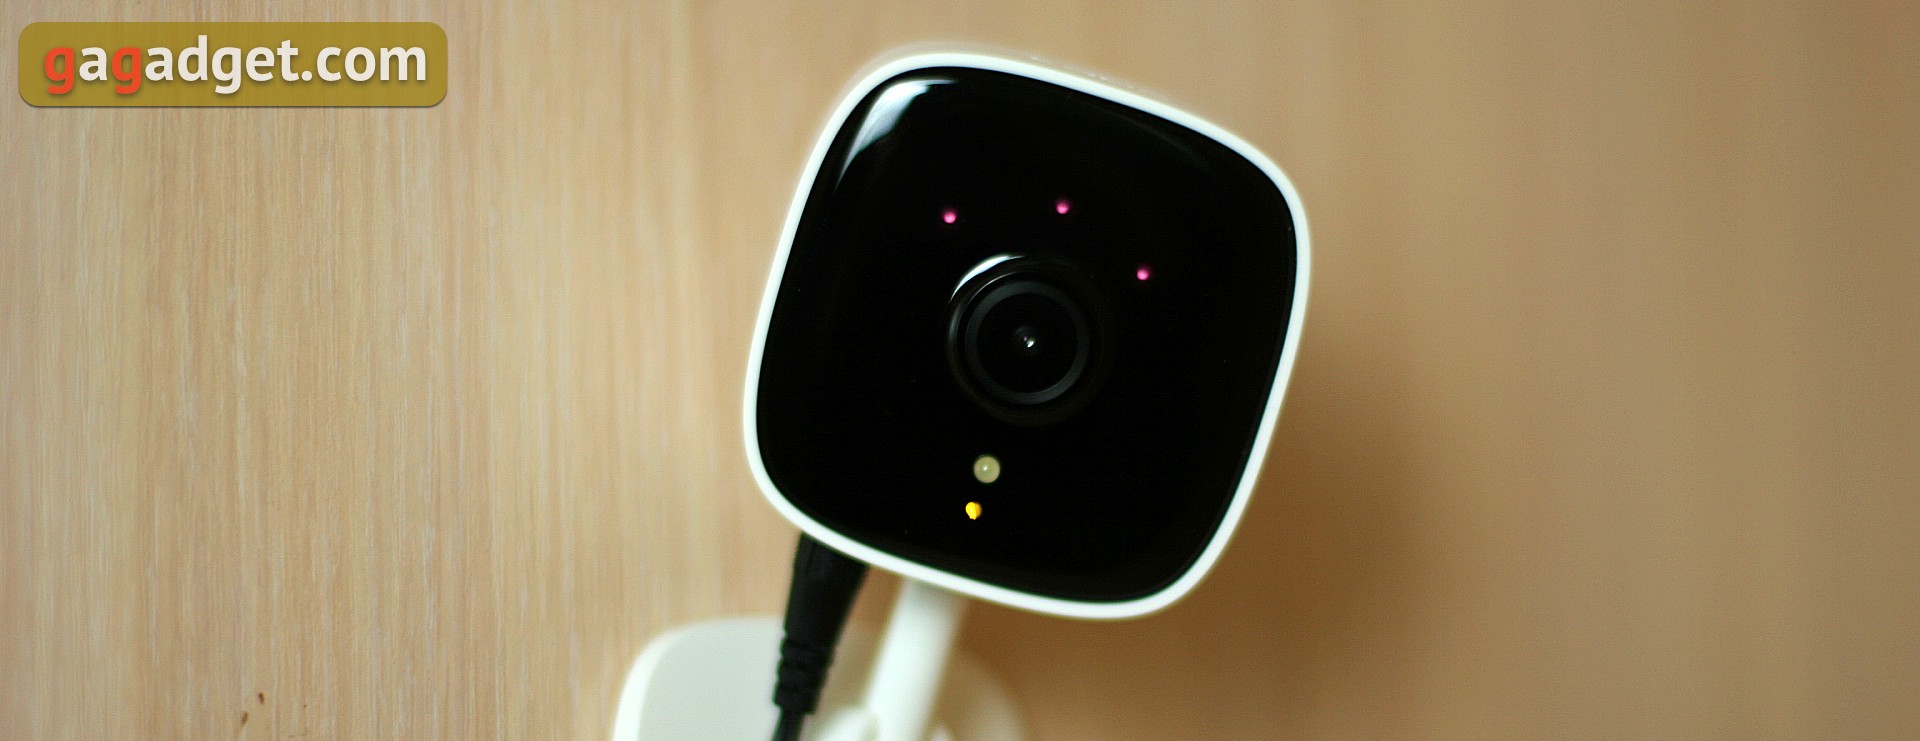
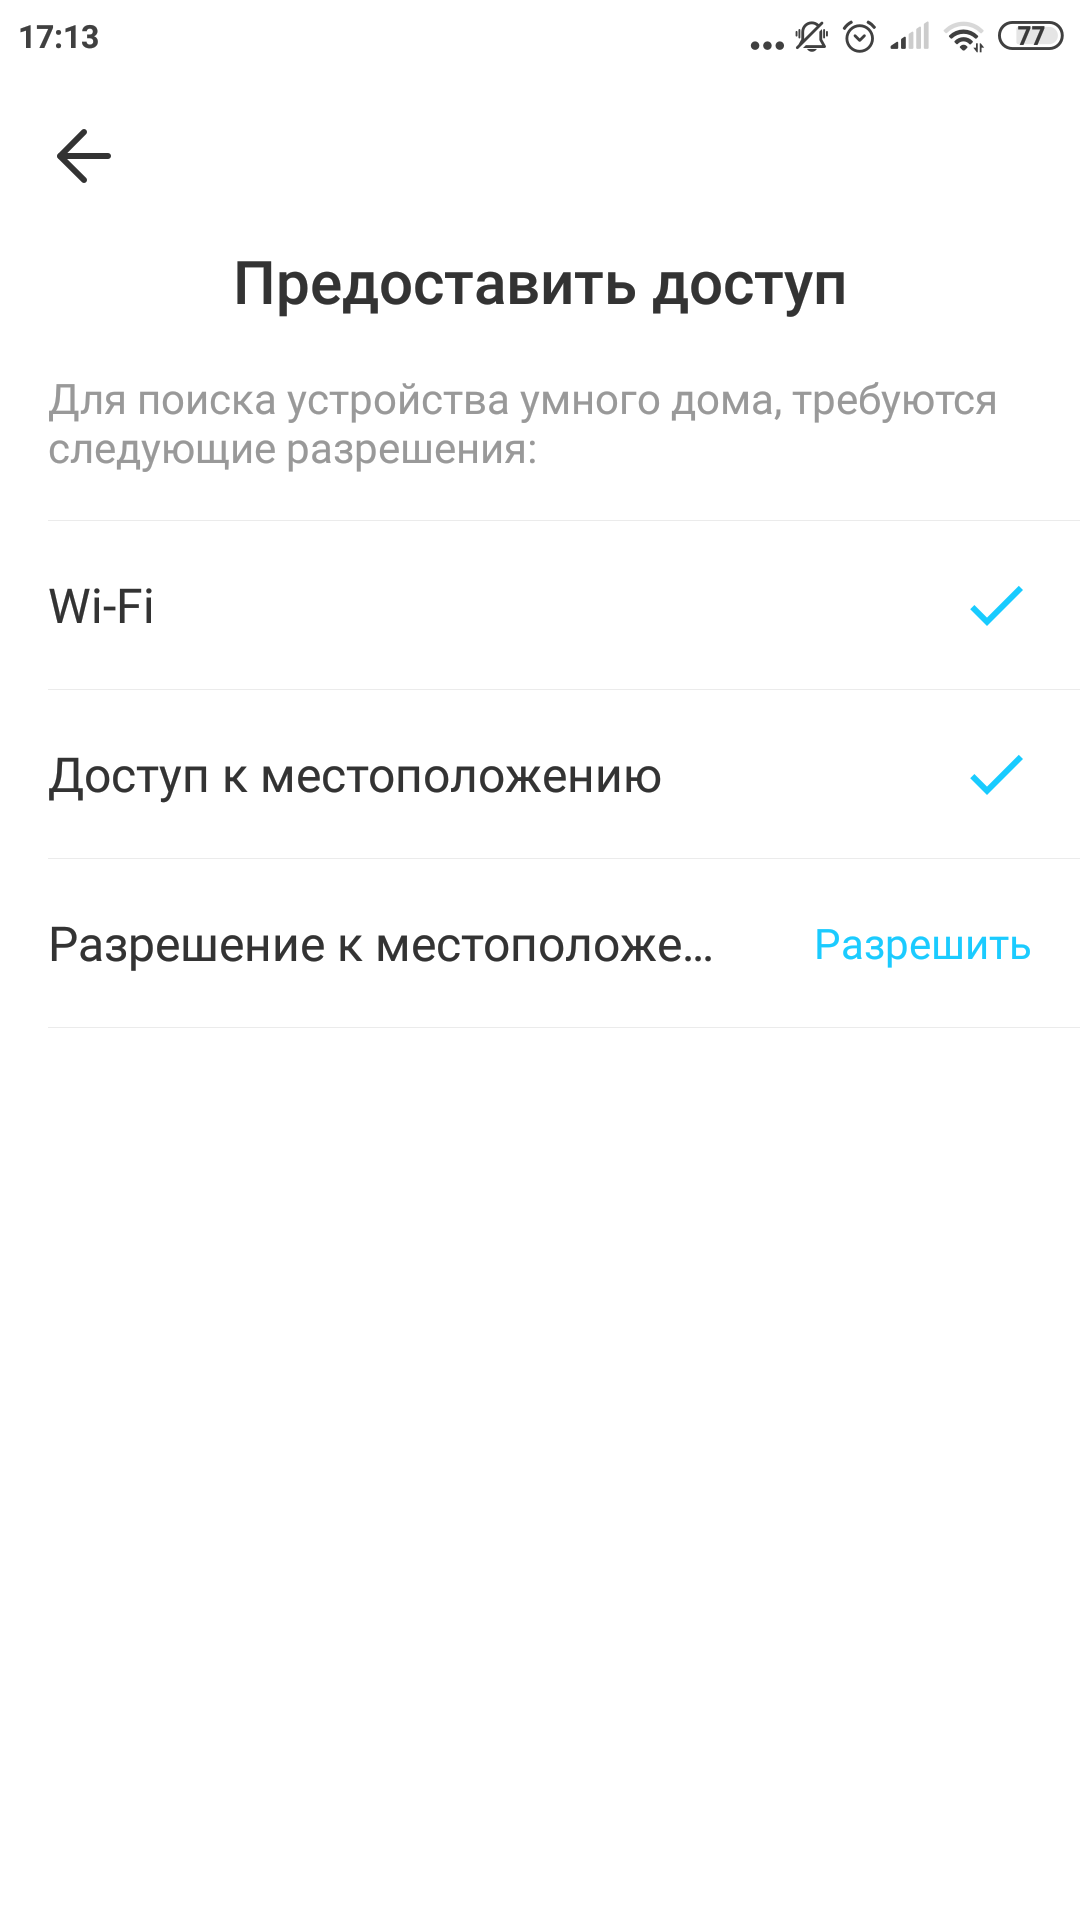
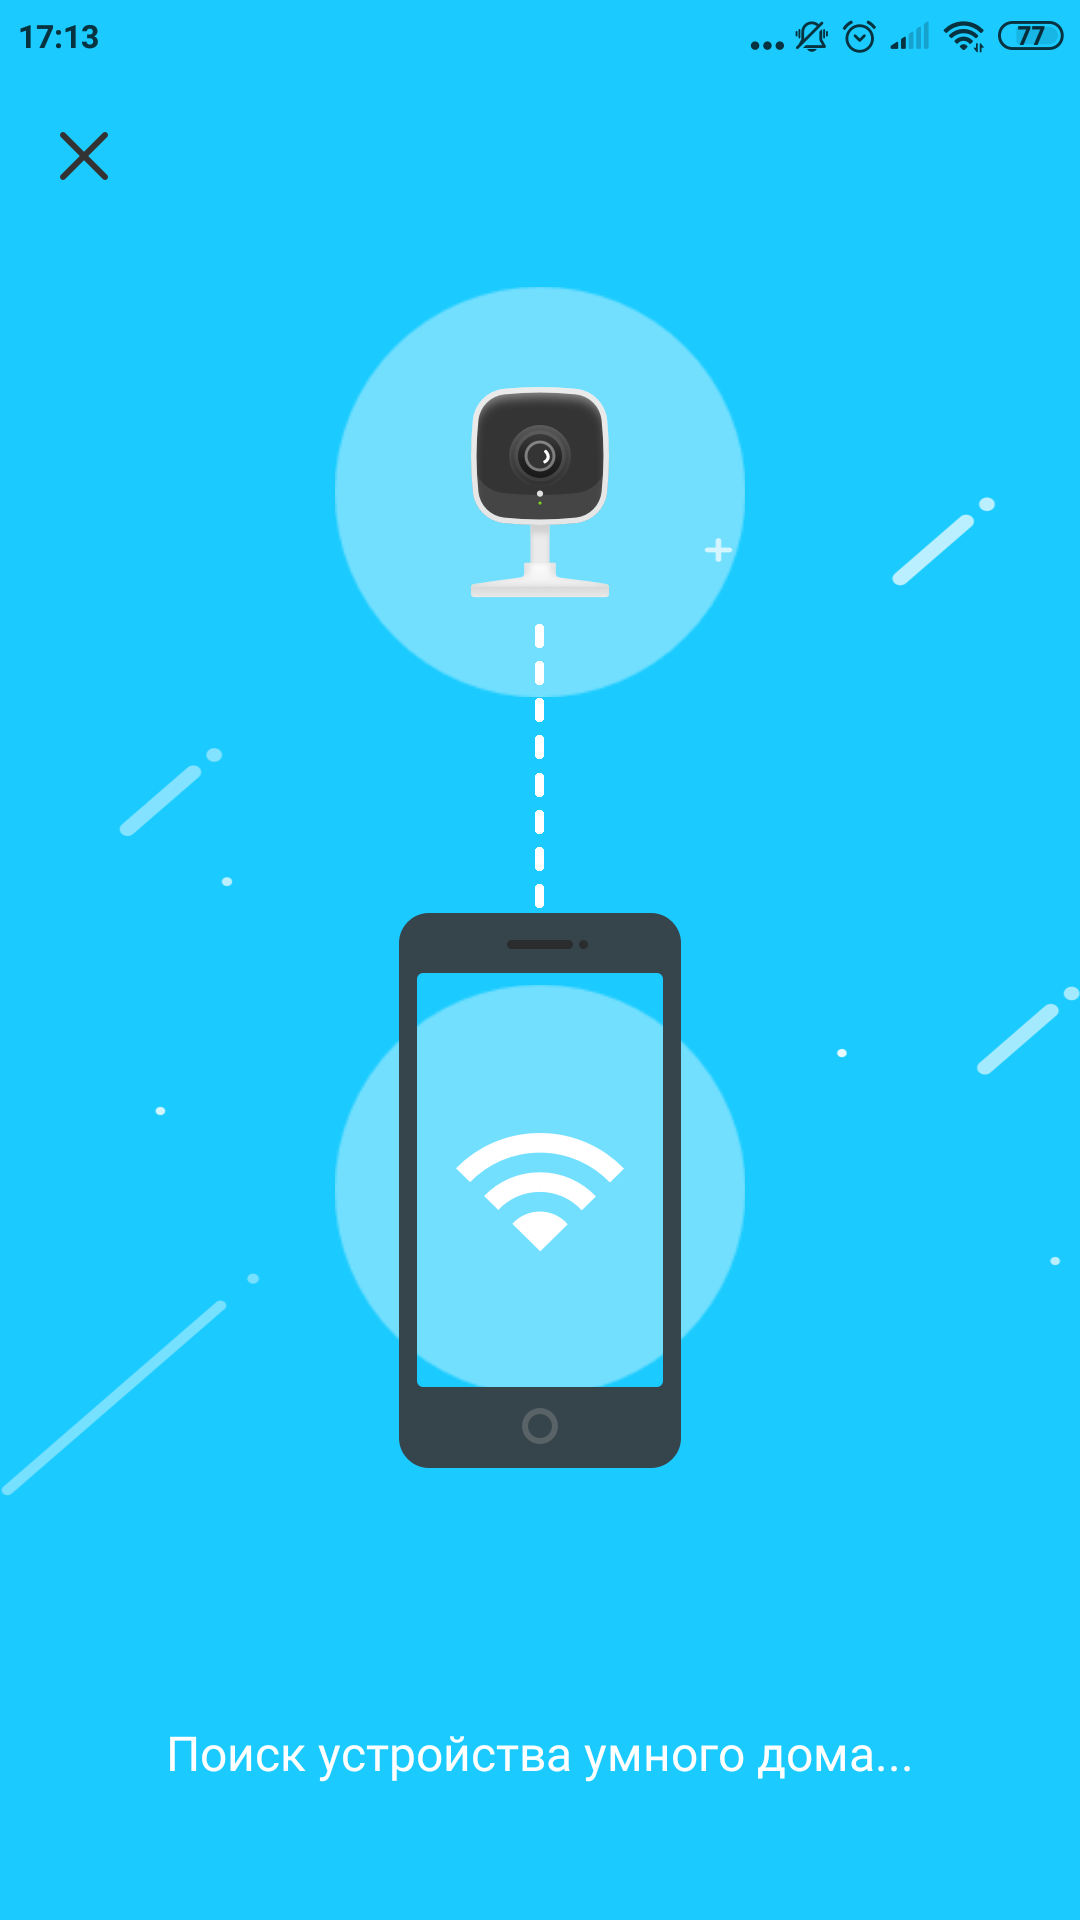
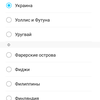
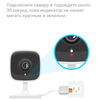
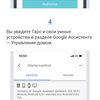
When we figured it out, we connect the camera topower supply and wait until the status LED flashes red-green. In the application, select the device we need and allow access to geodata. Next, you need to select a Wi-Fi network and enter a password for it. The camera only supports 2.4 GHz band.
</ img>
</ img>
</ img>

</ img>
</ img>
</ img>
</ img>


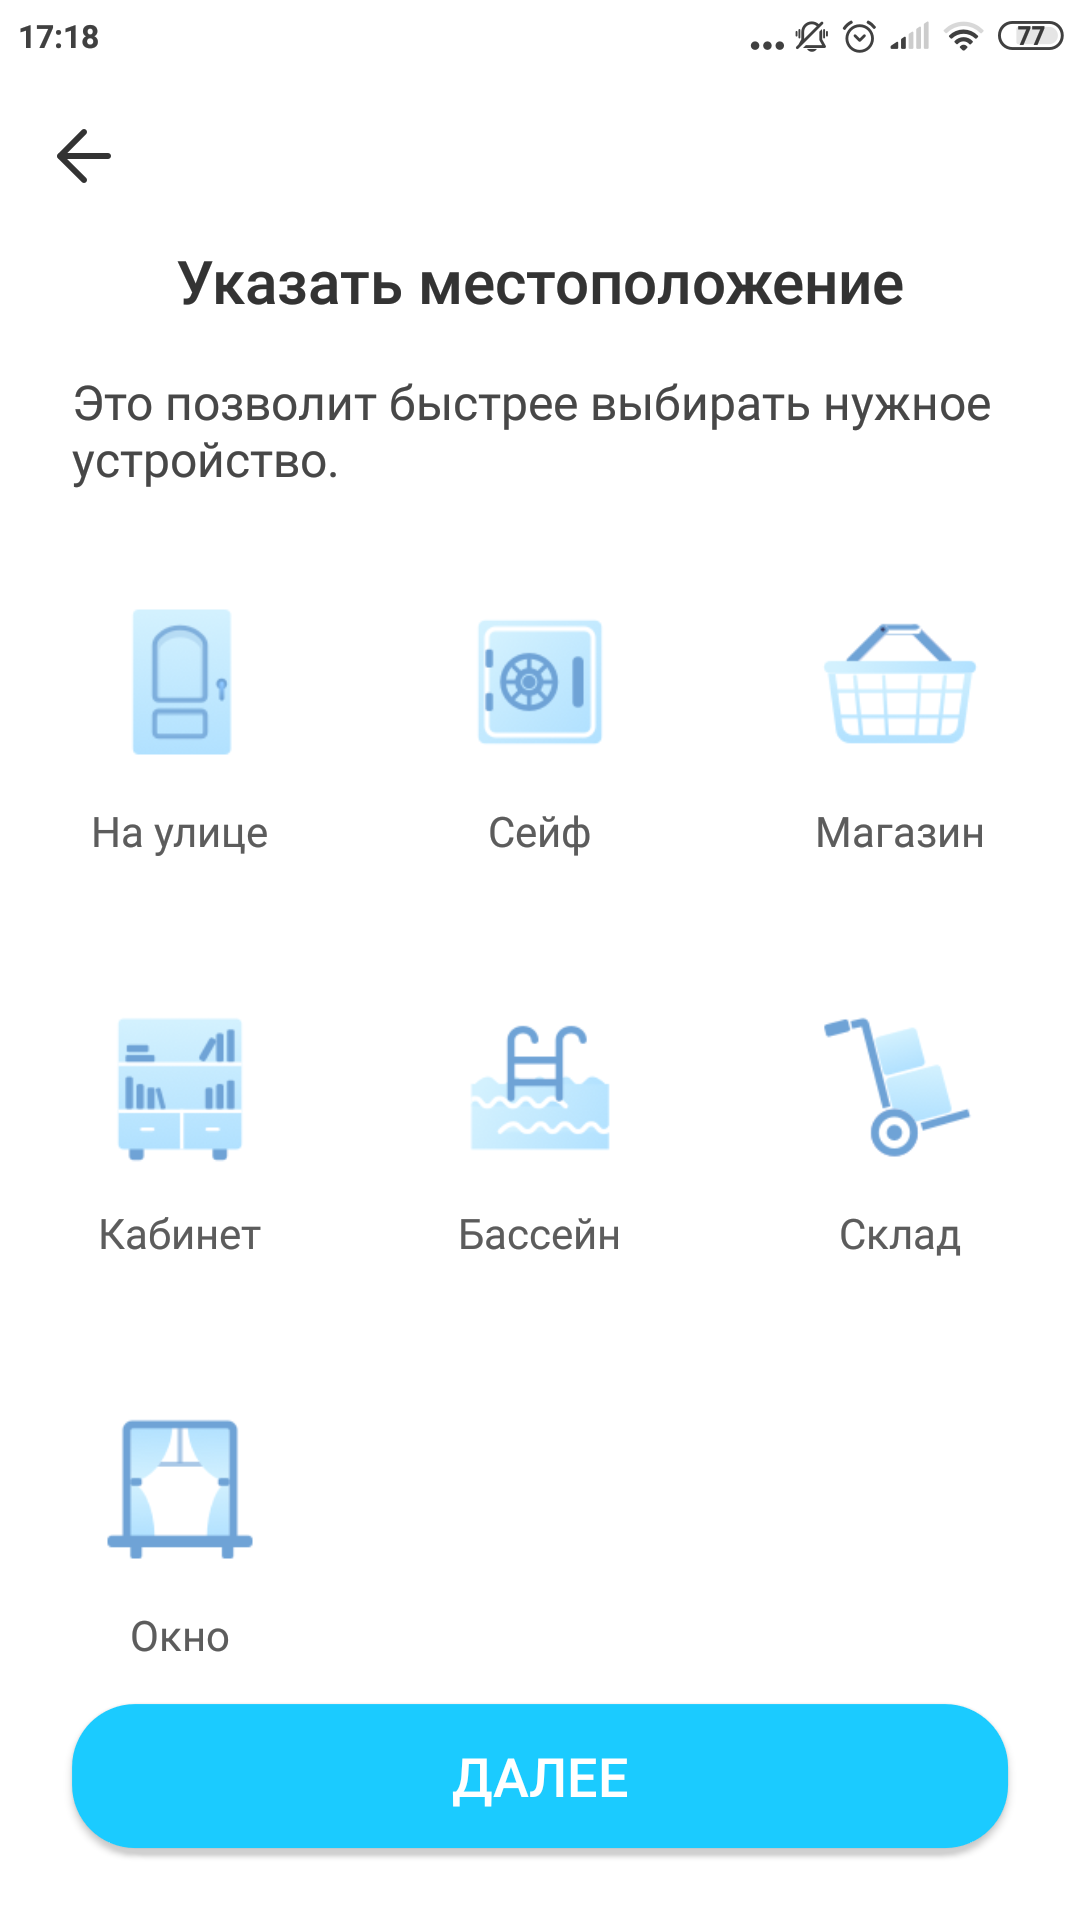
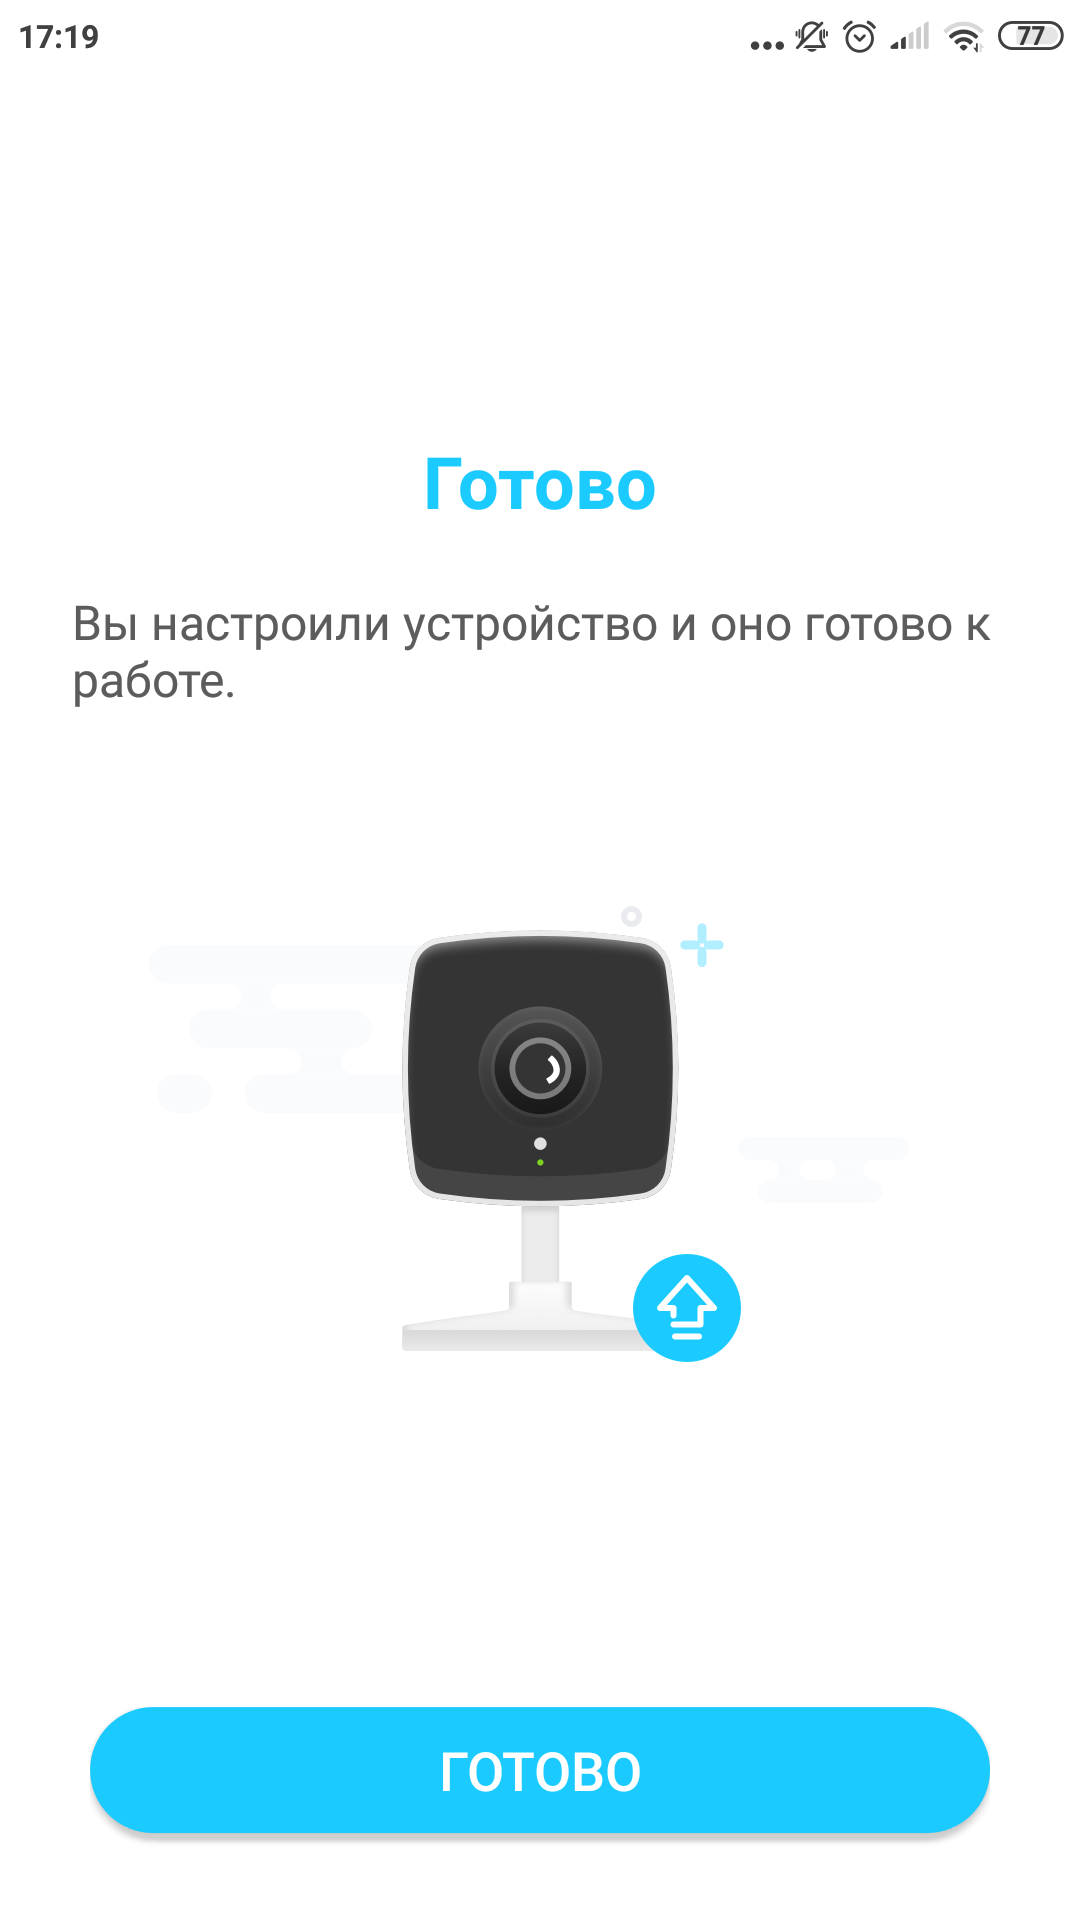
You can specify the name of the camera (this is convenient whenthere are several of them, and in total the application supports up to 32 pieces) and select its location from the list of preset locations. The list includes funny “cat house” and “dog house” presets. After this, the application reports that it is ready for work.

</ img>

</ img>
</ img>

</ img>
</ img>


Before or after these simple steps, you need to take care of the location of the camera, choose a place for it on a suitable surface: put or hang it on the screws from the kit.
What can he do?
He can do a lot of things.In short, the camera is designed for remote monitoring. You can see and hear from your smartphone everything that she sees and hears, but for this she needs a Wi-Fi connection, and a smartphone needs any Internet, a mobile phone will do. The Tapo-C100 can also record video using a motion sensor, but only to an installed memory card.
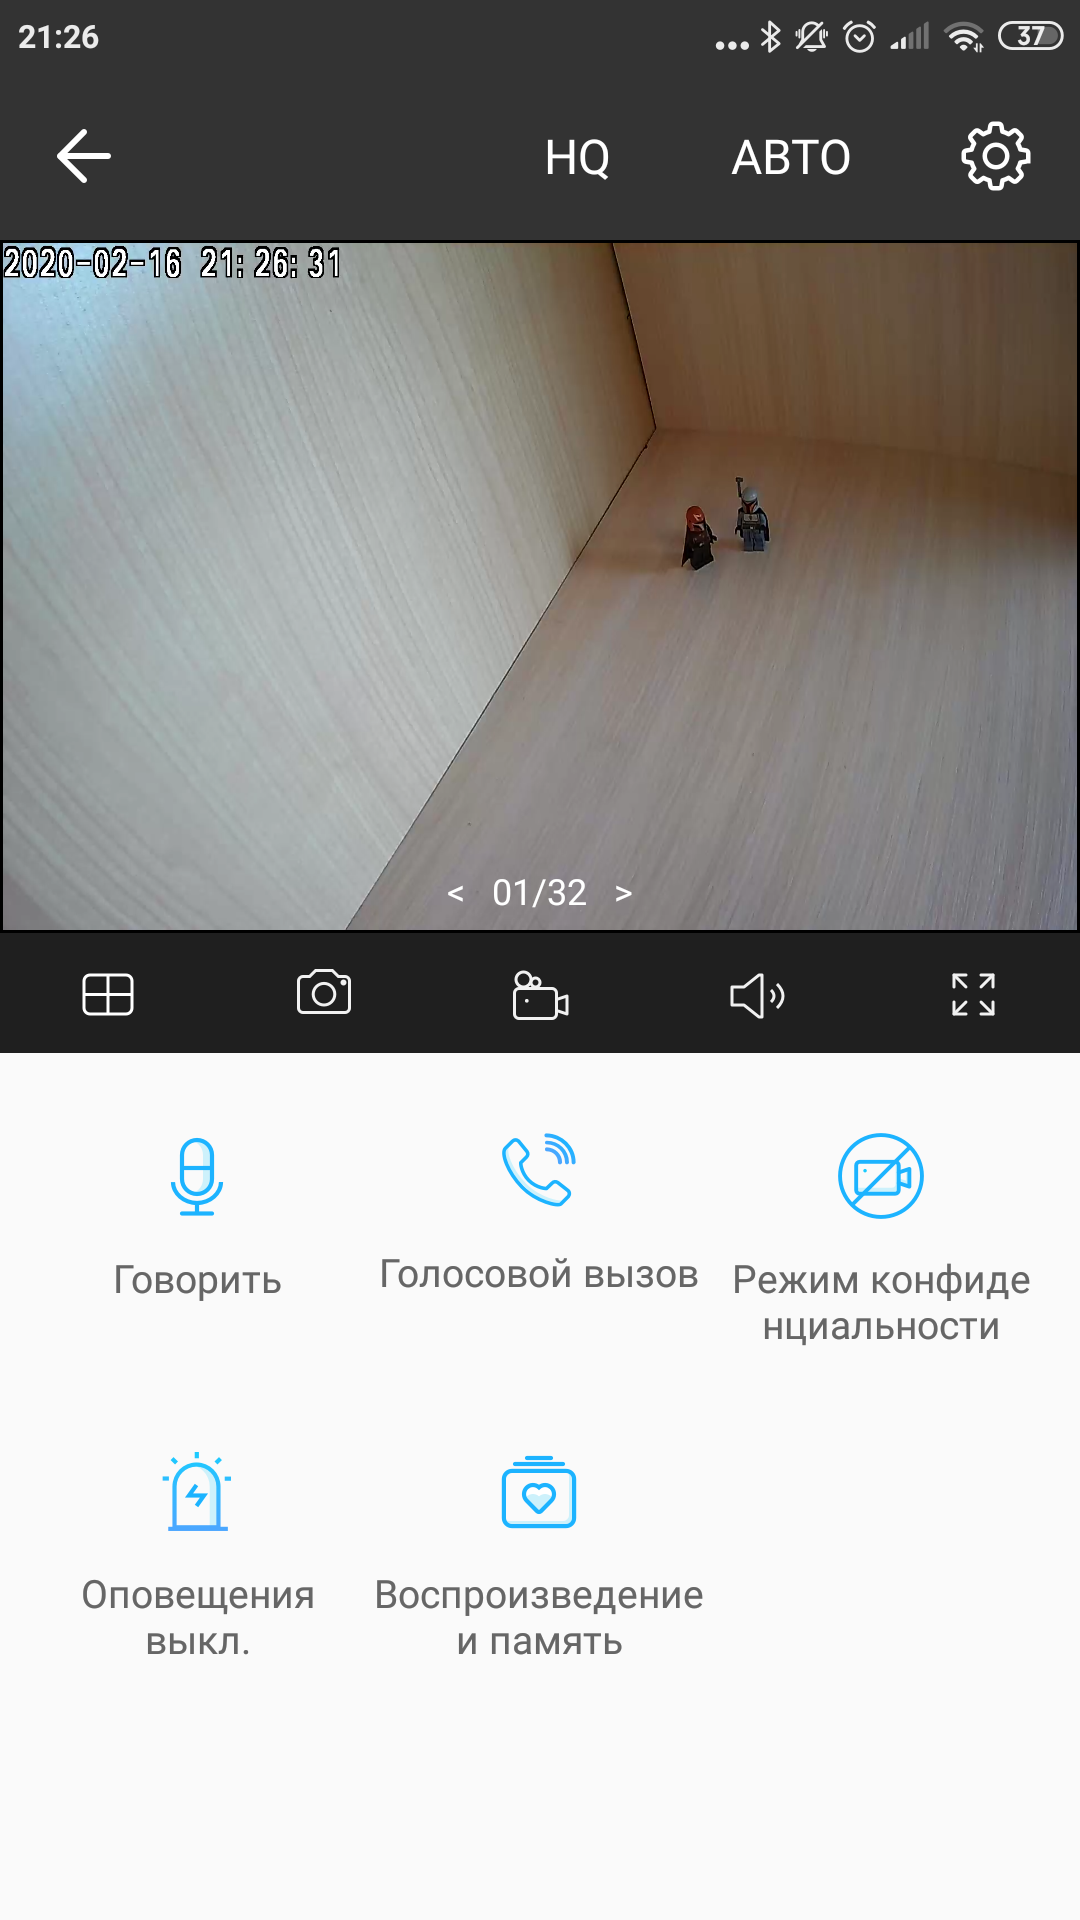
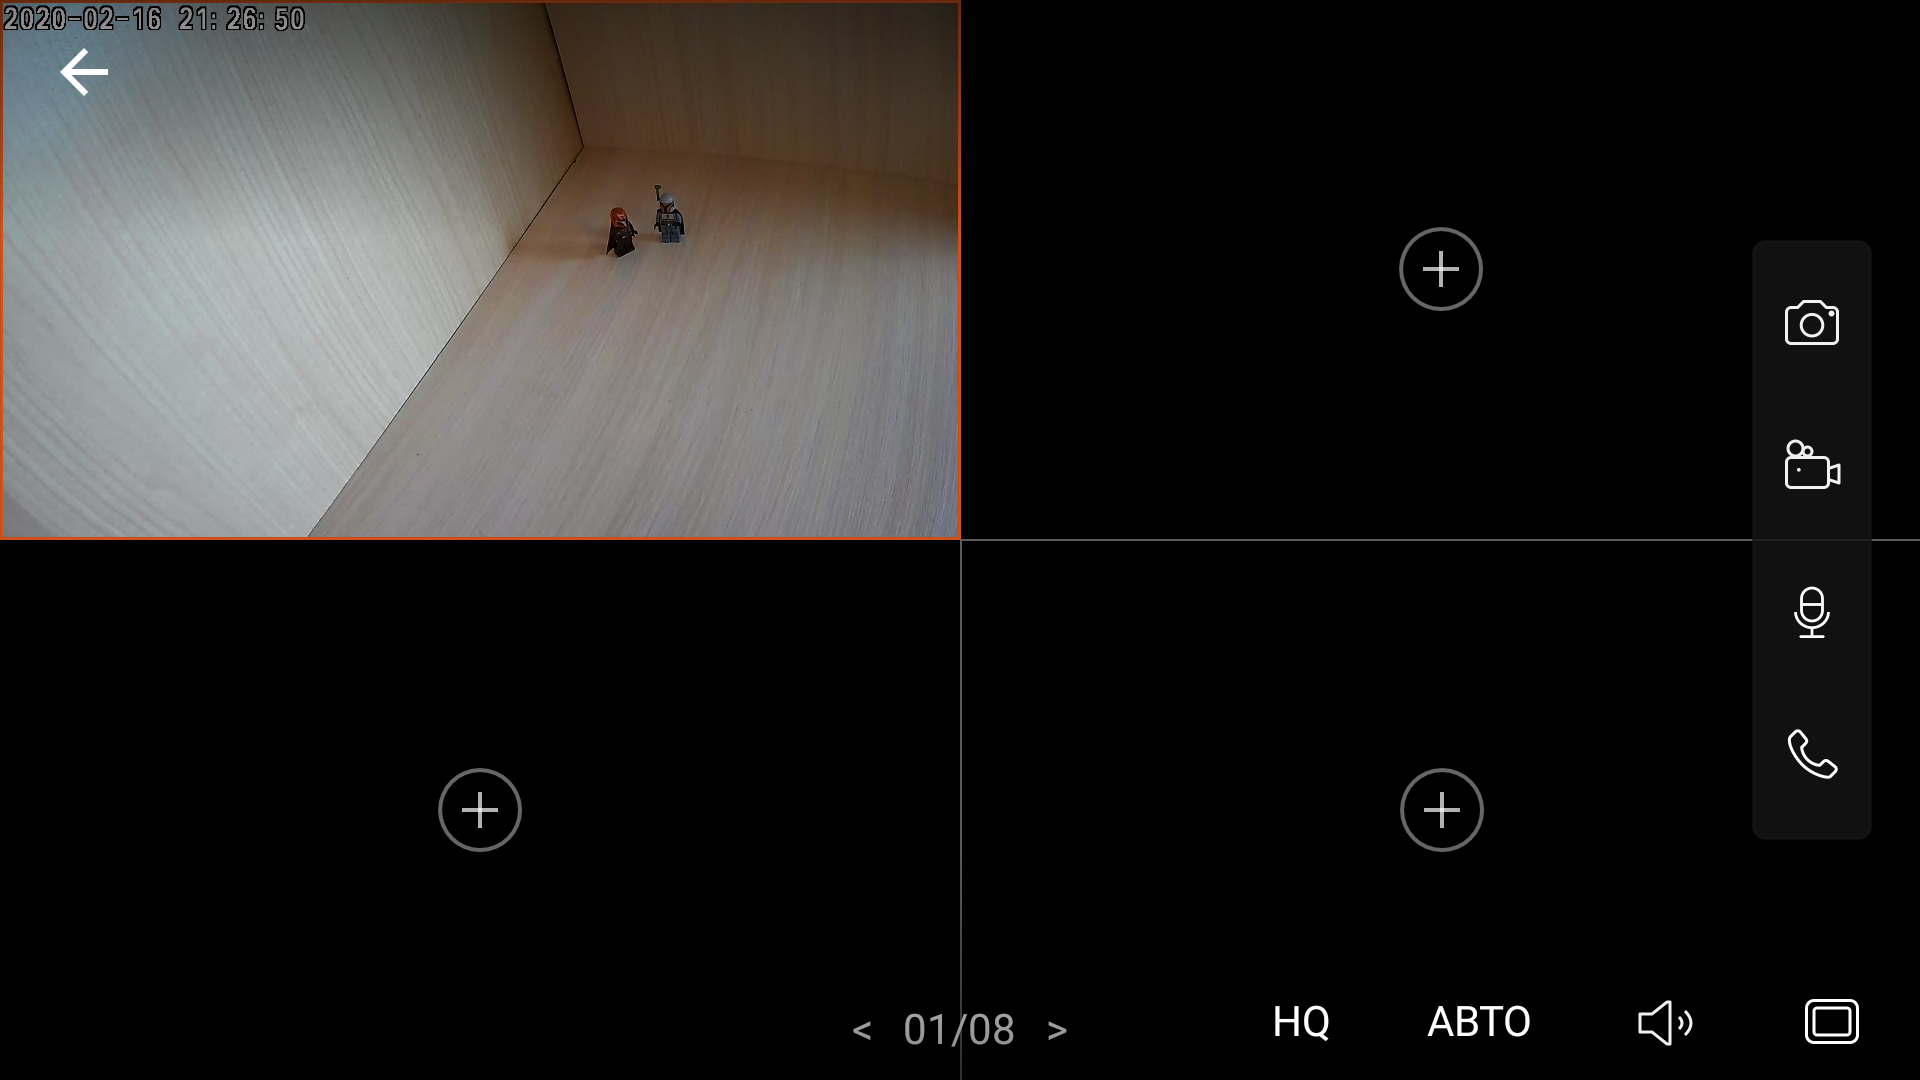
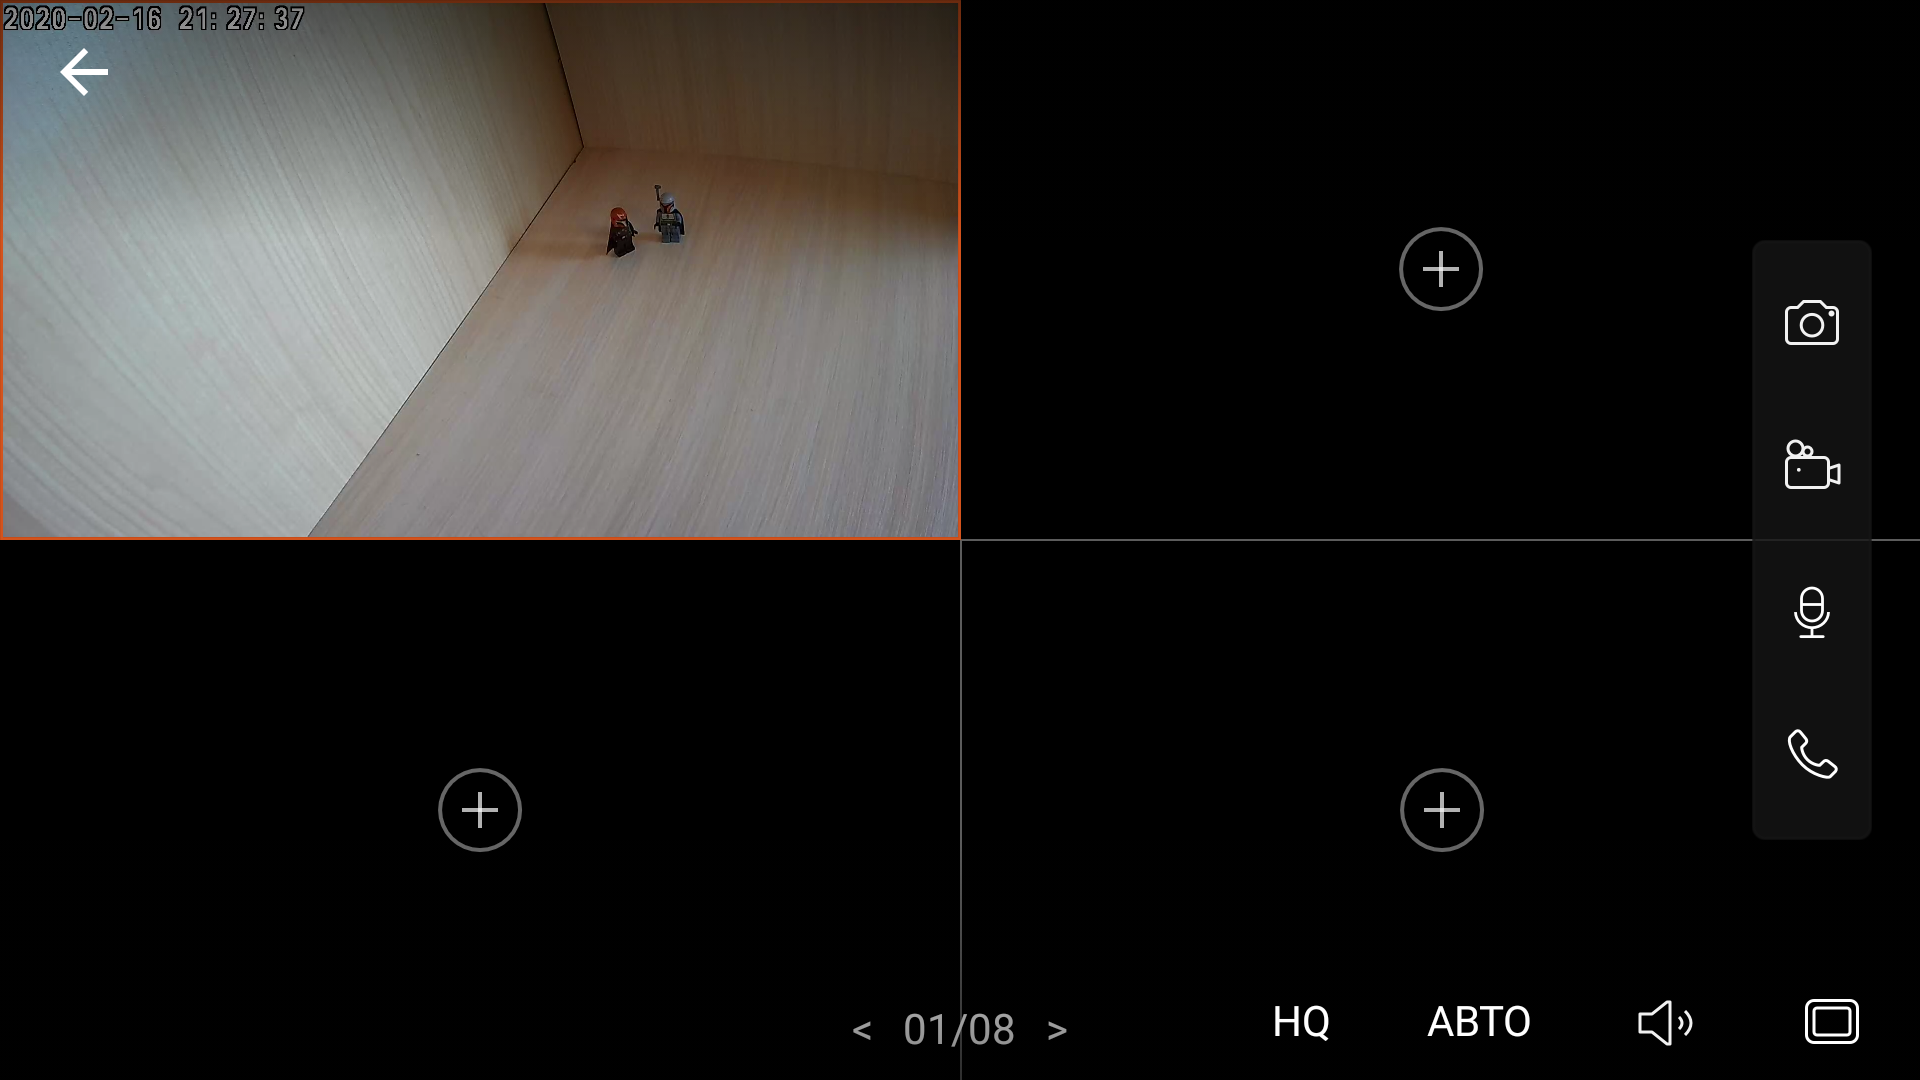
Now let's get back to the Tapo app andconsider the possibilities in more detail. So, after connecting the camera appears in the list of available devices. By clicking on its name, you can access the main functions. In a prominent place - watching live video. You can immediately switch to multi-screen mode, which displays images of several cameras, if you have any. Four cameras on one screen, if desired, the picture can be viewed in full screen mode.
</ img>

</ img>
</ img>
</ img>

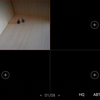
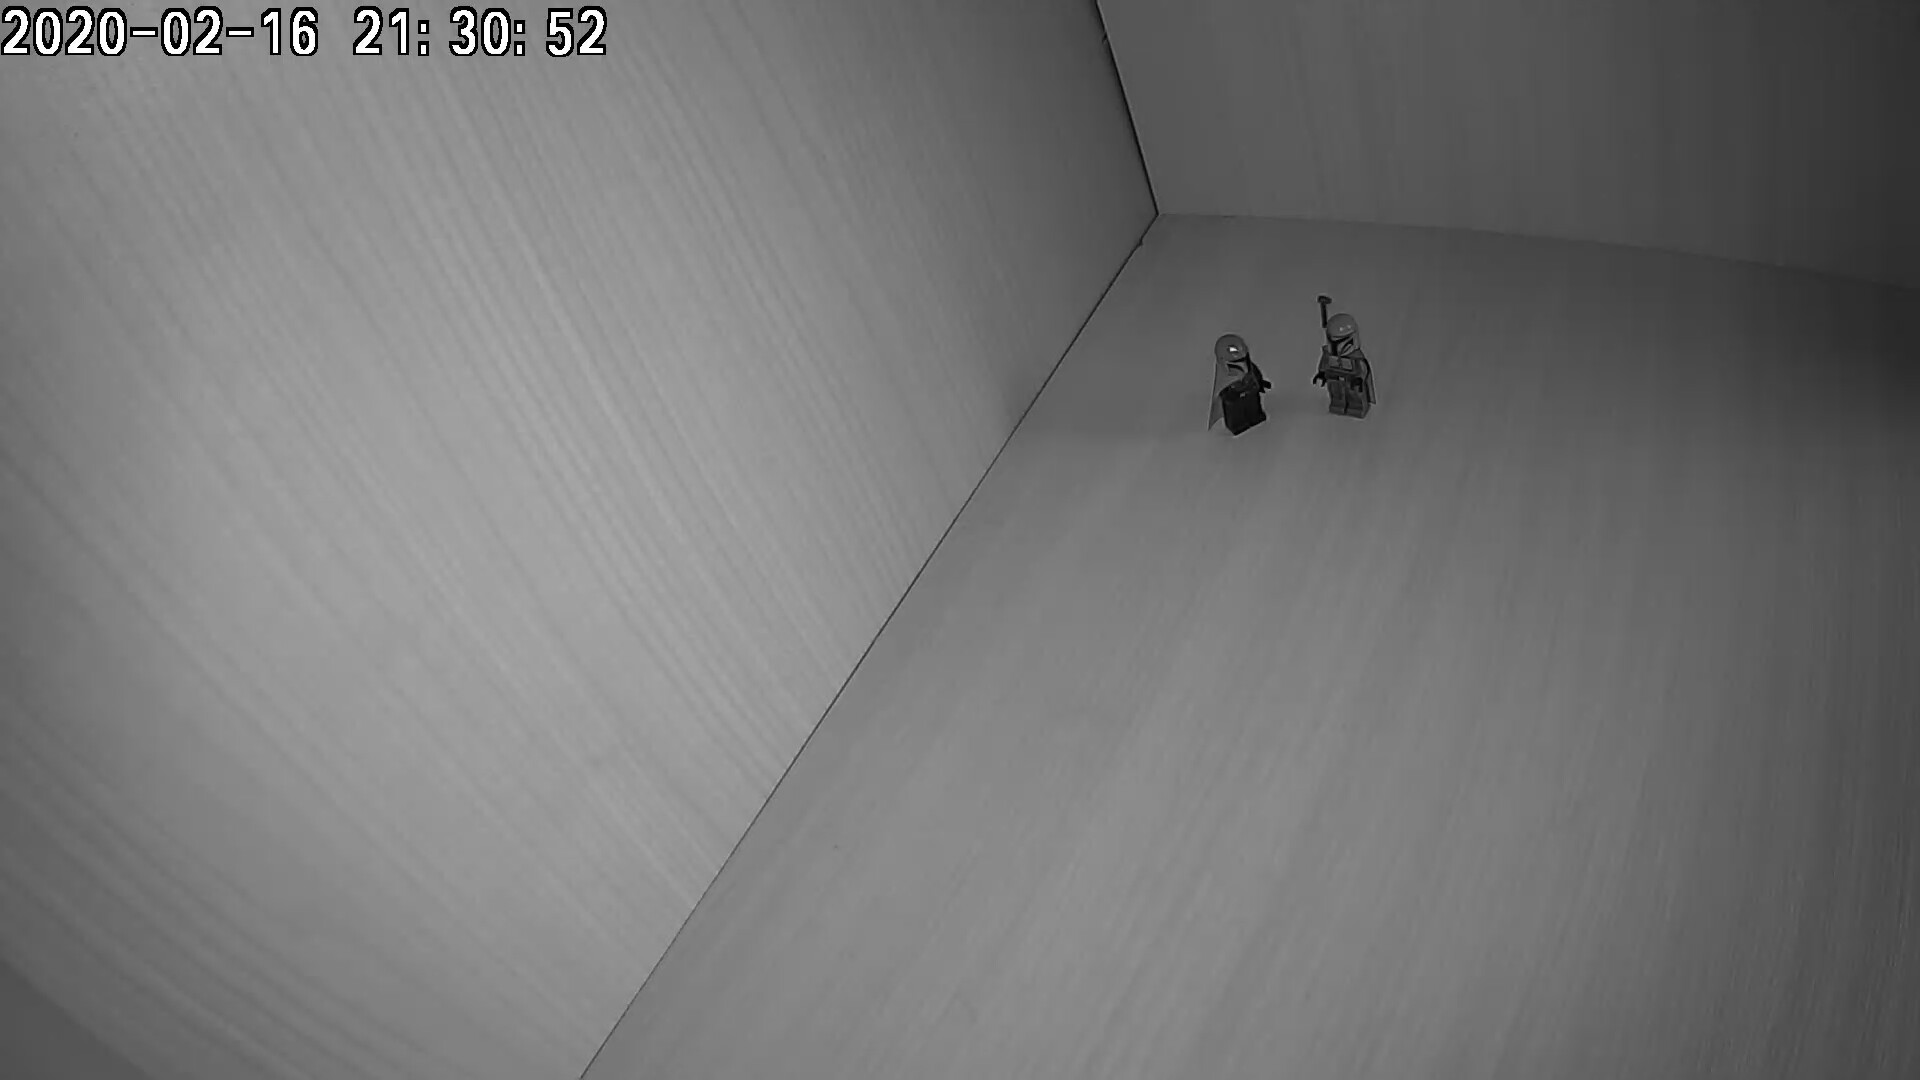
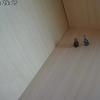
Some of the possibilities are presented right there, behindthe rest will need to go to the settings section. Important functions for instantly saving a photo or recording a video from a selected camera are located in a prominent place. You can also view previously saved videos and photos. By the way, you can record a video or photo from the camera even without a memory card installed (not according to a schedule, but manually, using these same buttons). In this case, the shooting will be saved on the smartphone in the program cache, from where it can be pulled out into regular memory using the save to device function. The picture quality is good; in the examples below, the Mandalorian warriors are easy to identify in both normal and night modes.

</ img>
</ img>
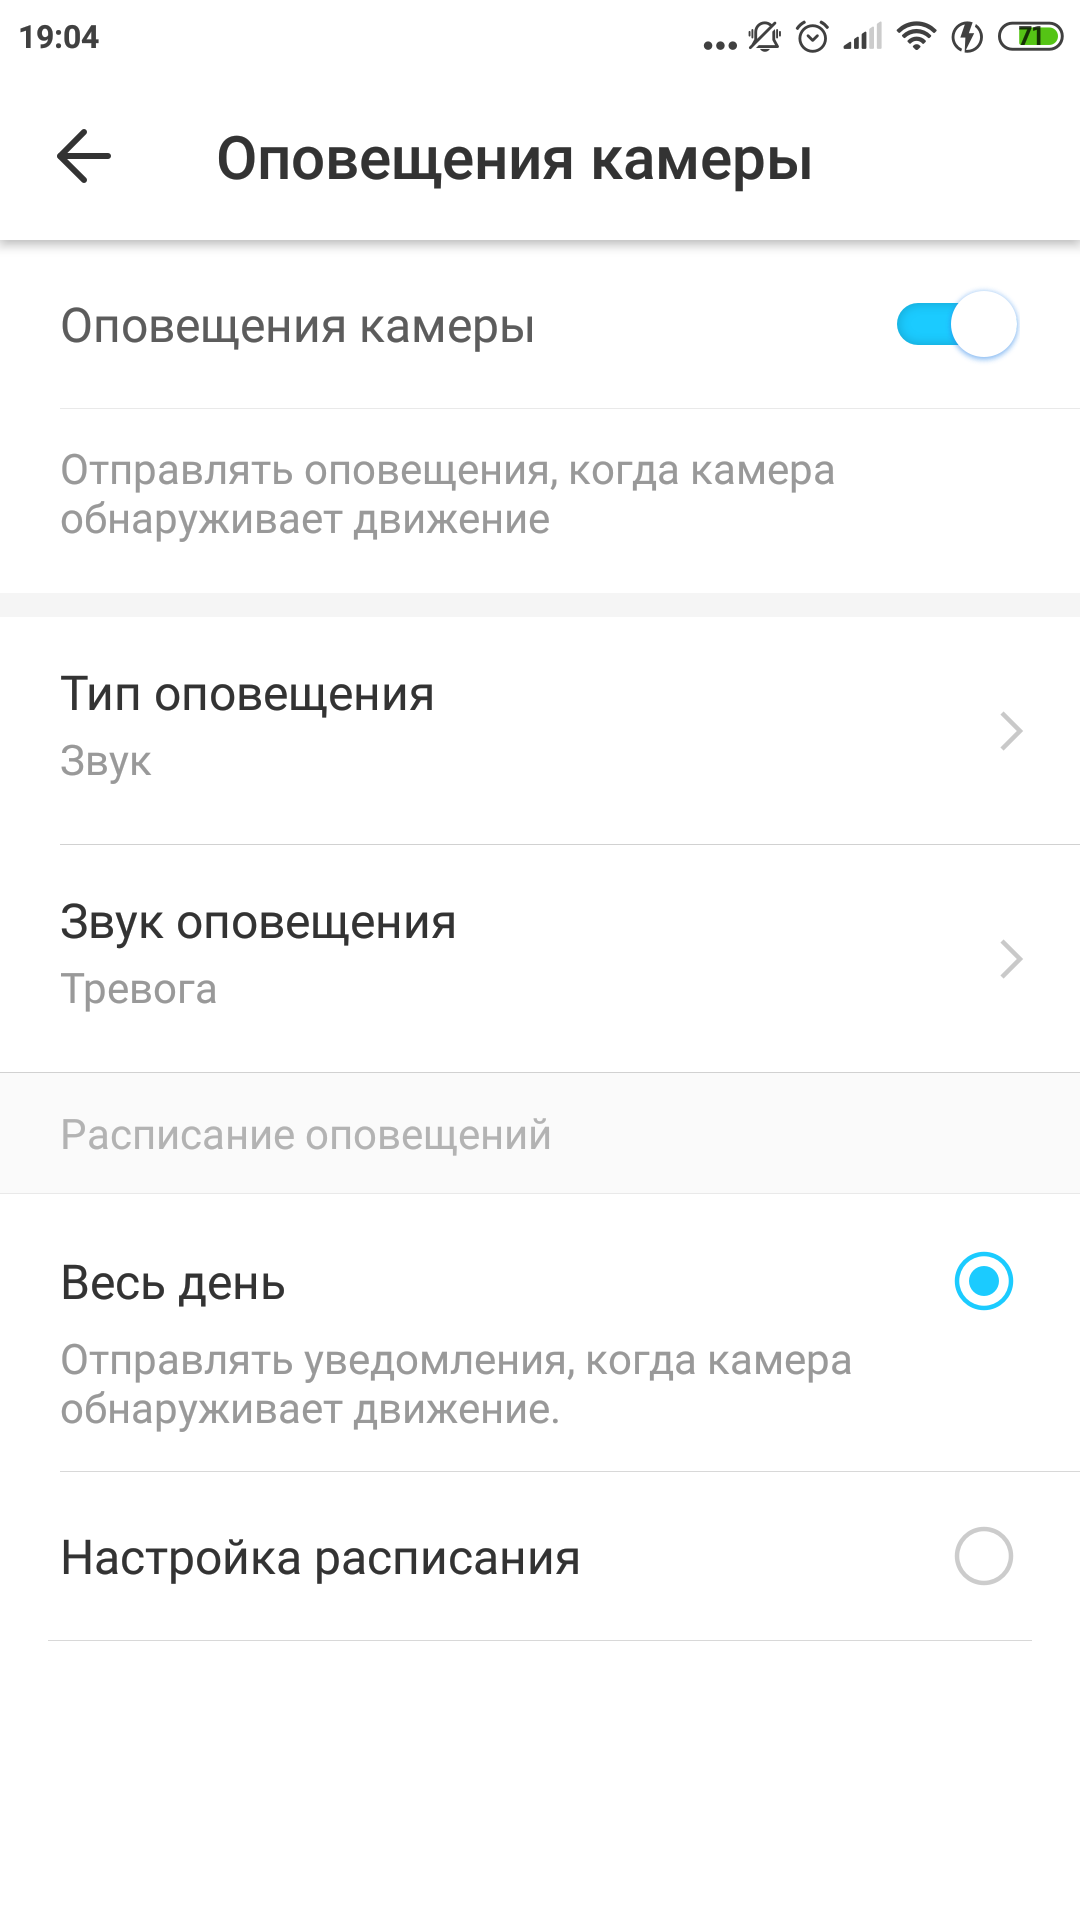
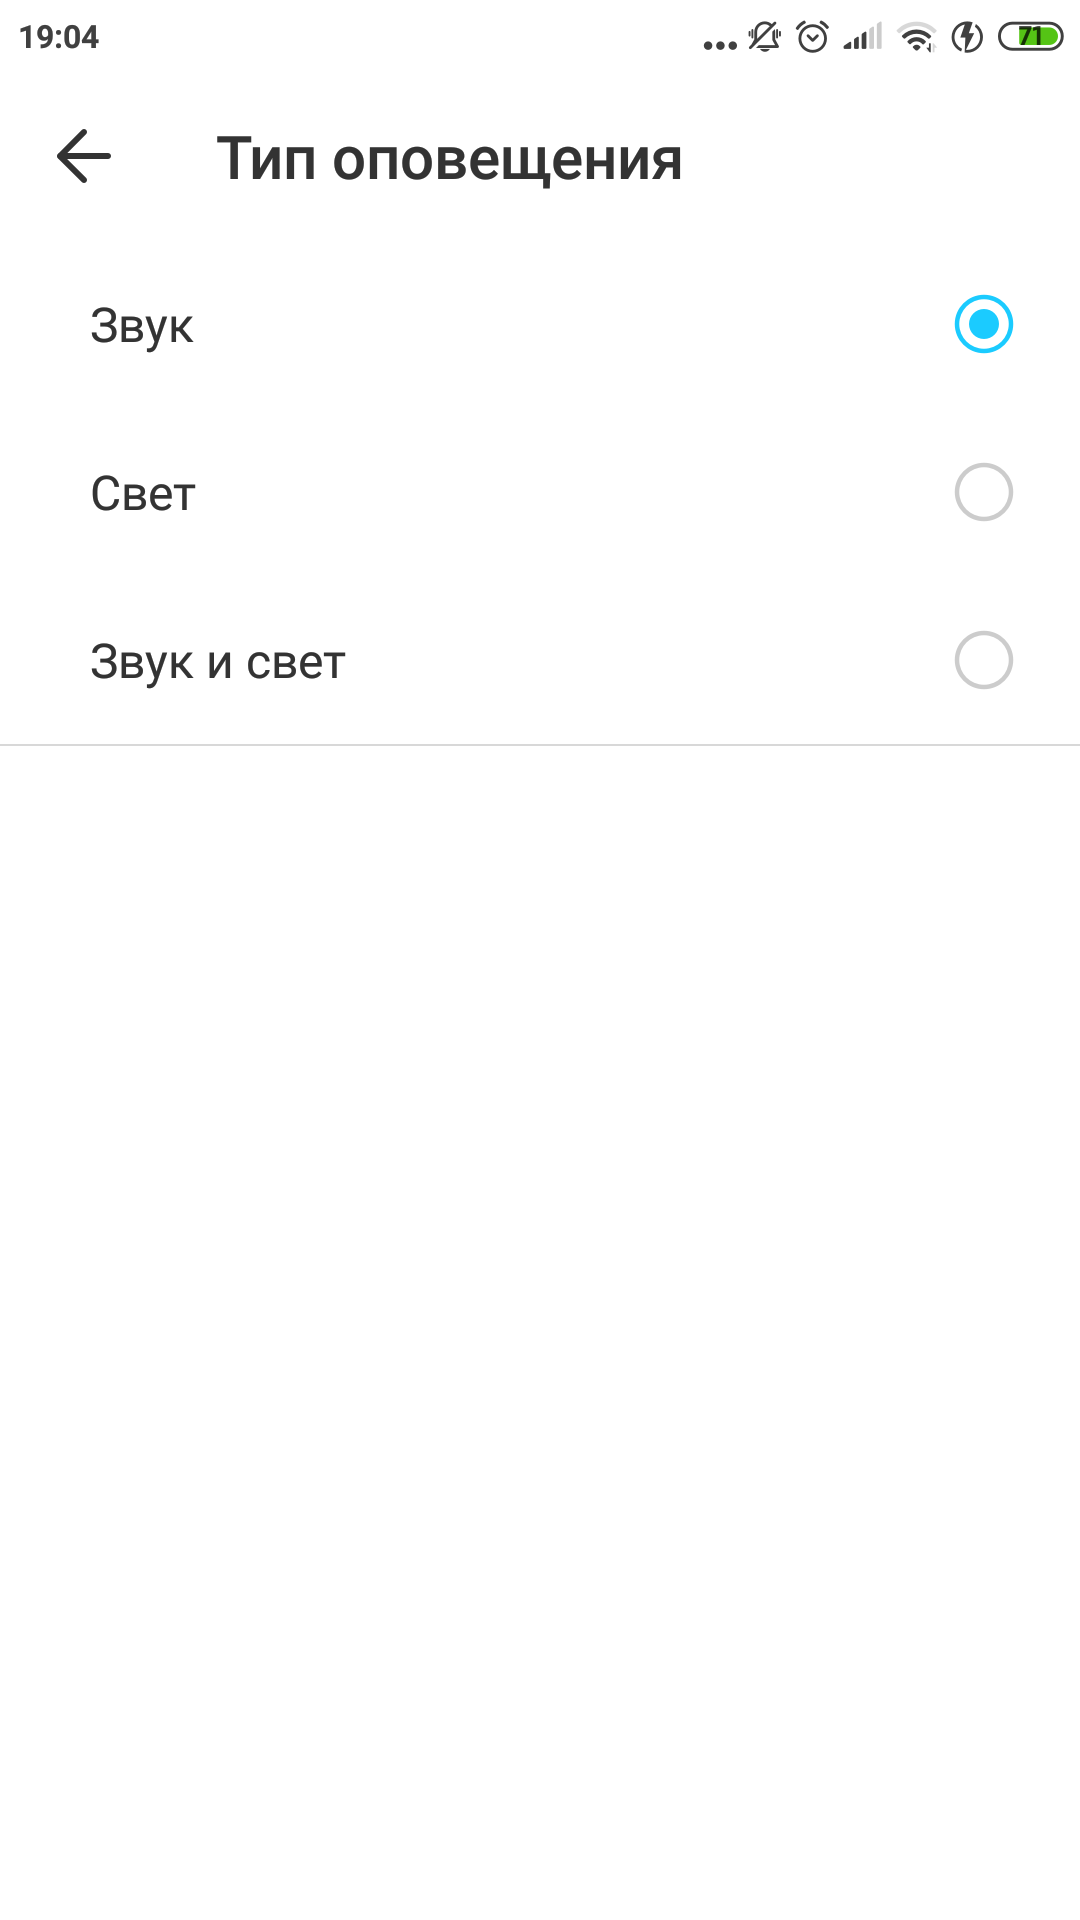
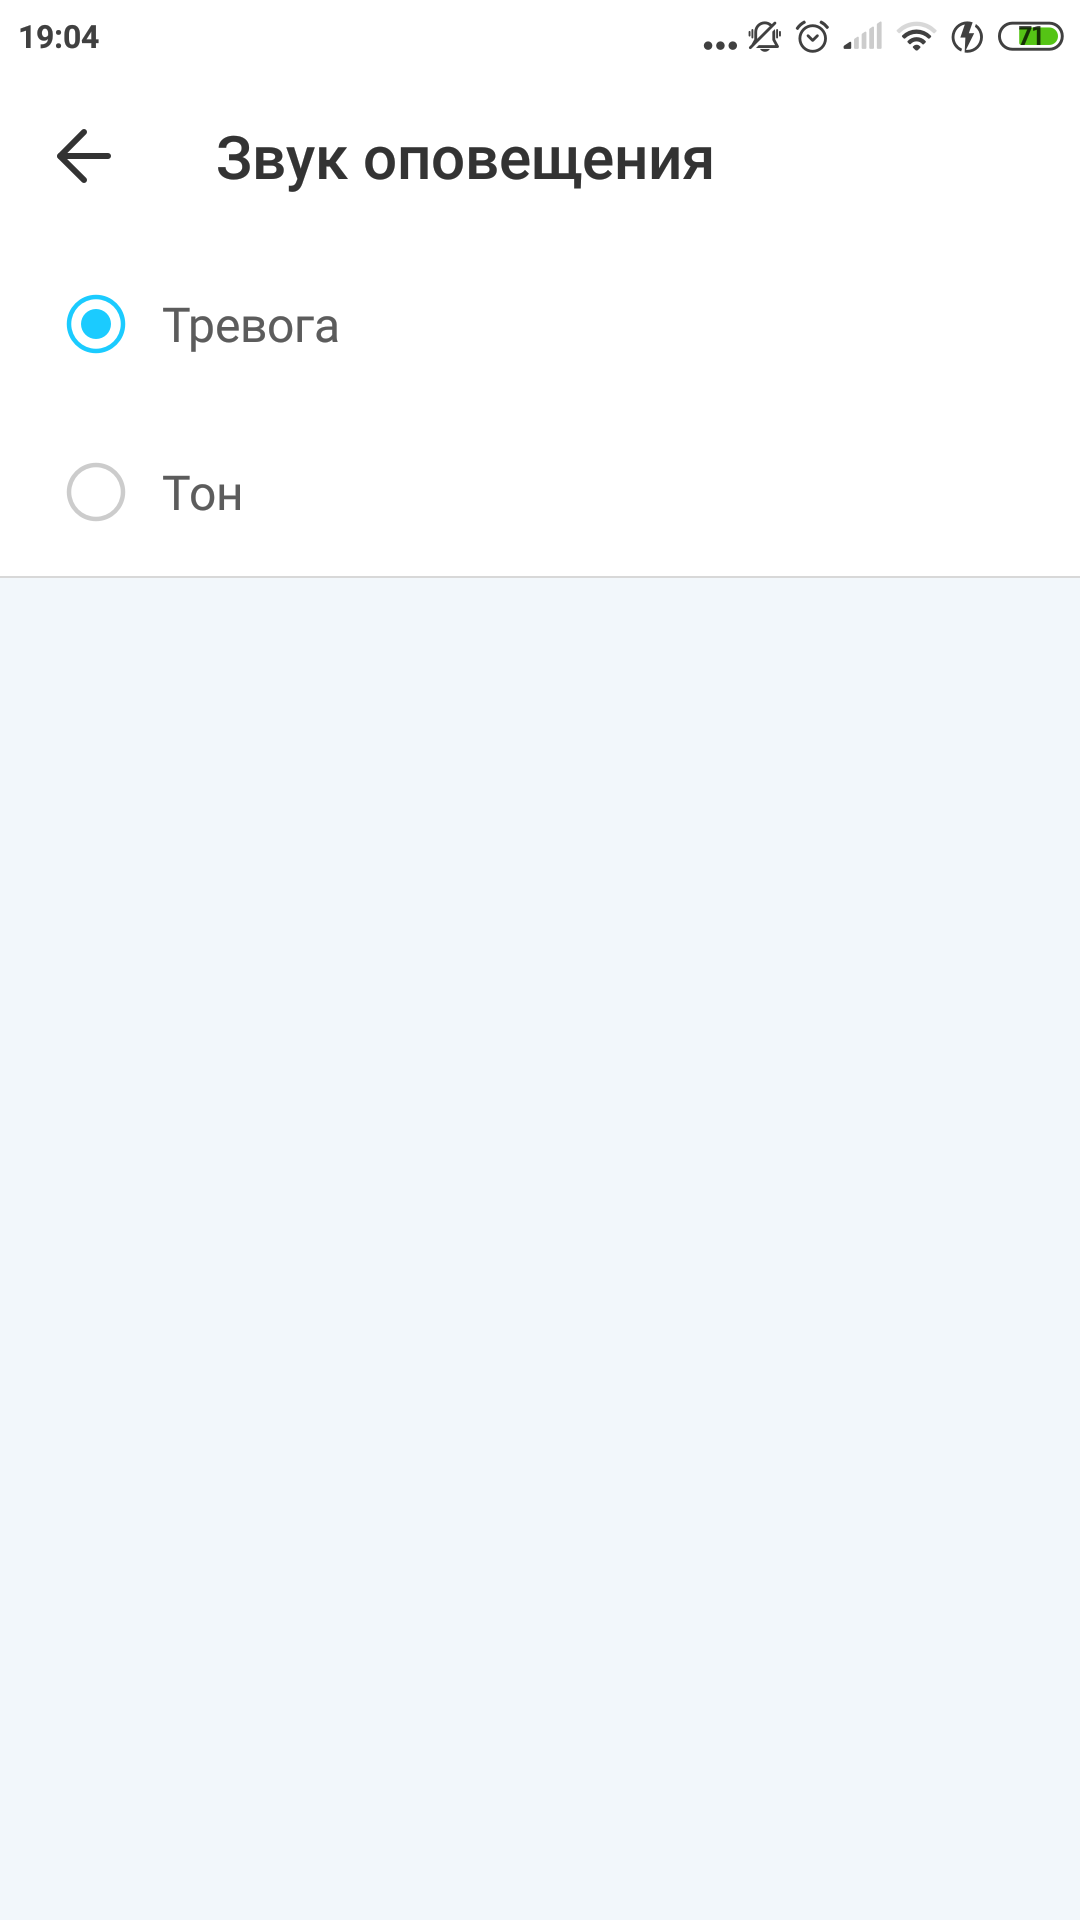
Voice functions include transmitting sound to the camera(the “speak” button), voice call (this is a two-way voice communication, you can speak and hear the answer) and adjusting the sensitivity of the camera microphone. If your voice doesn’t sound scary enough, you can turn on “alerts”, this is one of two siren sound options that turns on after the motion sensor is triggered. It is assumed that this, if it does not scare off an intruder who is within the camera's visibility range, will at least notify someone nearby about the detected movement. Motion detection is completely silent, but switching the camera to night mode is accompanied by a characteristic click. This switching can be done either manually or entrusted to automation. In the latter case, the device itself will determine that it has become too dark in the frame and turn on the infrared illumination. The image, of course, becomes monochrome. Visually, night mode is easily identified by three red LEDs that light up around the lens.

</ img>
If desired, you can activate the modeconfidentiality, the broadcast from the camera will be stopped. And to improve performance with a poor Internet connection, you can switch from the HQ format to the LQ format; the picture in the frame will look worse, but will not slow down too much.
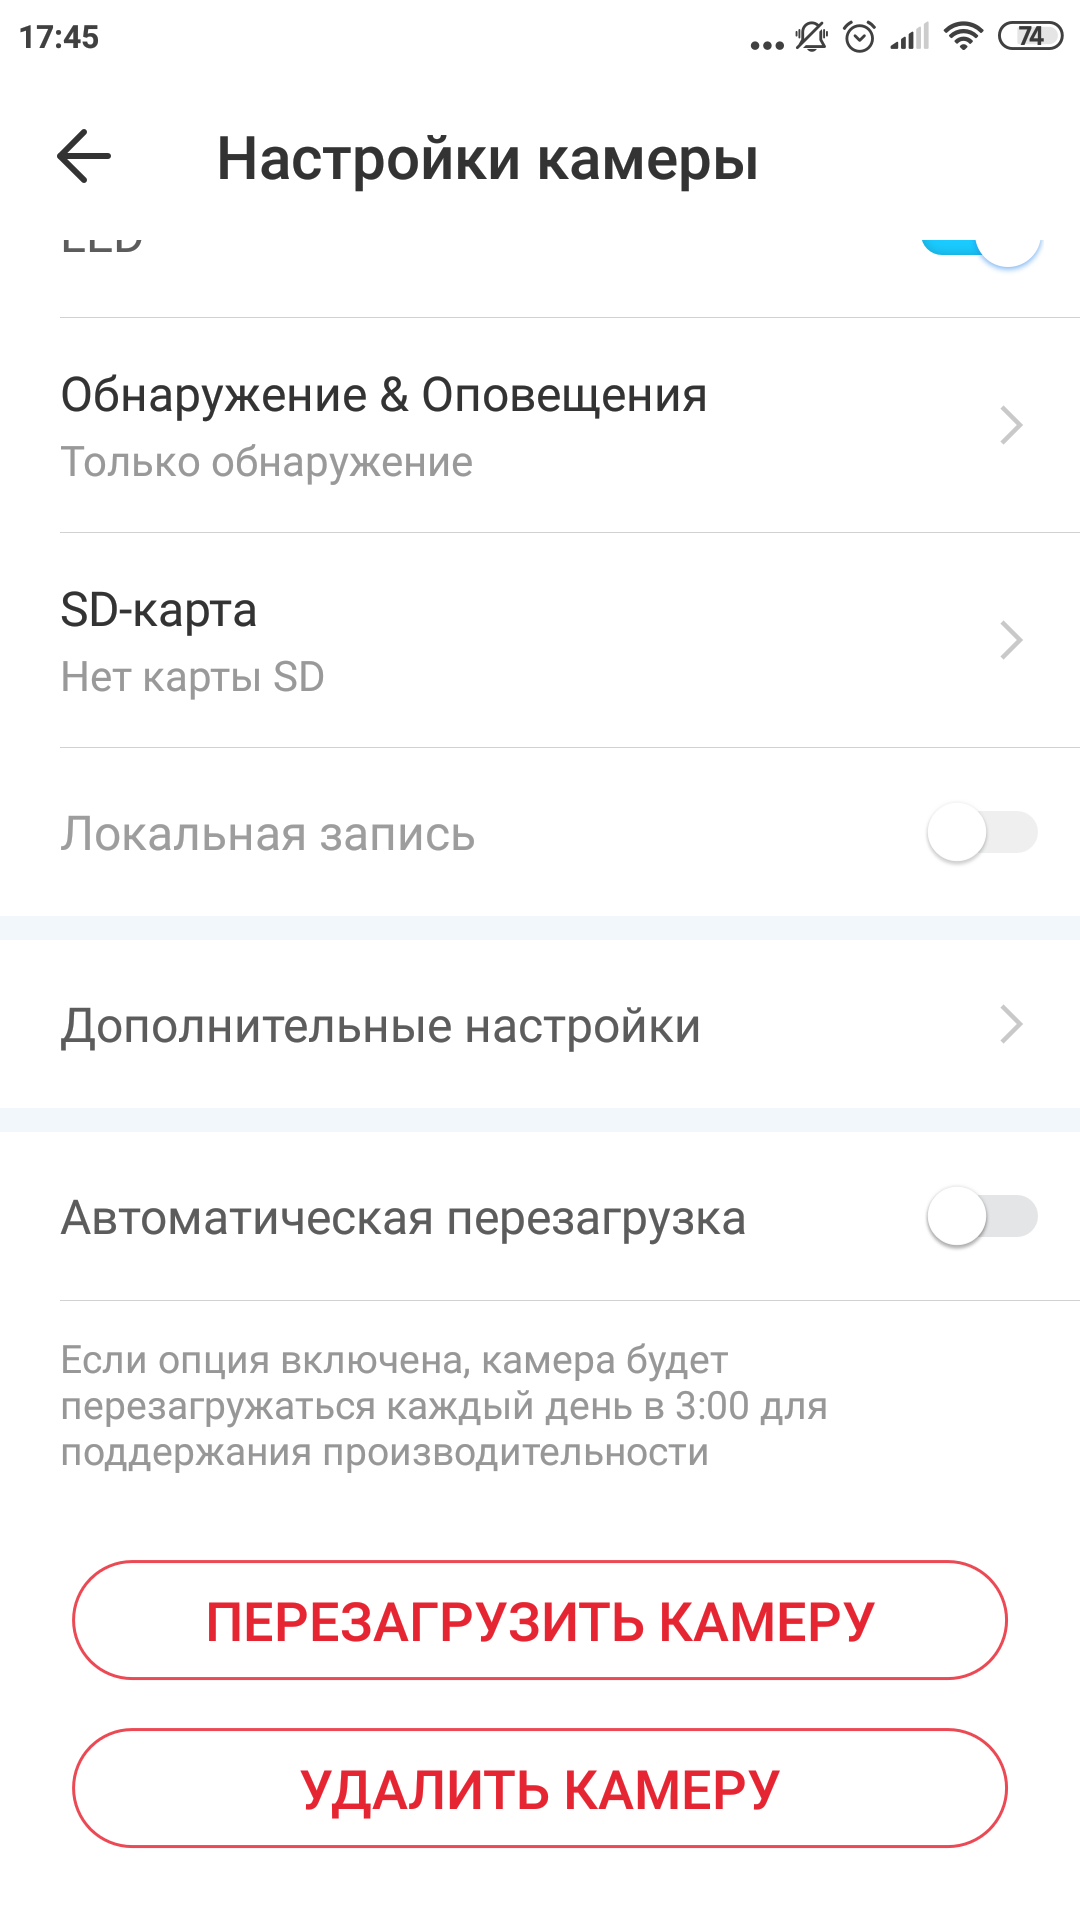
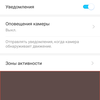
Let's see what is in the settings. Here you can find out the camera model, the name of the wi-fi network, ip and mac addresses, signal strength. The options for renaming the camera and changing the location are available. For example, if you suddenly rearrange it from a dog house to a cat. For an upside down camera, you can enable image rotation. And so that the device does not attract too much attention, try disabling the green status LED.

</ img>
</ img>

</ img>
</ img>
</ img>
</ img>
</ img>
</ img>


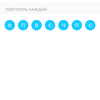
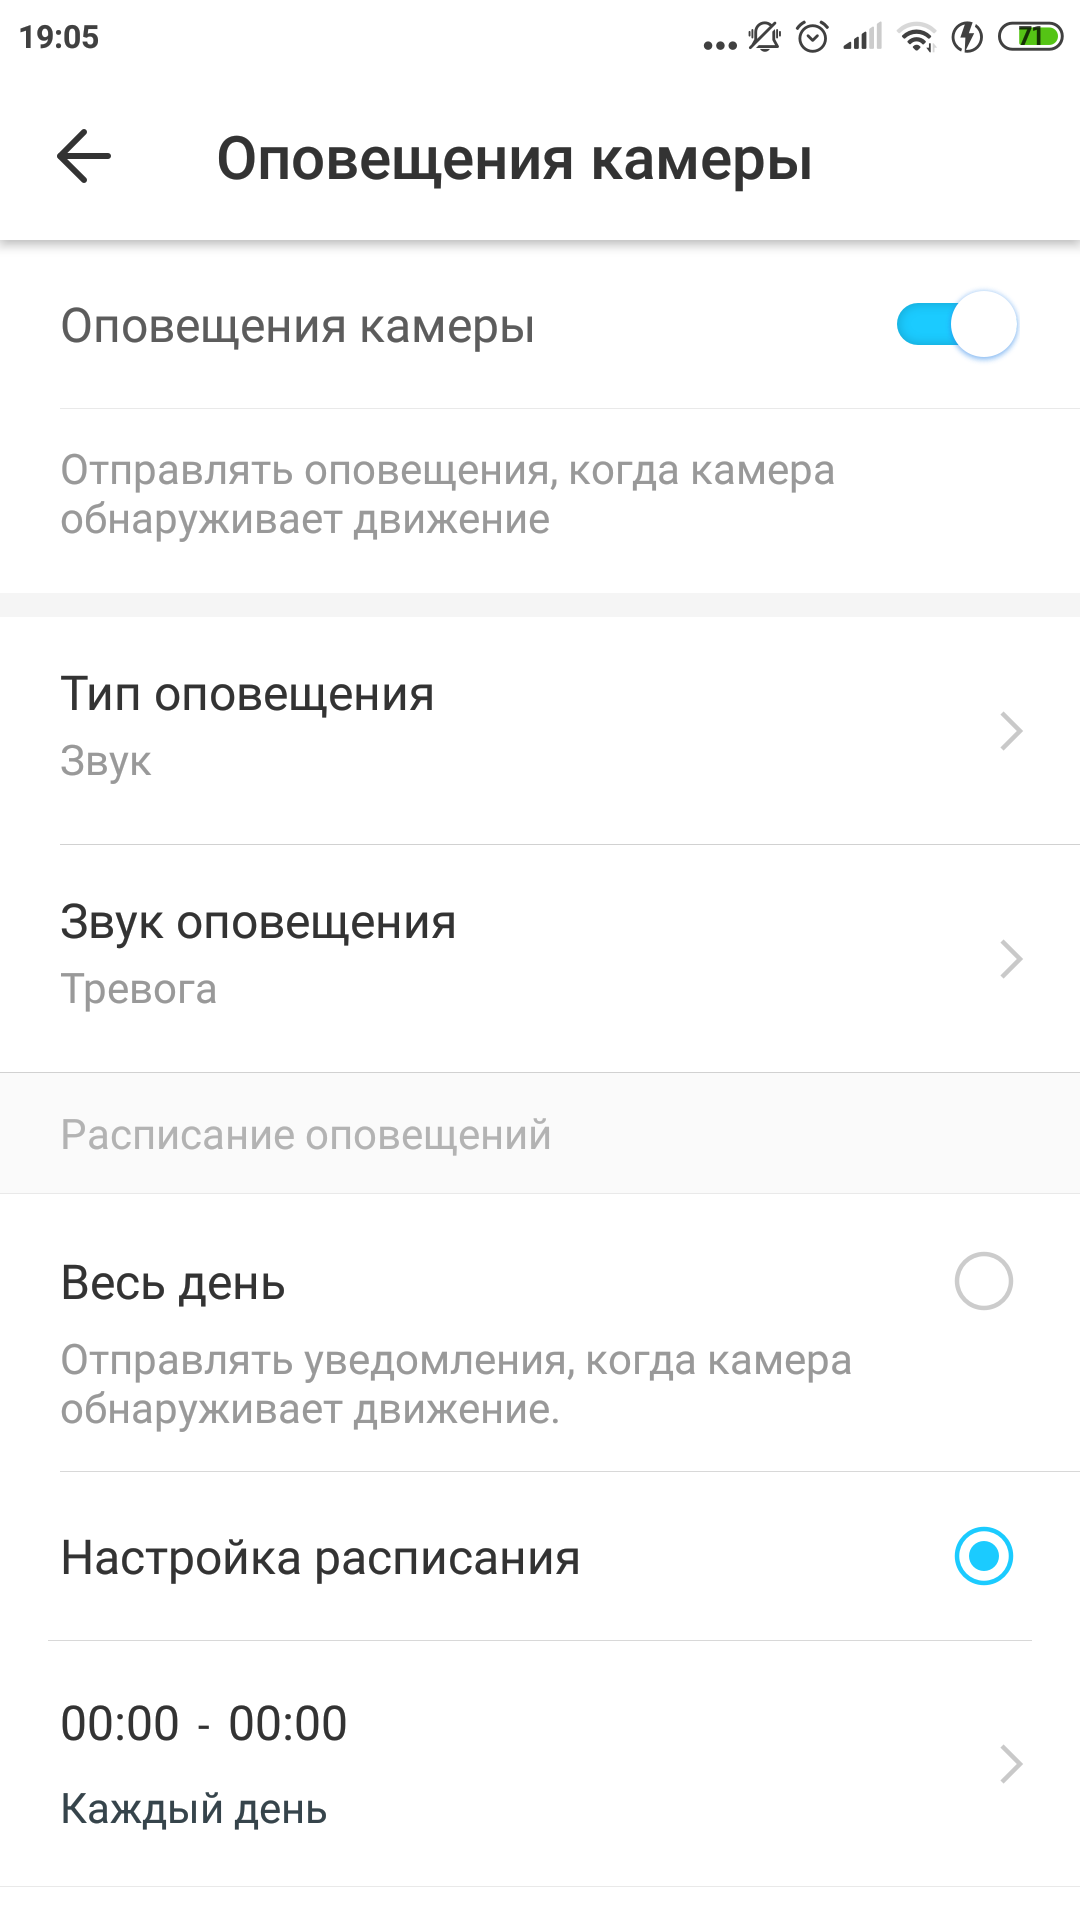
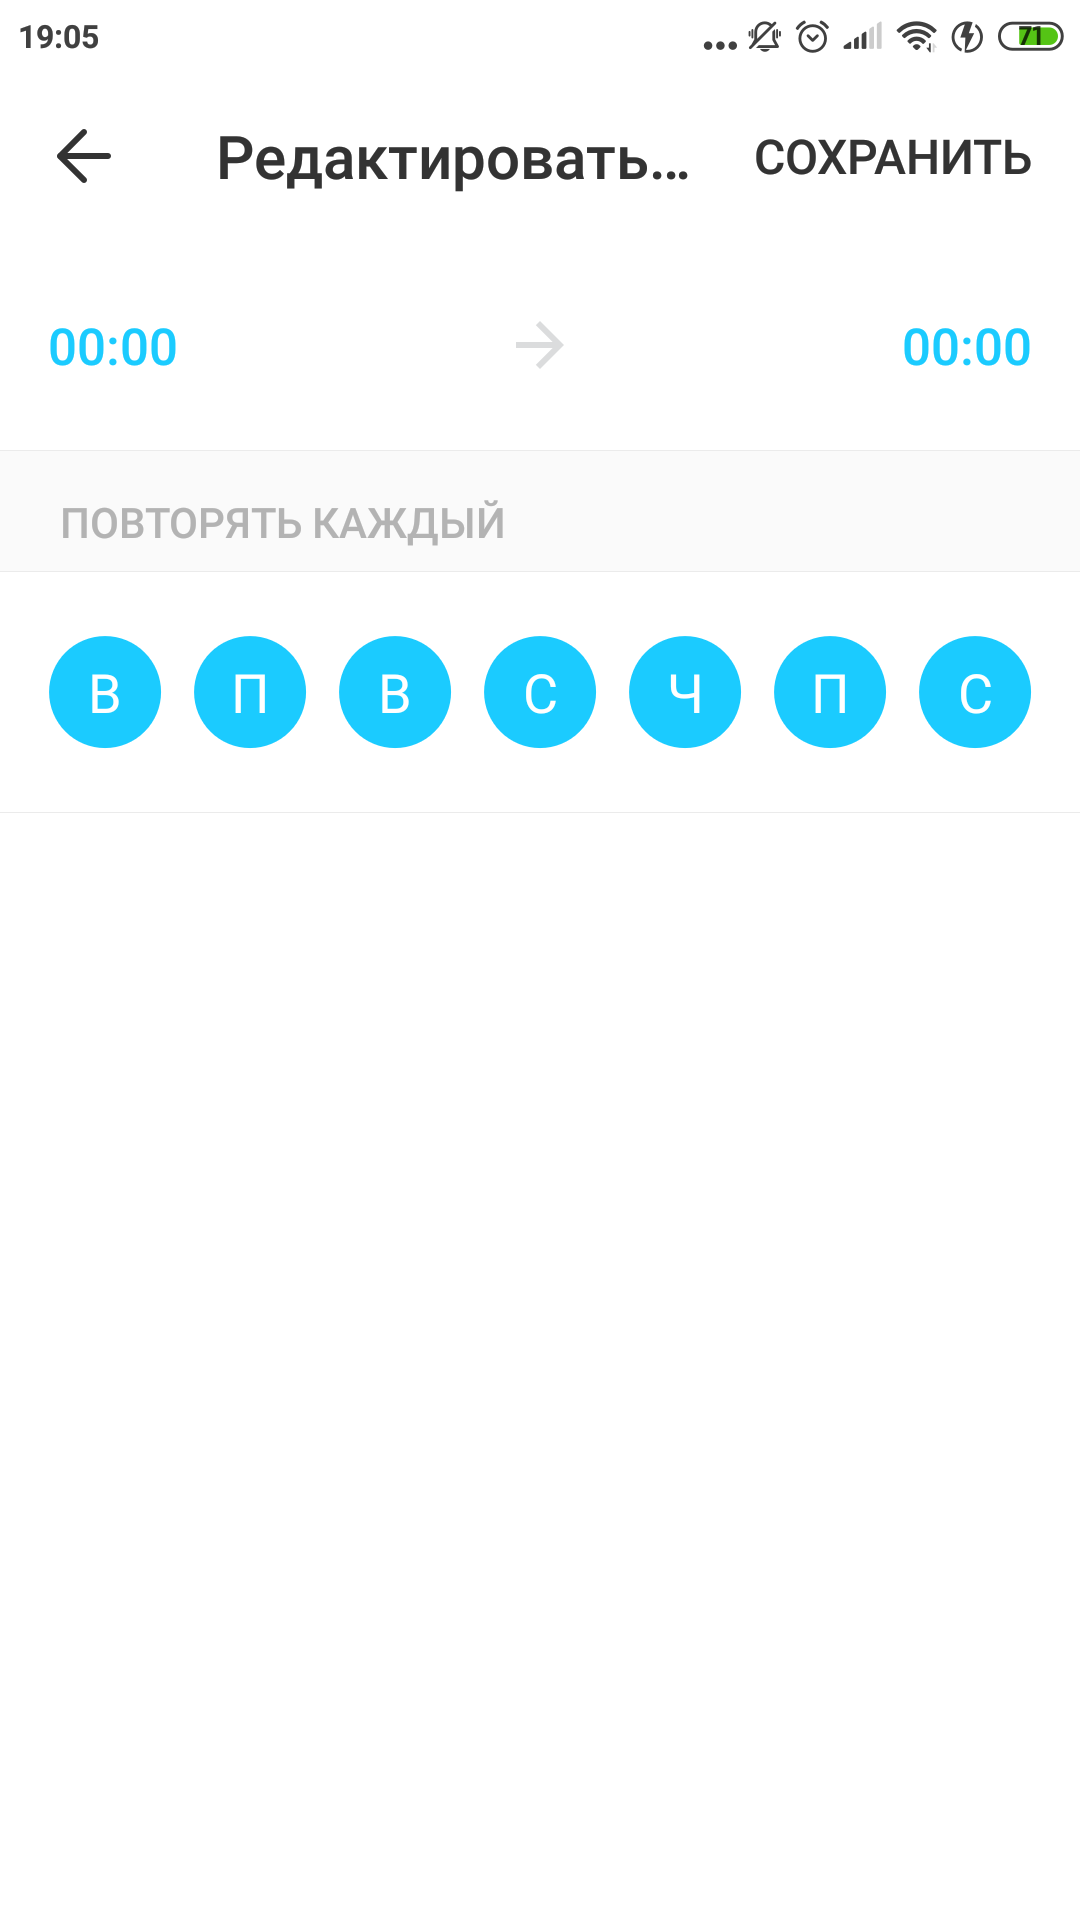
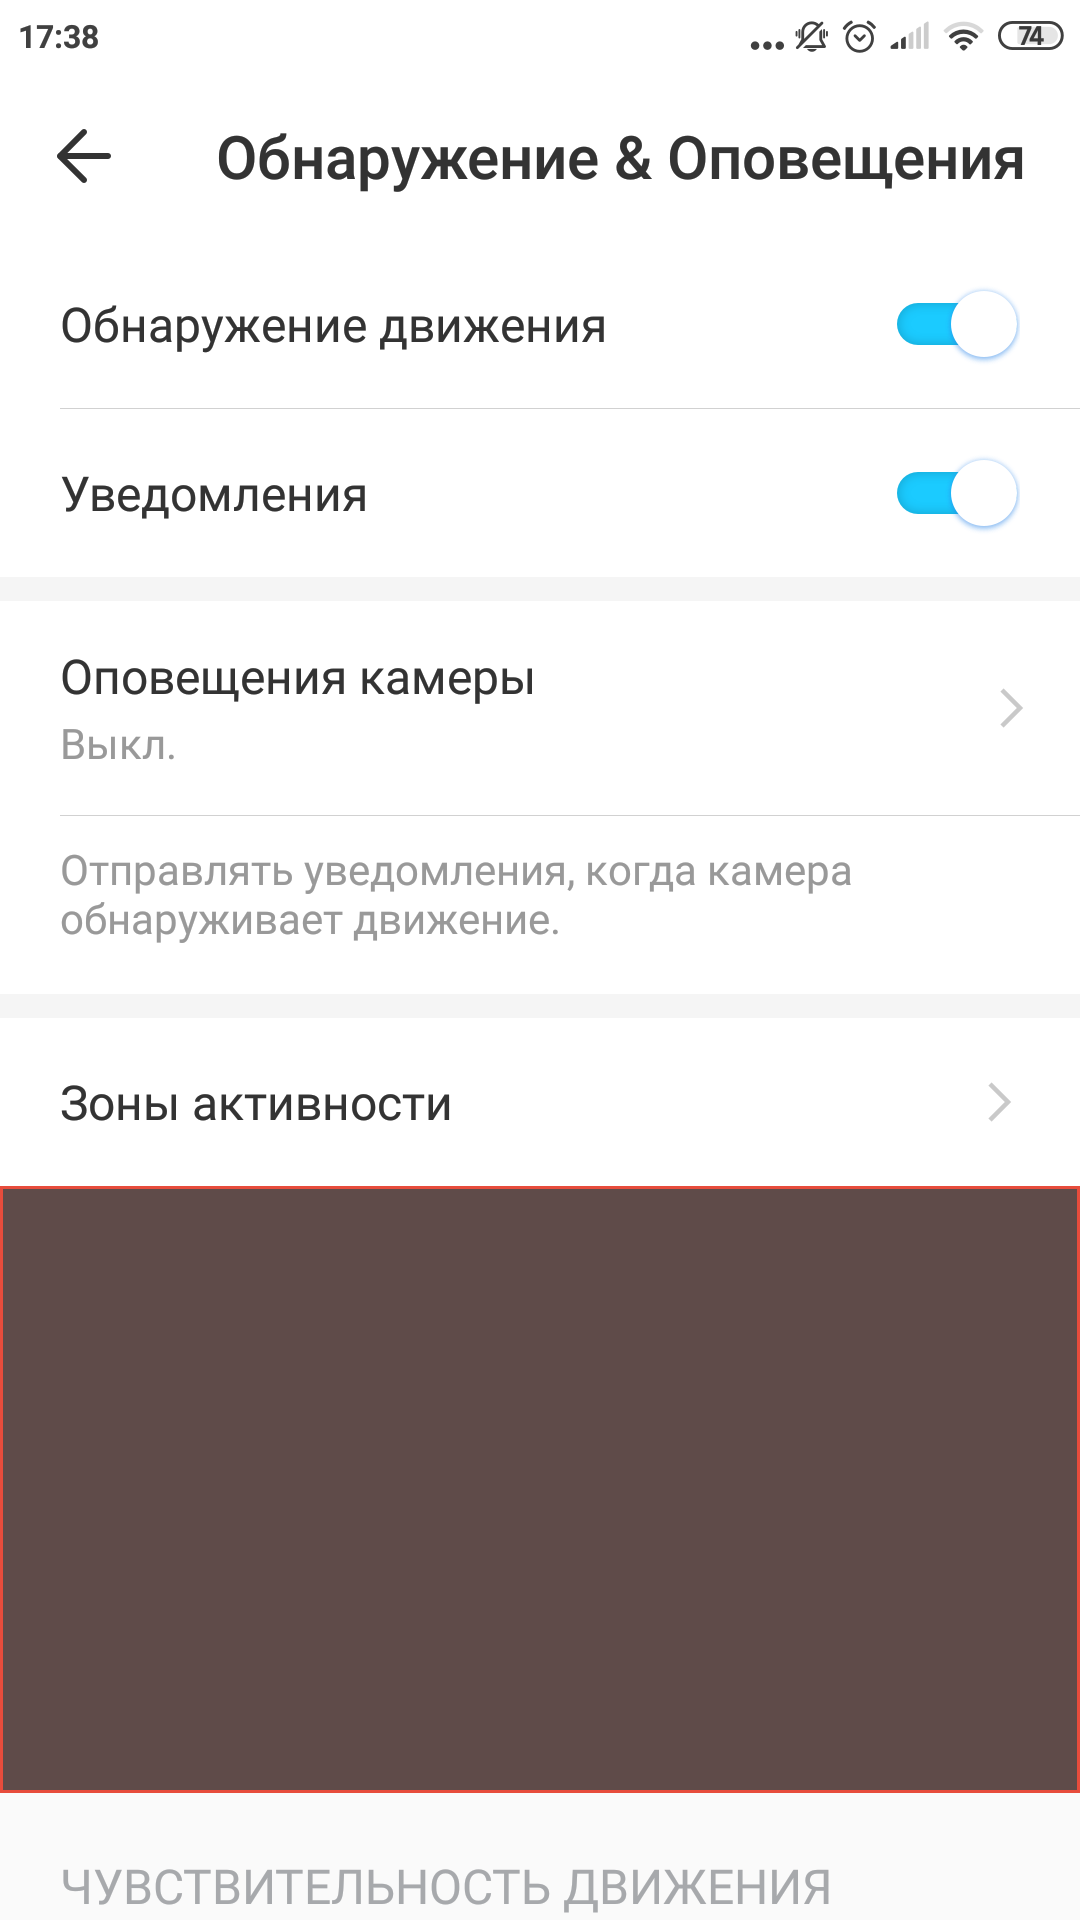
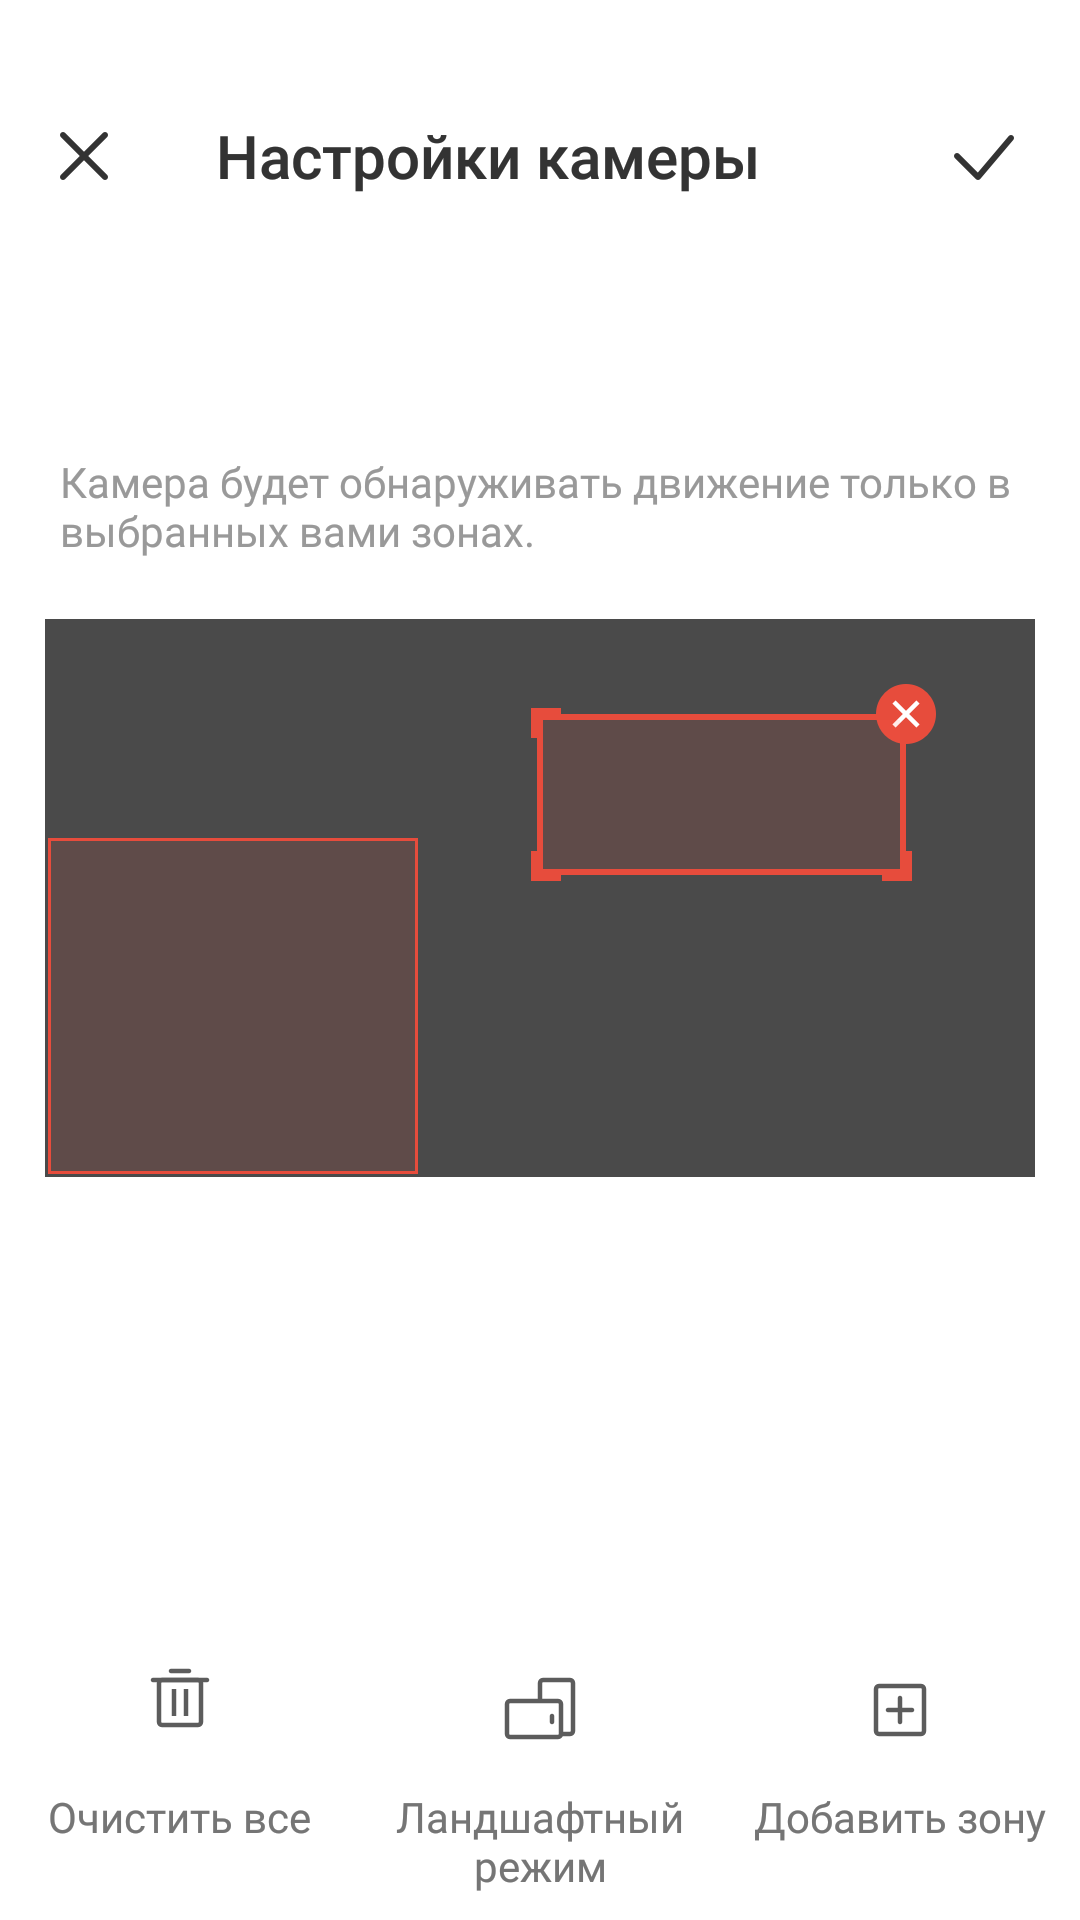
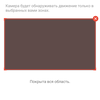
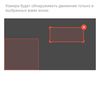
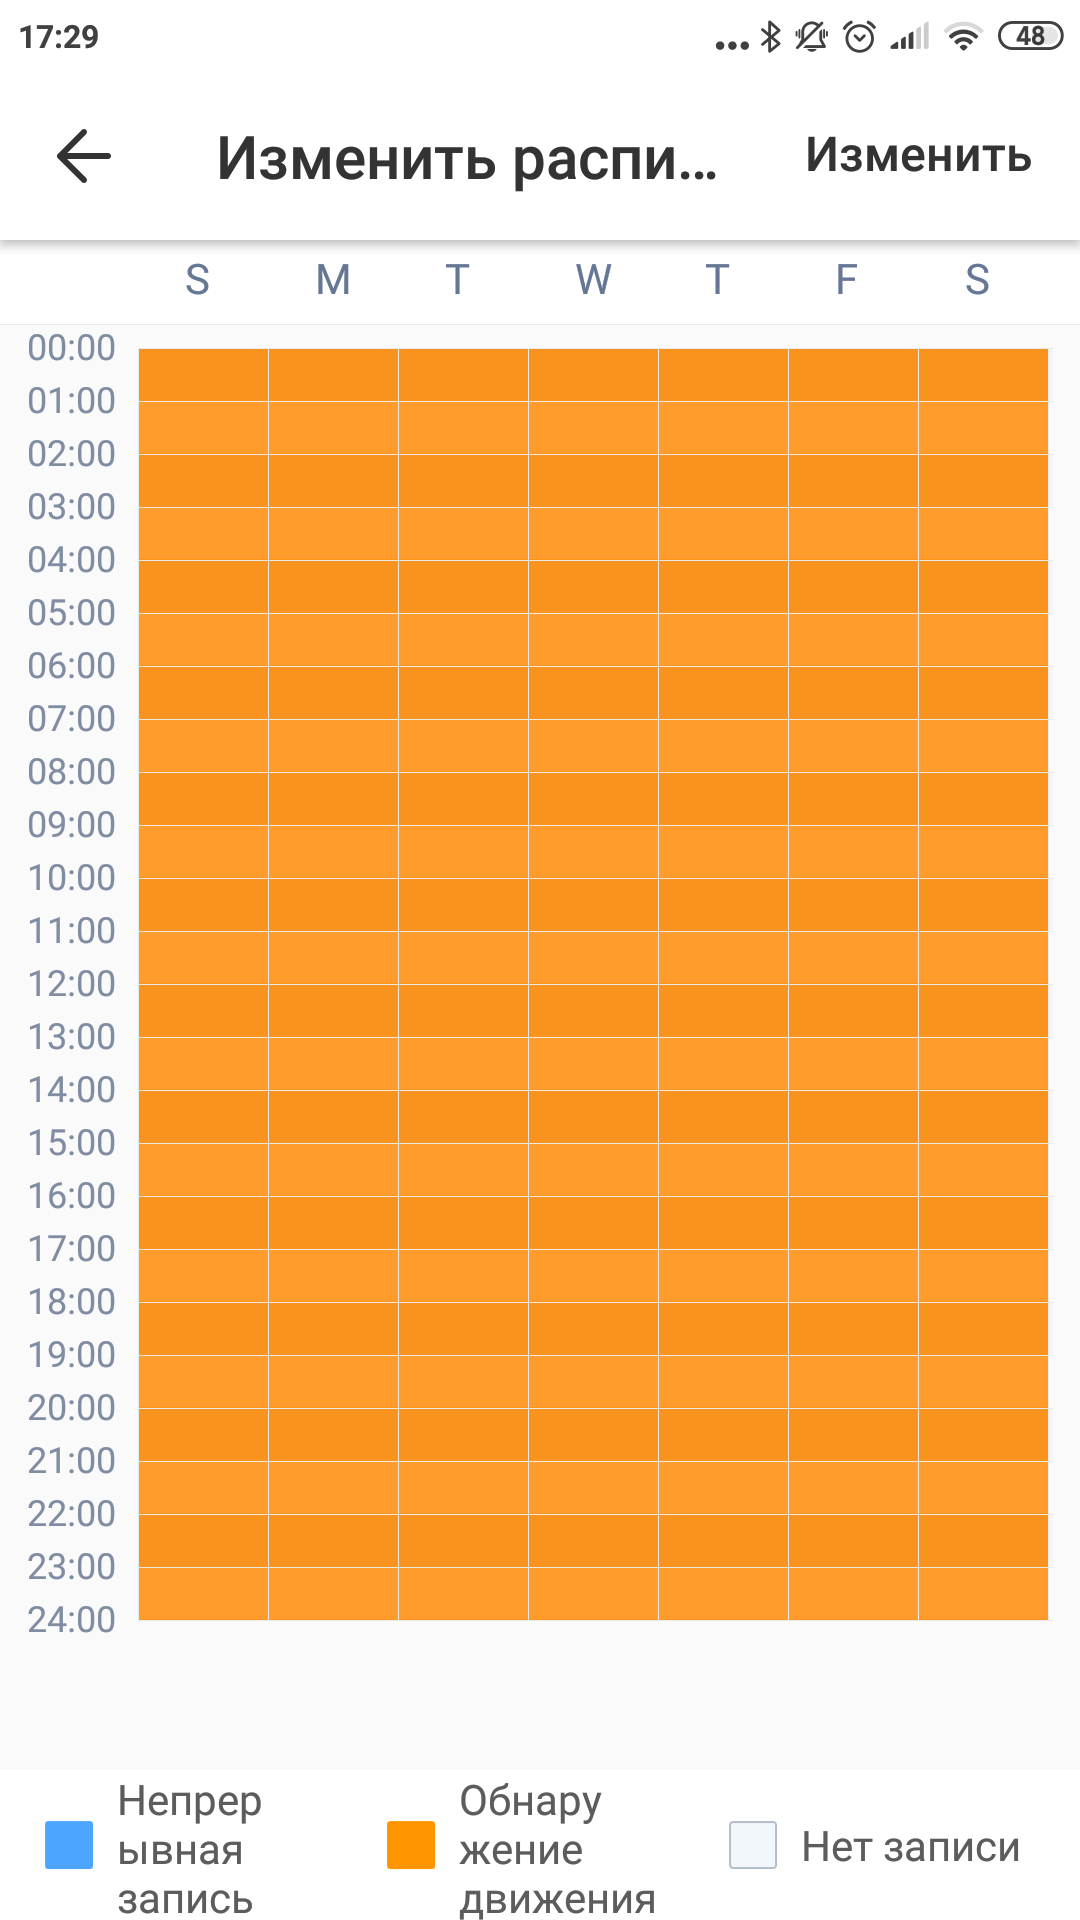
Detection options are shown on a separate screenmovement. Here it turns on, turns off and configures. For example, if animals walking around the house regularly appear in the lower part of the frame, then this area is excluded from the detection zone and the sensor will not work when moving in it. Zones can be created, deleted and resized and positioned very conveniently. The sensitivity of the motion detector is also adjustable. Why is it important? If only because when the sensor is triggered, notifications will come to your smartphone and you obviously will want to receive them only on business.
</ img>

</ img>
</ img>
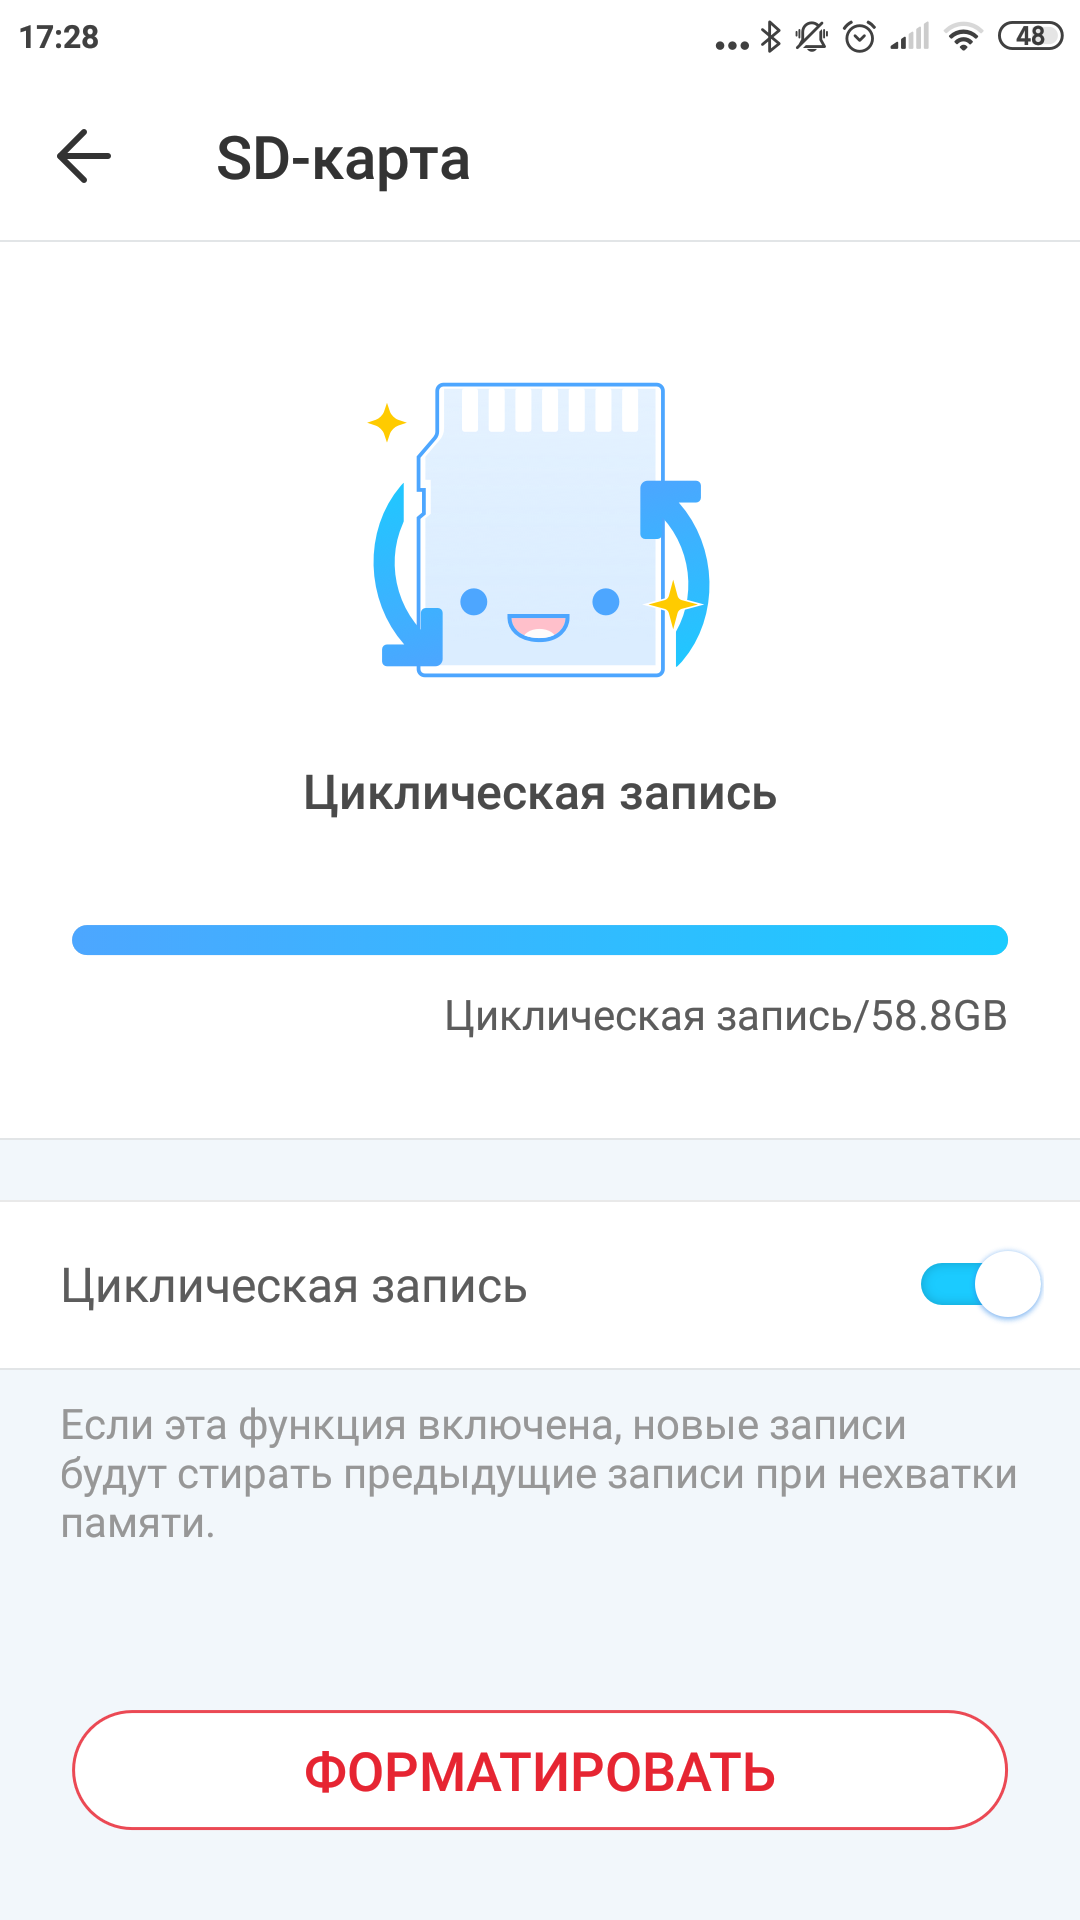
With a microSD card installed (up to 128 GB, wherecan fit up to 16 days of recording) it becomes possible to save video clips both by the signal of the motion detector and by the schedule. These videos can be viewed in the application and, if necessary, downloaded to a smartphone.

</ img>
</ img>
</ img>

</ img>

</ img>


As for recording on the card, let me grumble. I was always a little surprised by the function of saving video recordings of security cameras to media located inside the observed perimeter. For example, the intercom door station panel or camera body are not the most reliable places for valuable data. If an attacker penetrates an object, he may well take a camera with him with all the compromising information recorded there. If you need security at such a level that the one described above is troubling, look for more serious solutions or cameras with the ability to record to the cloud. And with Tapo C100 you can, for example, see if the iron is turned off, if uninvited guests climbed into your absence and how pets are doing. And if they get sad, then you can say hello to them in a voice. The camera also successfully looks after the car behind the window, and here the problem of finding data inside the security perimeter is just removed: an attacker who encroached on your car will not be able to affect the compromising material from the camera.
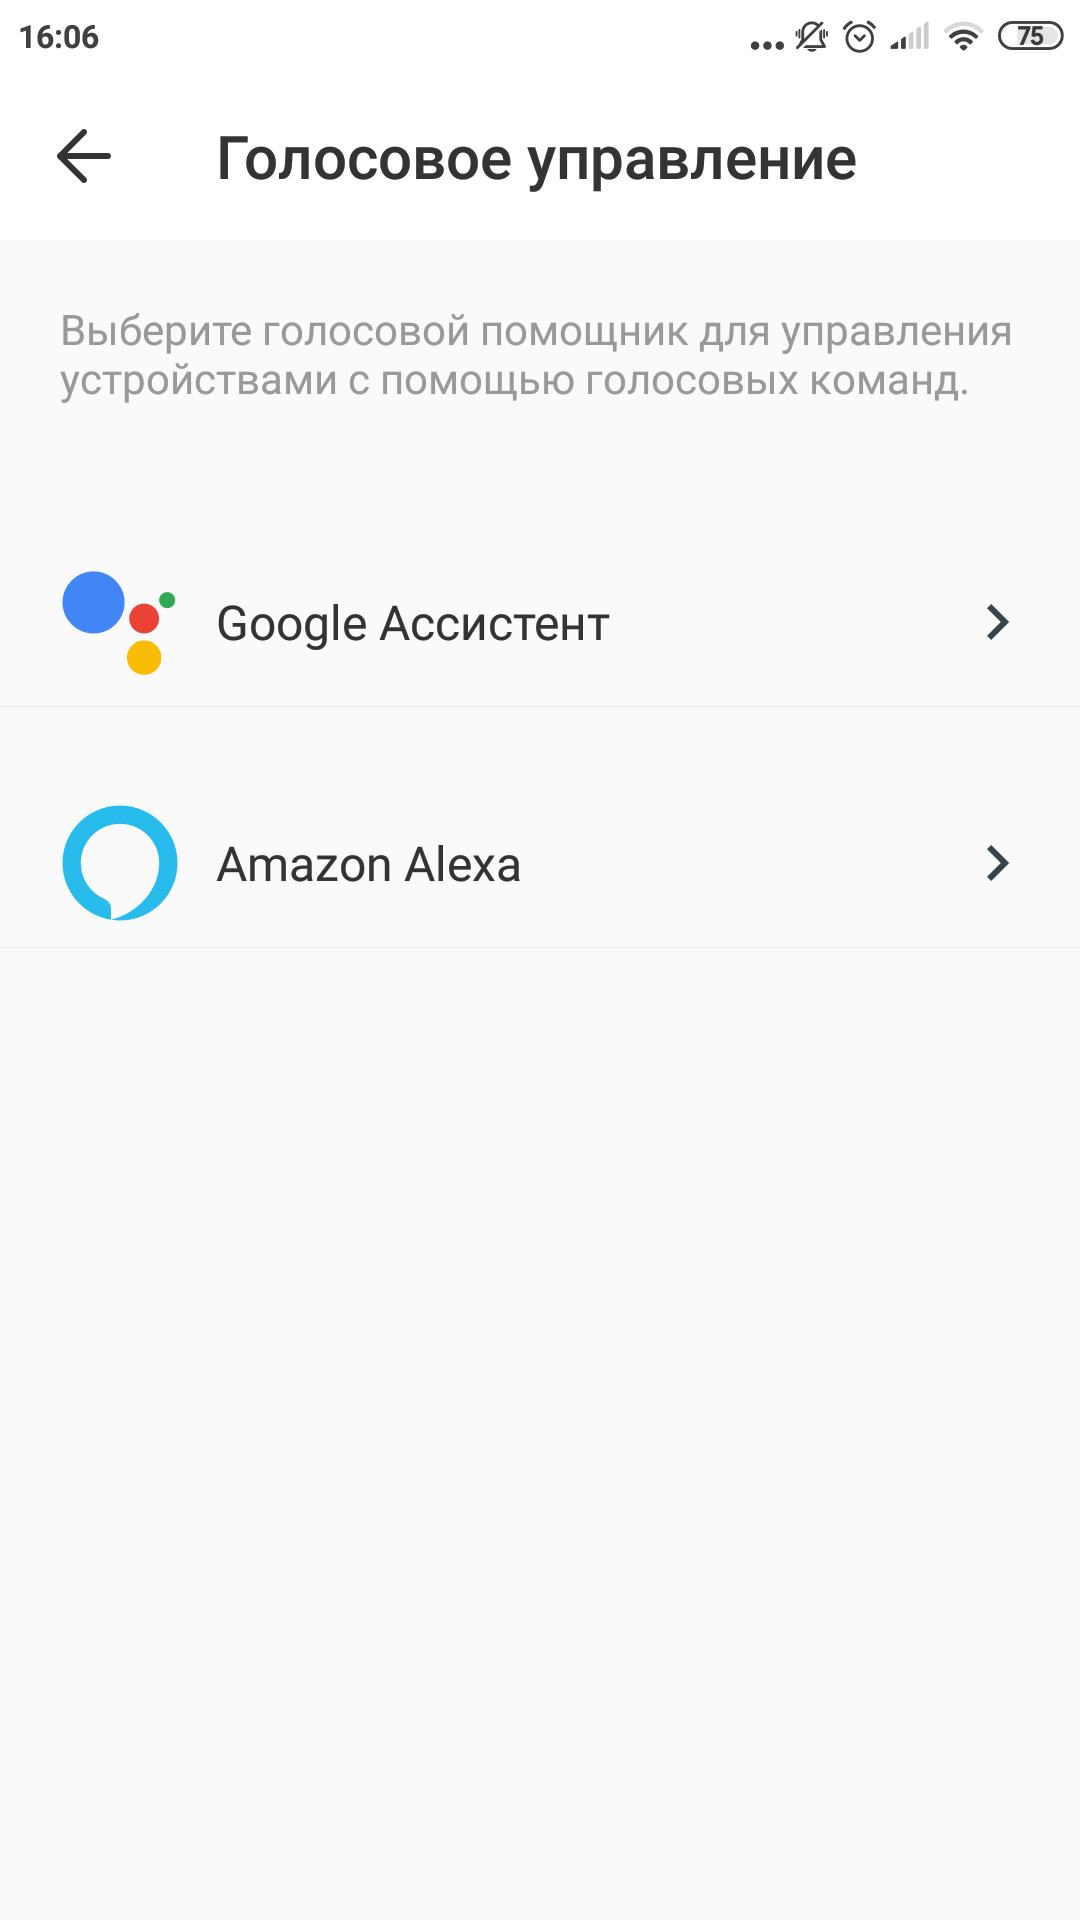
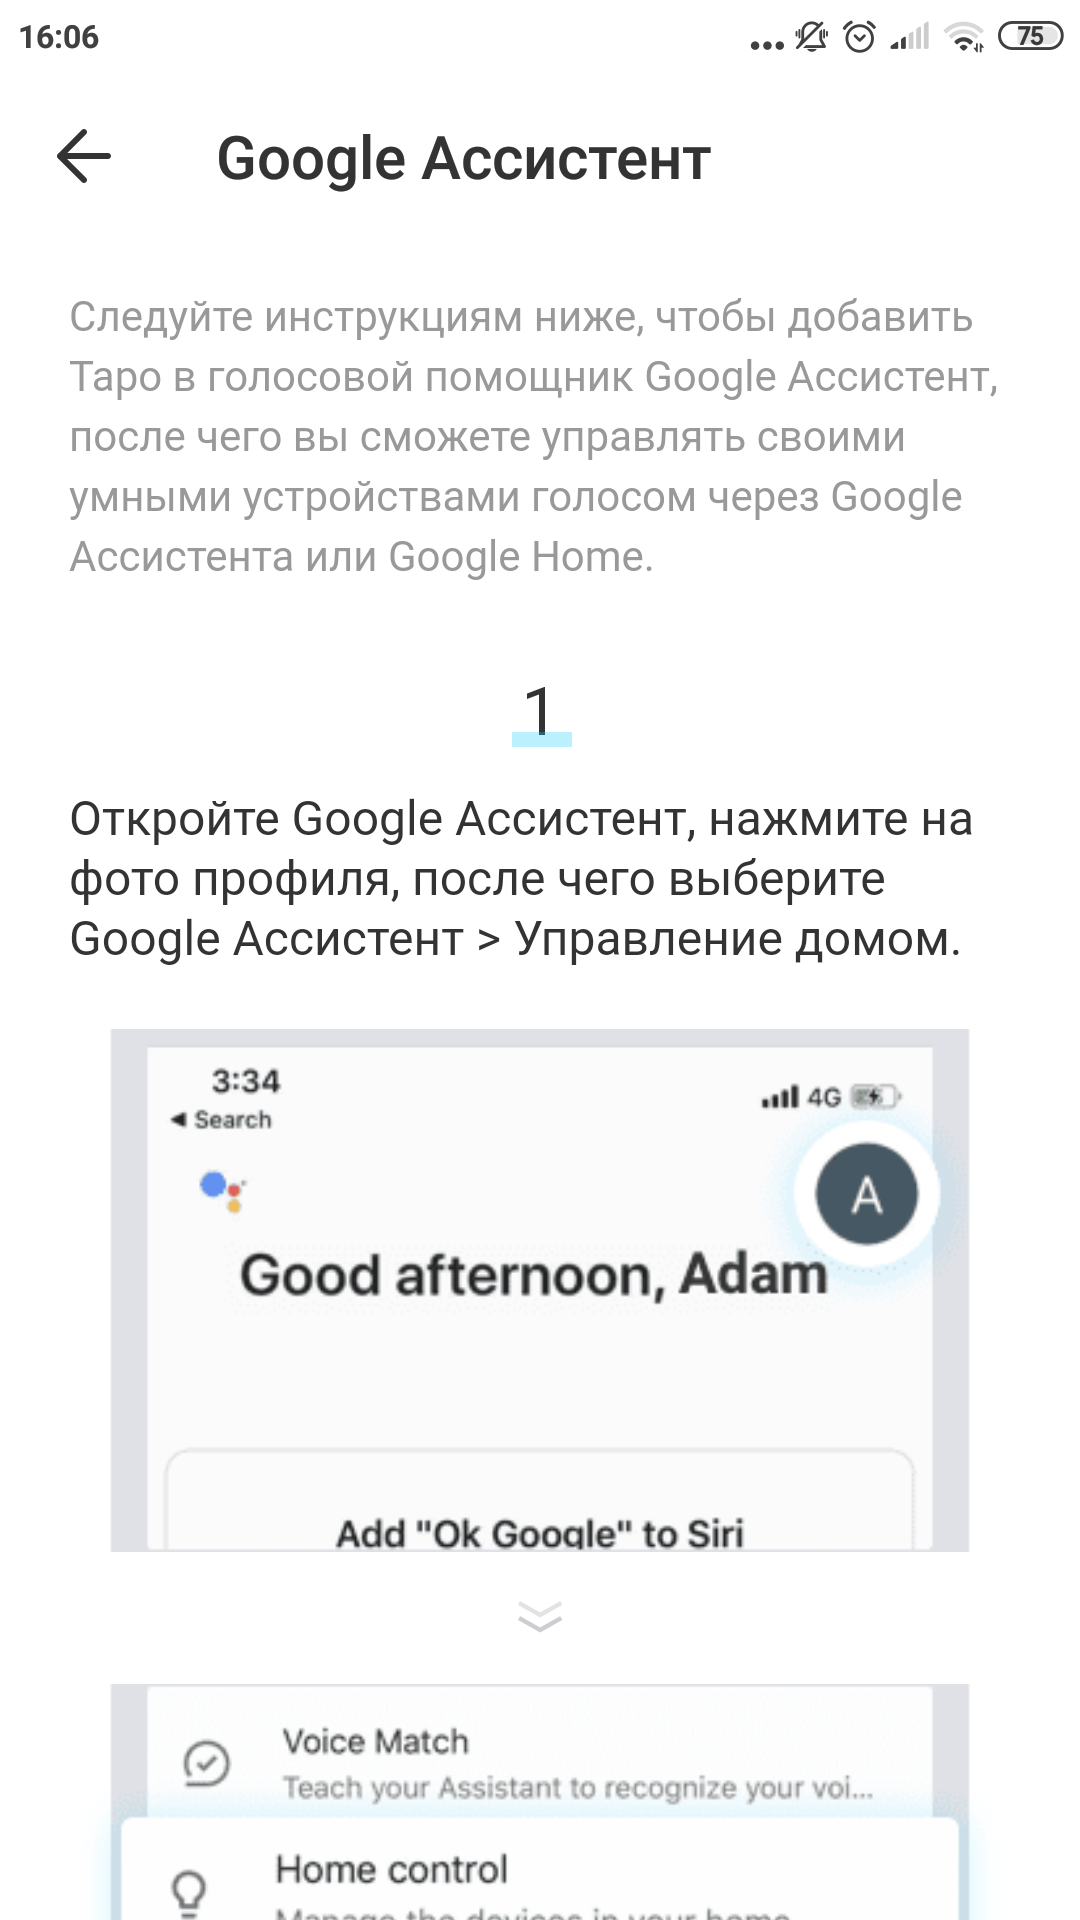
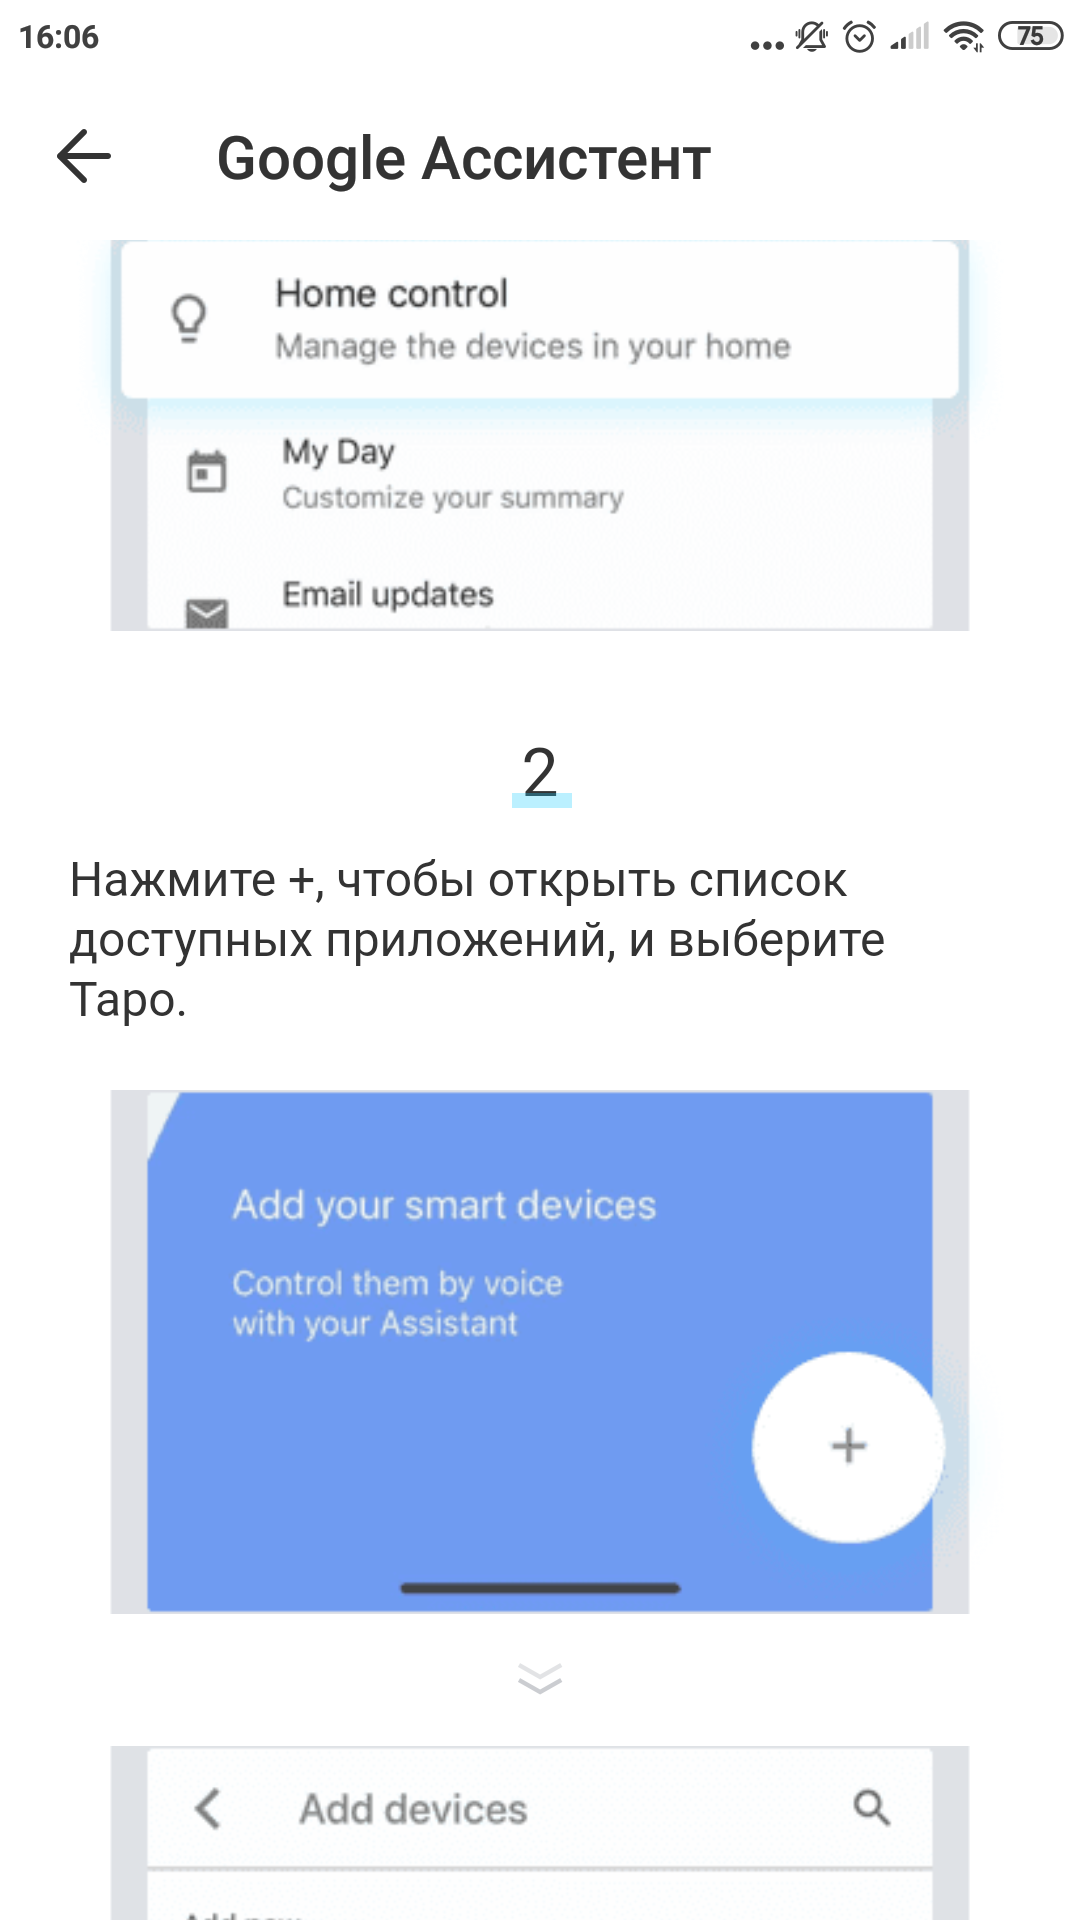
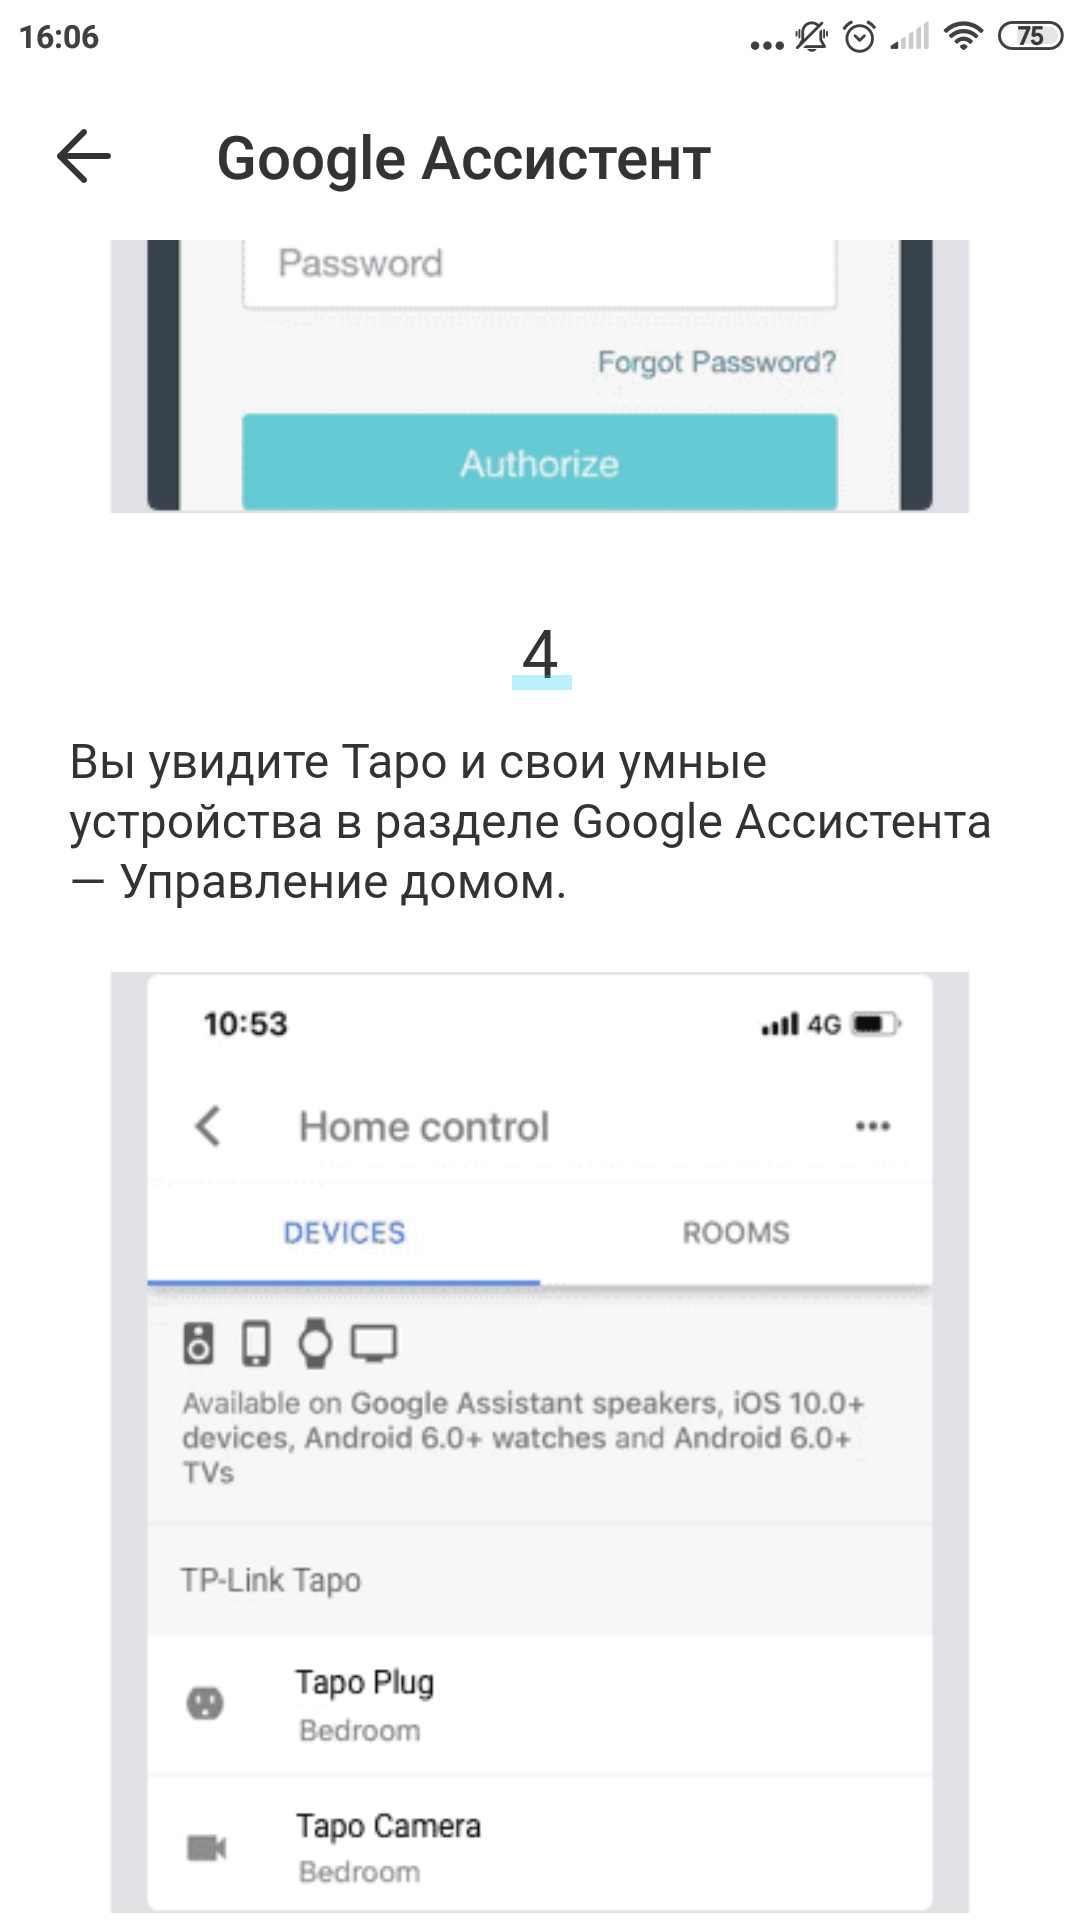
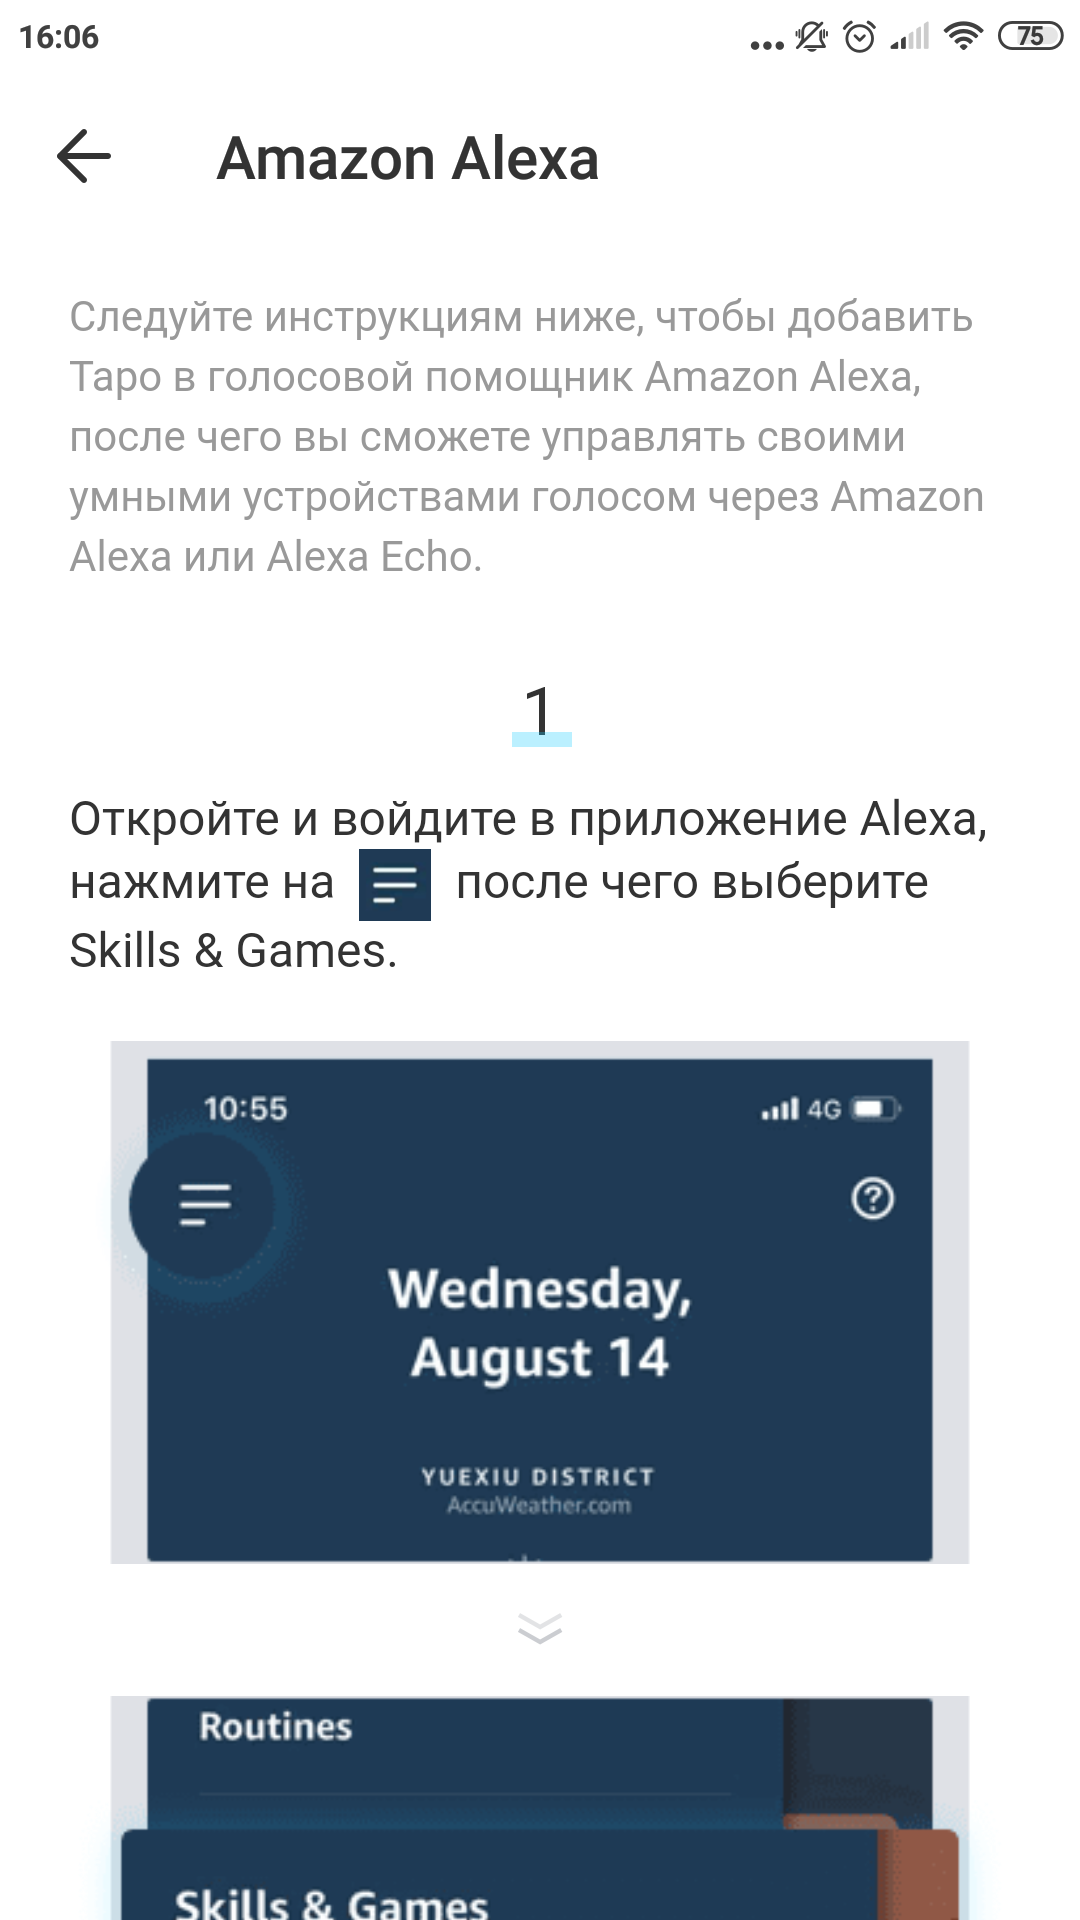
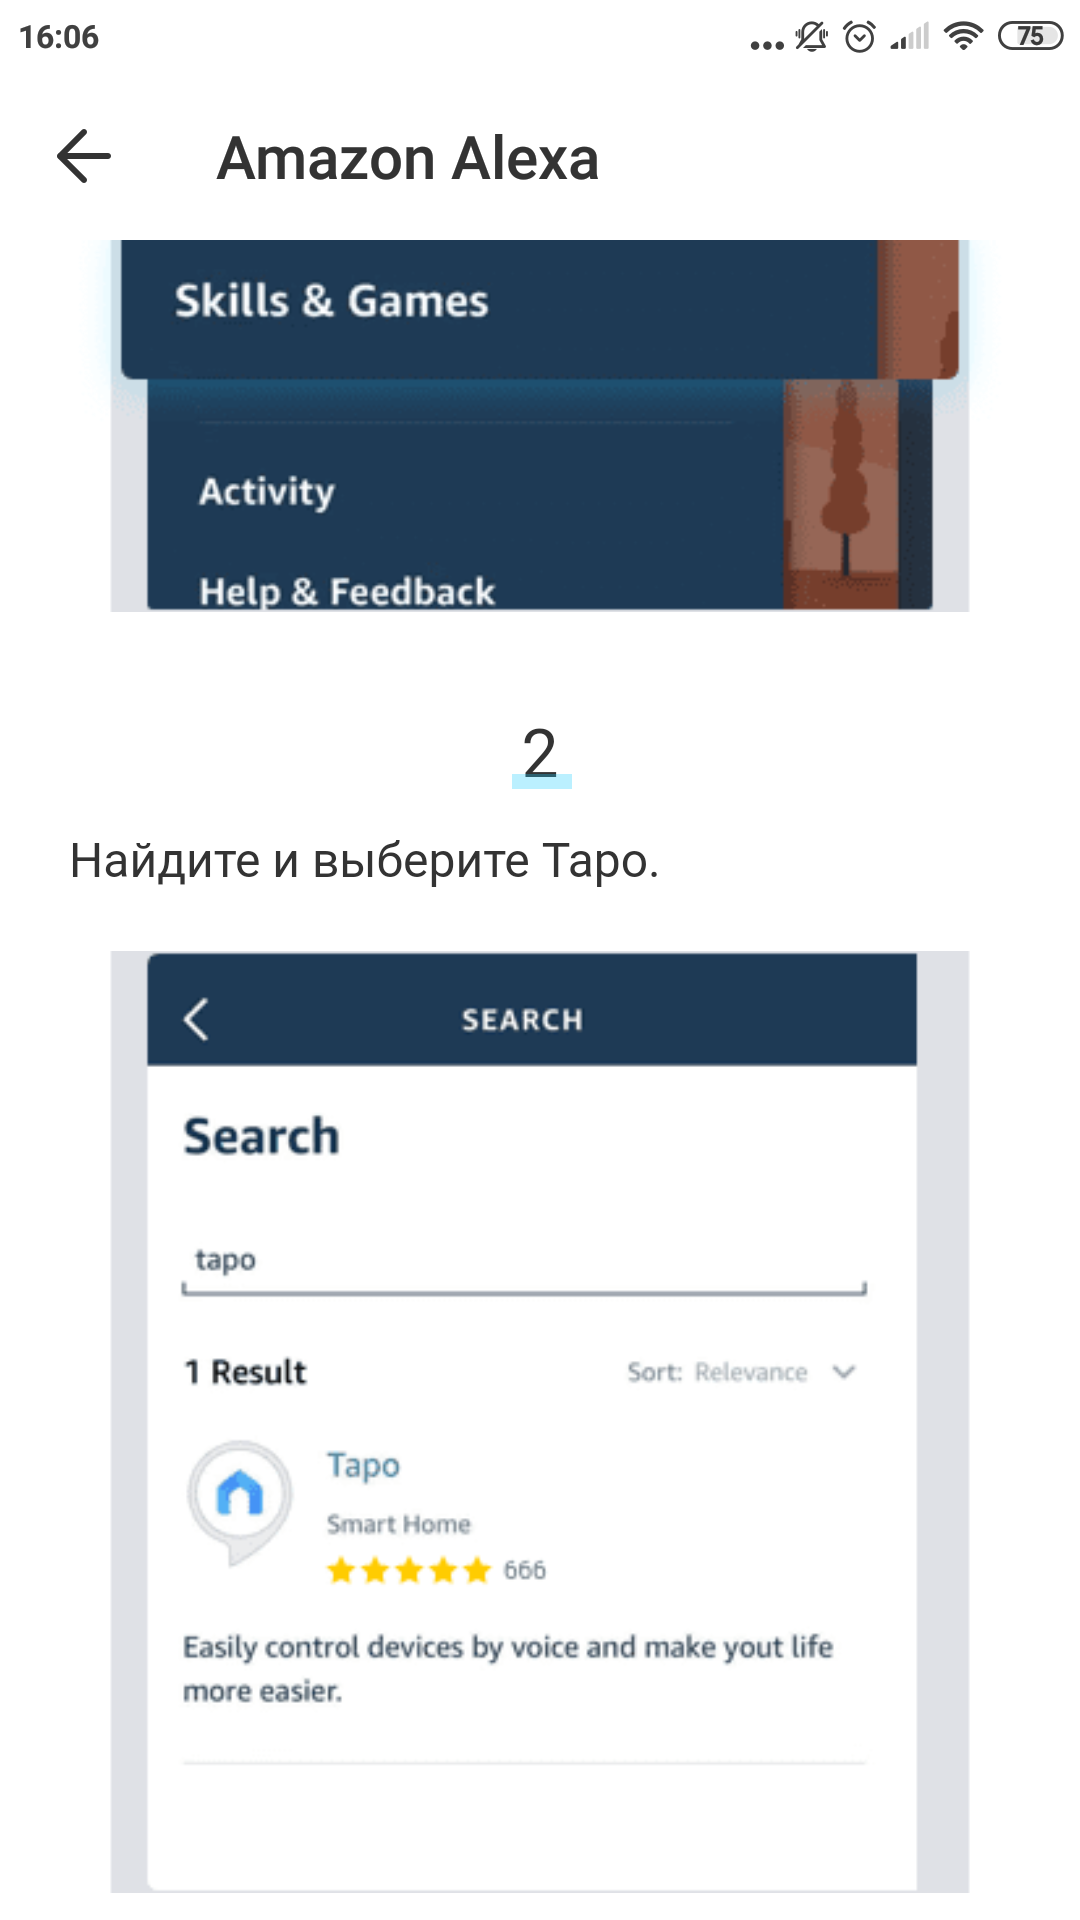
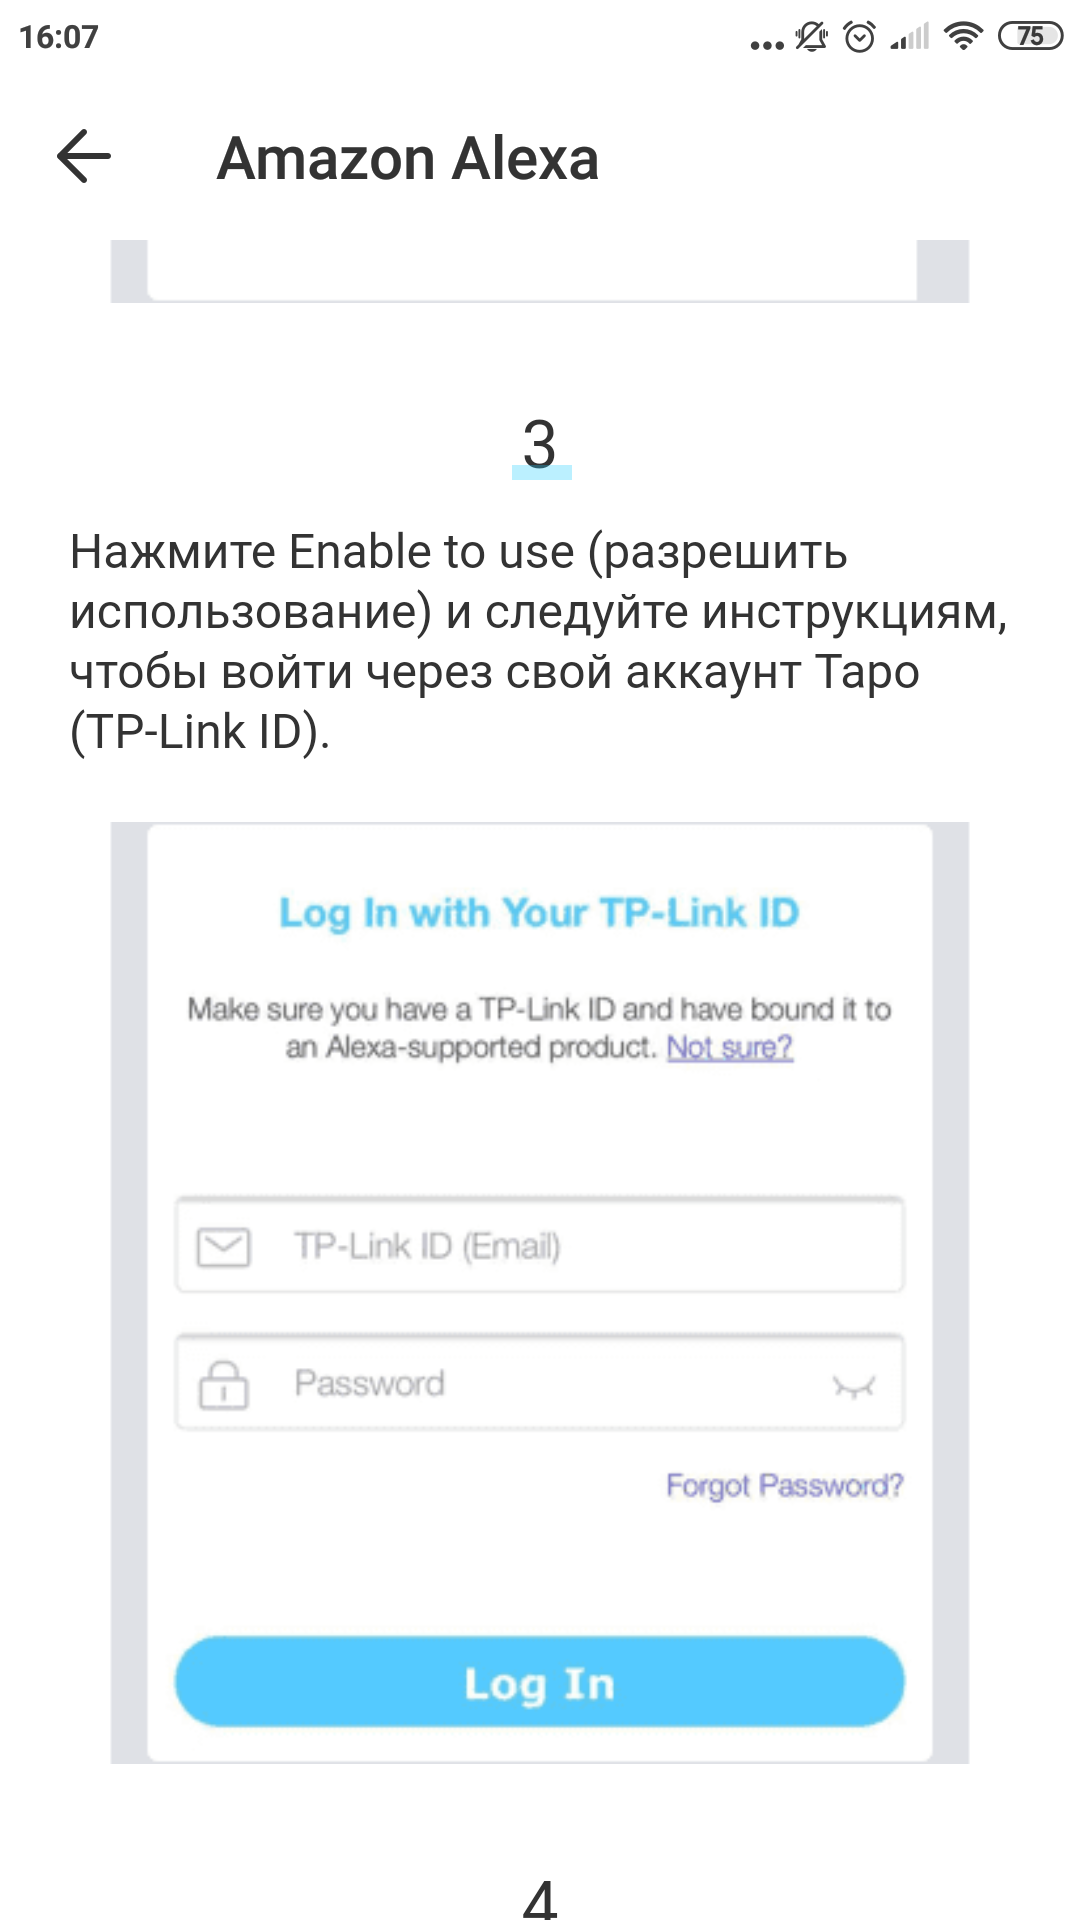
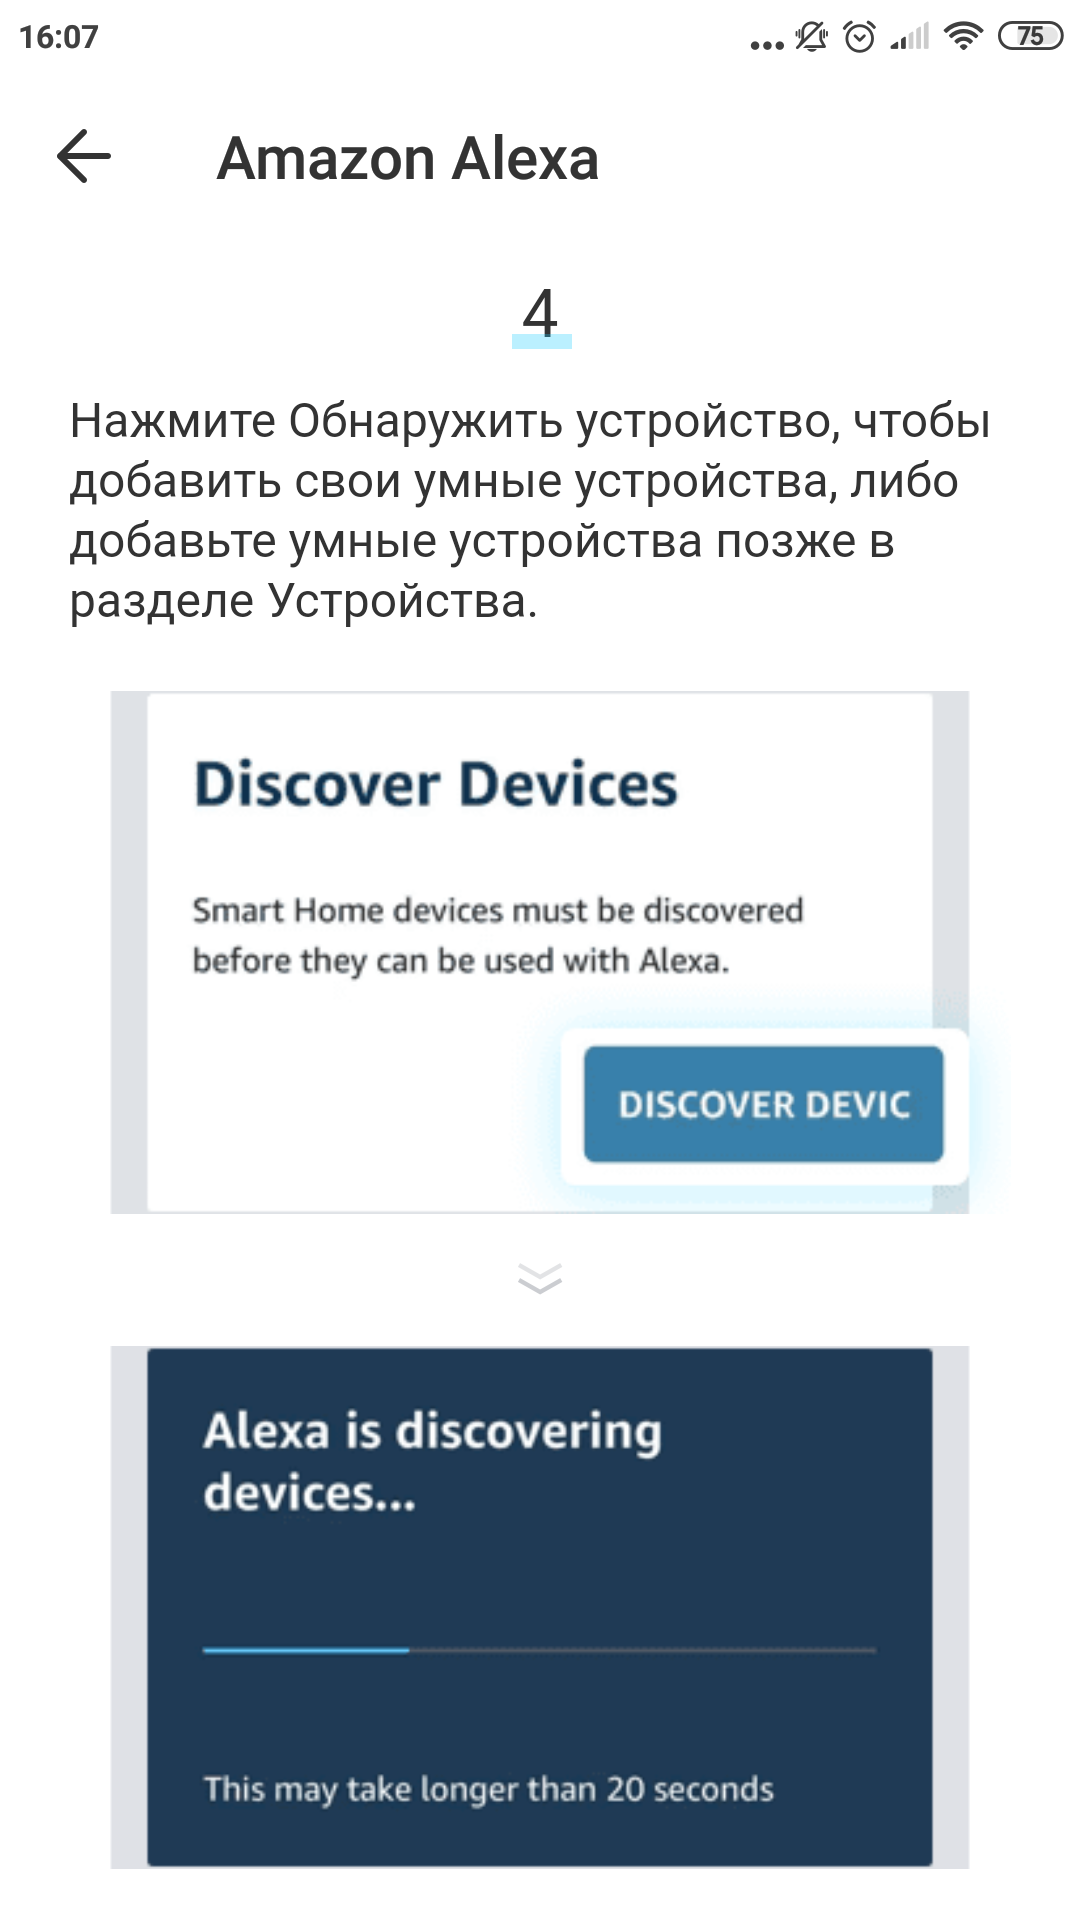
In general, at first glance, the camera is simple andThere are few opportunities, but in reality there are enough application scenarios, and there are a lot of settings, there is where to deploy. For example, the information displayed on top of the video is also customizable, you can turn it off or select a date and time template. From the fun - the option to automatically restart the camera daily. A simple and elegant solution to any problems with freezing equipment. There is also integration with Google Assistant and Amazon Alexa. IFTTT is still not enough for a complete mincemeat; its support is already regularly found in modern network devices.
</ img>
</ img>
</ img>

</ img>
</ img>
</ img>
</ img>
</ img>
</ img>


In the dry residue
TP-Link Tapo C100 looks simple and affordablesolution for organizing video surveillance at home. There are no features of more expensive cameras, such as saving recordings to the cloud, remote control of rotation and zoom (this is available in the older version of the C200), or protection from external influences. But there is a good quality picture, a flexible motion detection function, and a functional application for remote monitoring and viewing recordings. Among the most obvious competitors are the Xiaomi/MiJia cameras, which are similar in functionality; an alternative to them could be a flock of lesser-known Chinese brands.
4 reasons to buy a TP-Link Tapo C100 camera:
- high-quality image in FullHD resolution;
- two-way voice call function;
- autonomous work without the use of hubs and registrars;
- good app with flexible settings.
3 reasons not to buy a TP-Link Tapo C100 camera:
- motionless design;
- lack of support for Wi-Fi networks in the 5 GHz band;
- local storage of videos only.
Main technical characteristicsCCTV CamerasTP-Link Tapo C100
Dimensions
67.6 x 54.8 x 98.9 mm
Matrix
1/3.2″
Video
1920×1080, H.264 codec
Night illumination
850 nm IR LED (up to 9 meters)
Interfaces
Wi-Fi 802.11 b/g/n, microSD
Sound
microphone and speaker for two-way communication
Functionality
motion tracking, push notifications to the application about motion, motion recording
TP-Link Tapo C100
Low Cost Home Security Extension
Affordable standalone Wi-Fi camera for home. It transmits a picture in FullHD in real time to a smartphone, knows how to record it on a memory card according to a schedule or by a motion sensor. Supports two-way voice function. Doesn't work with cloud storage.